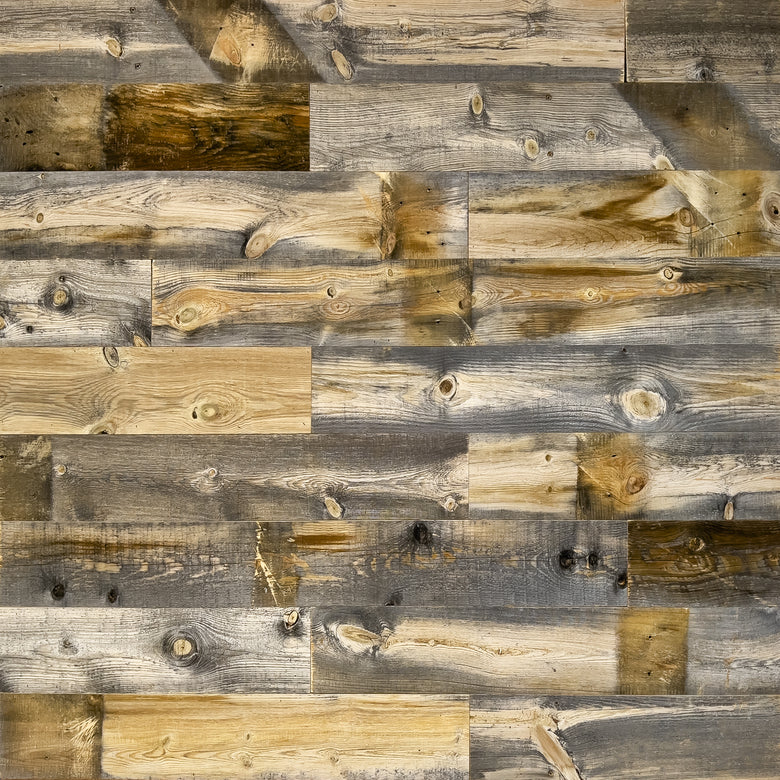
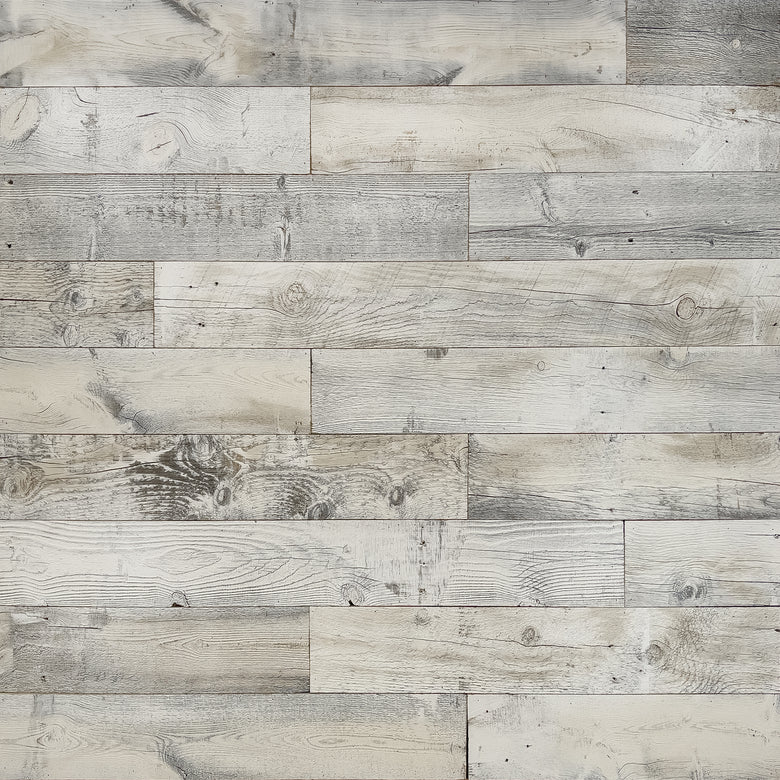
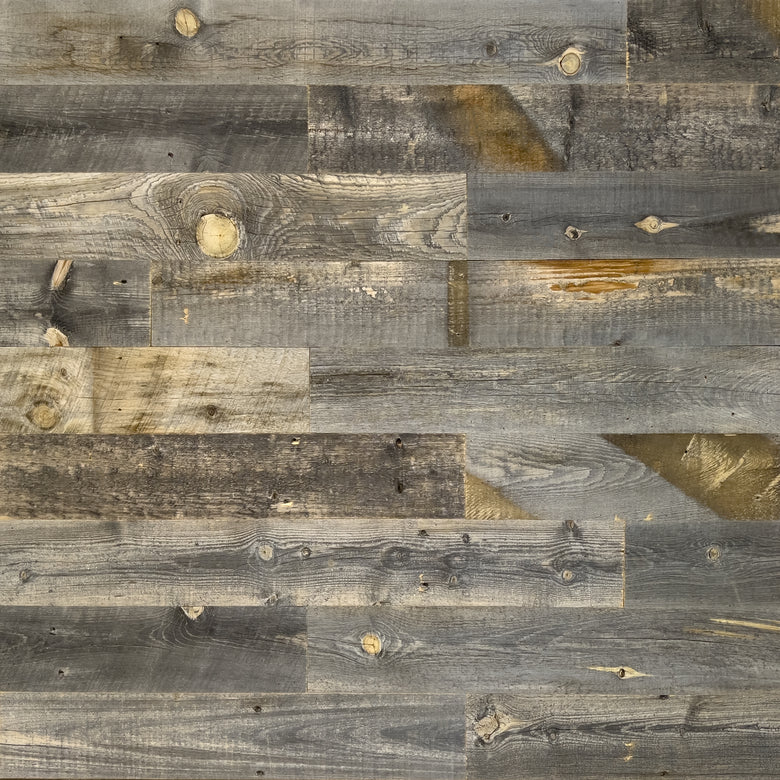
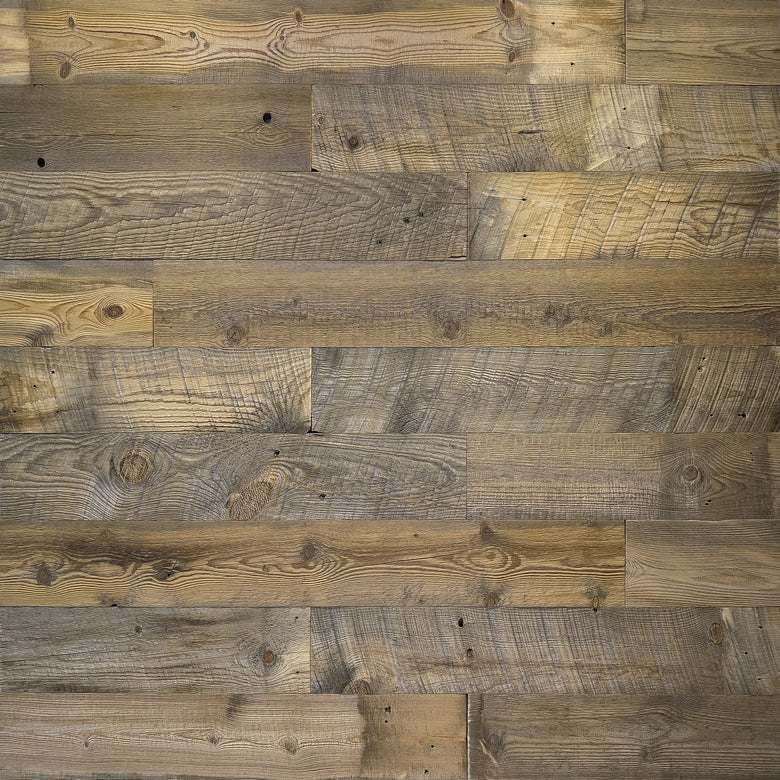
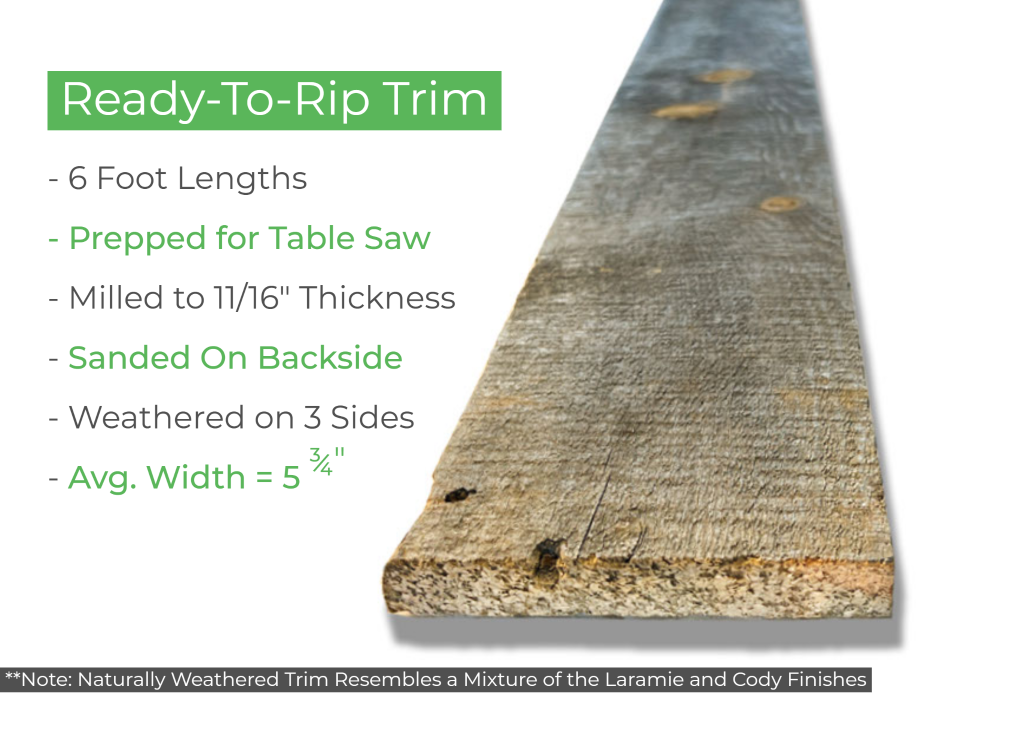
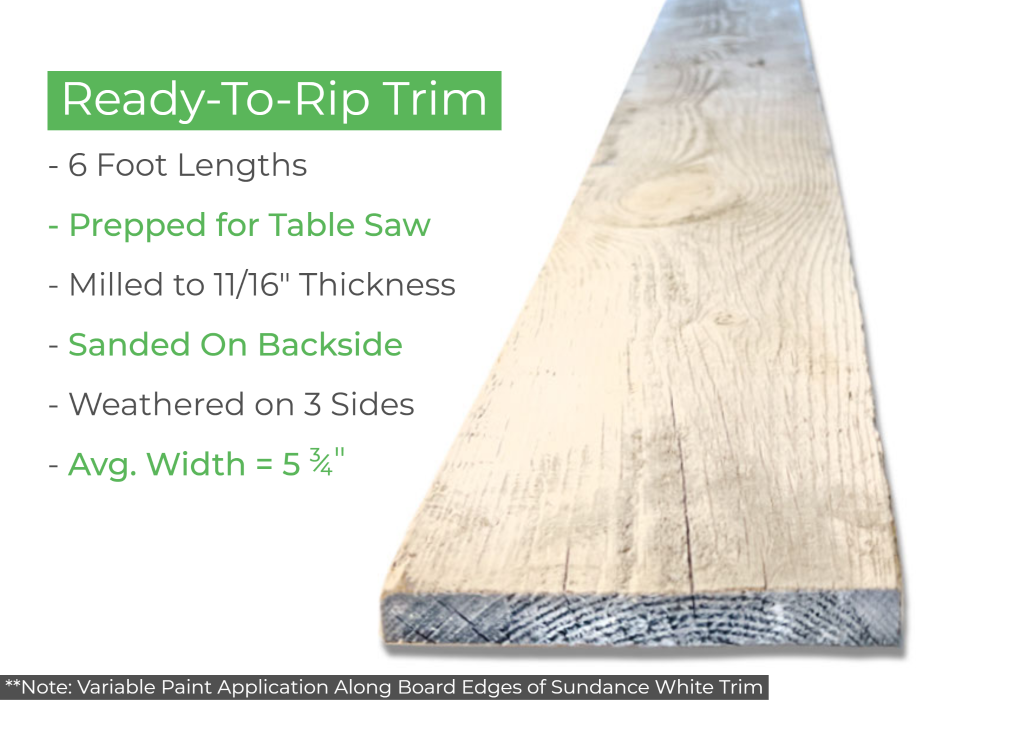
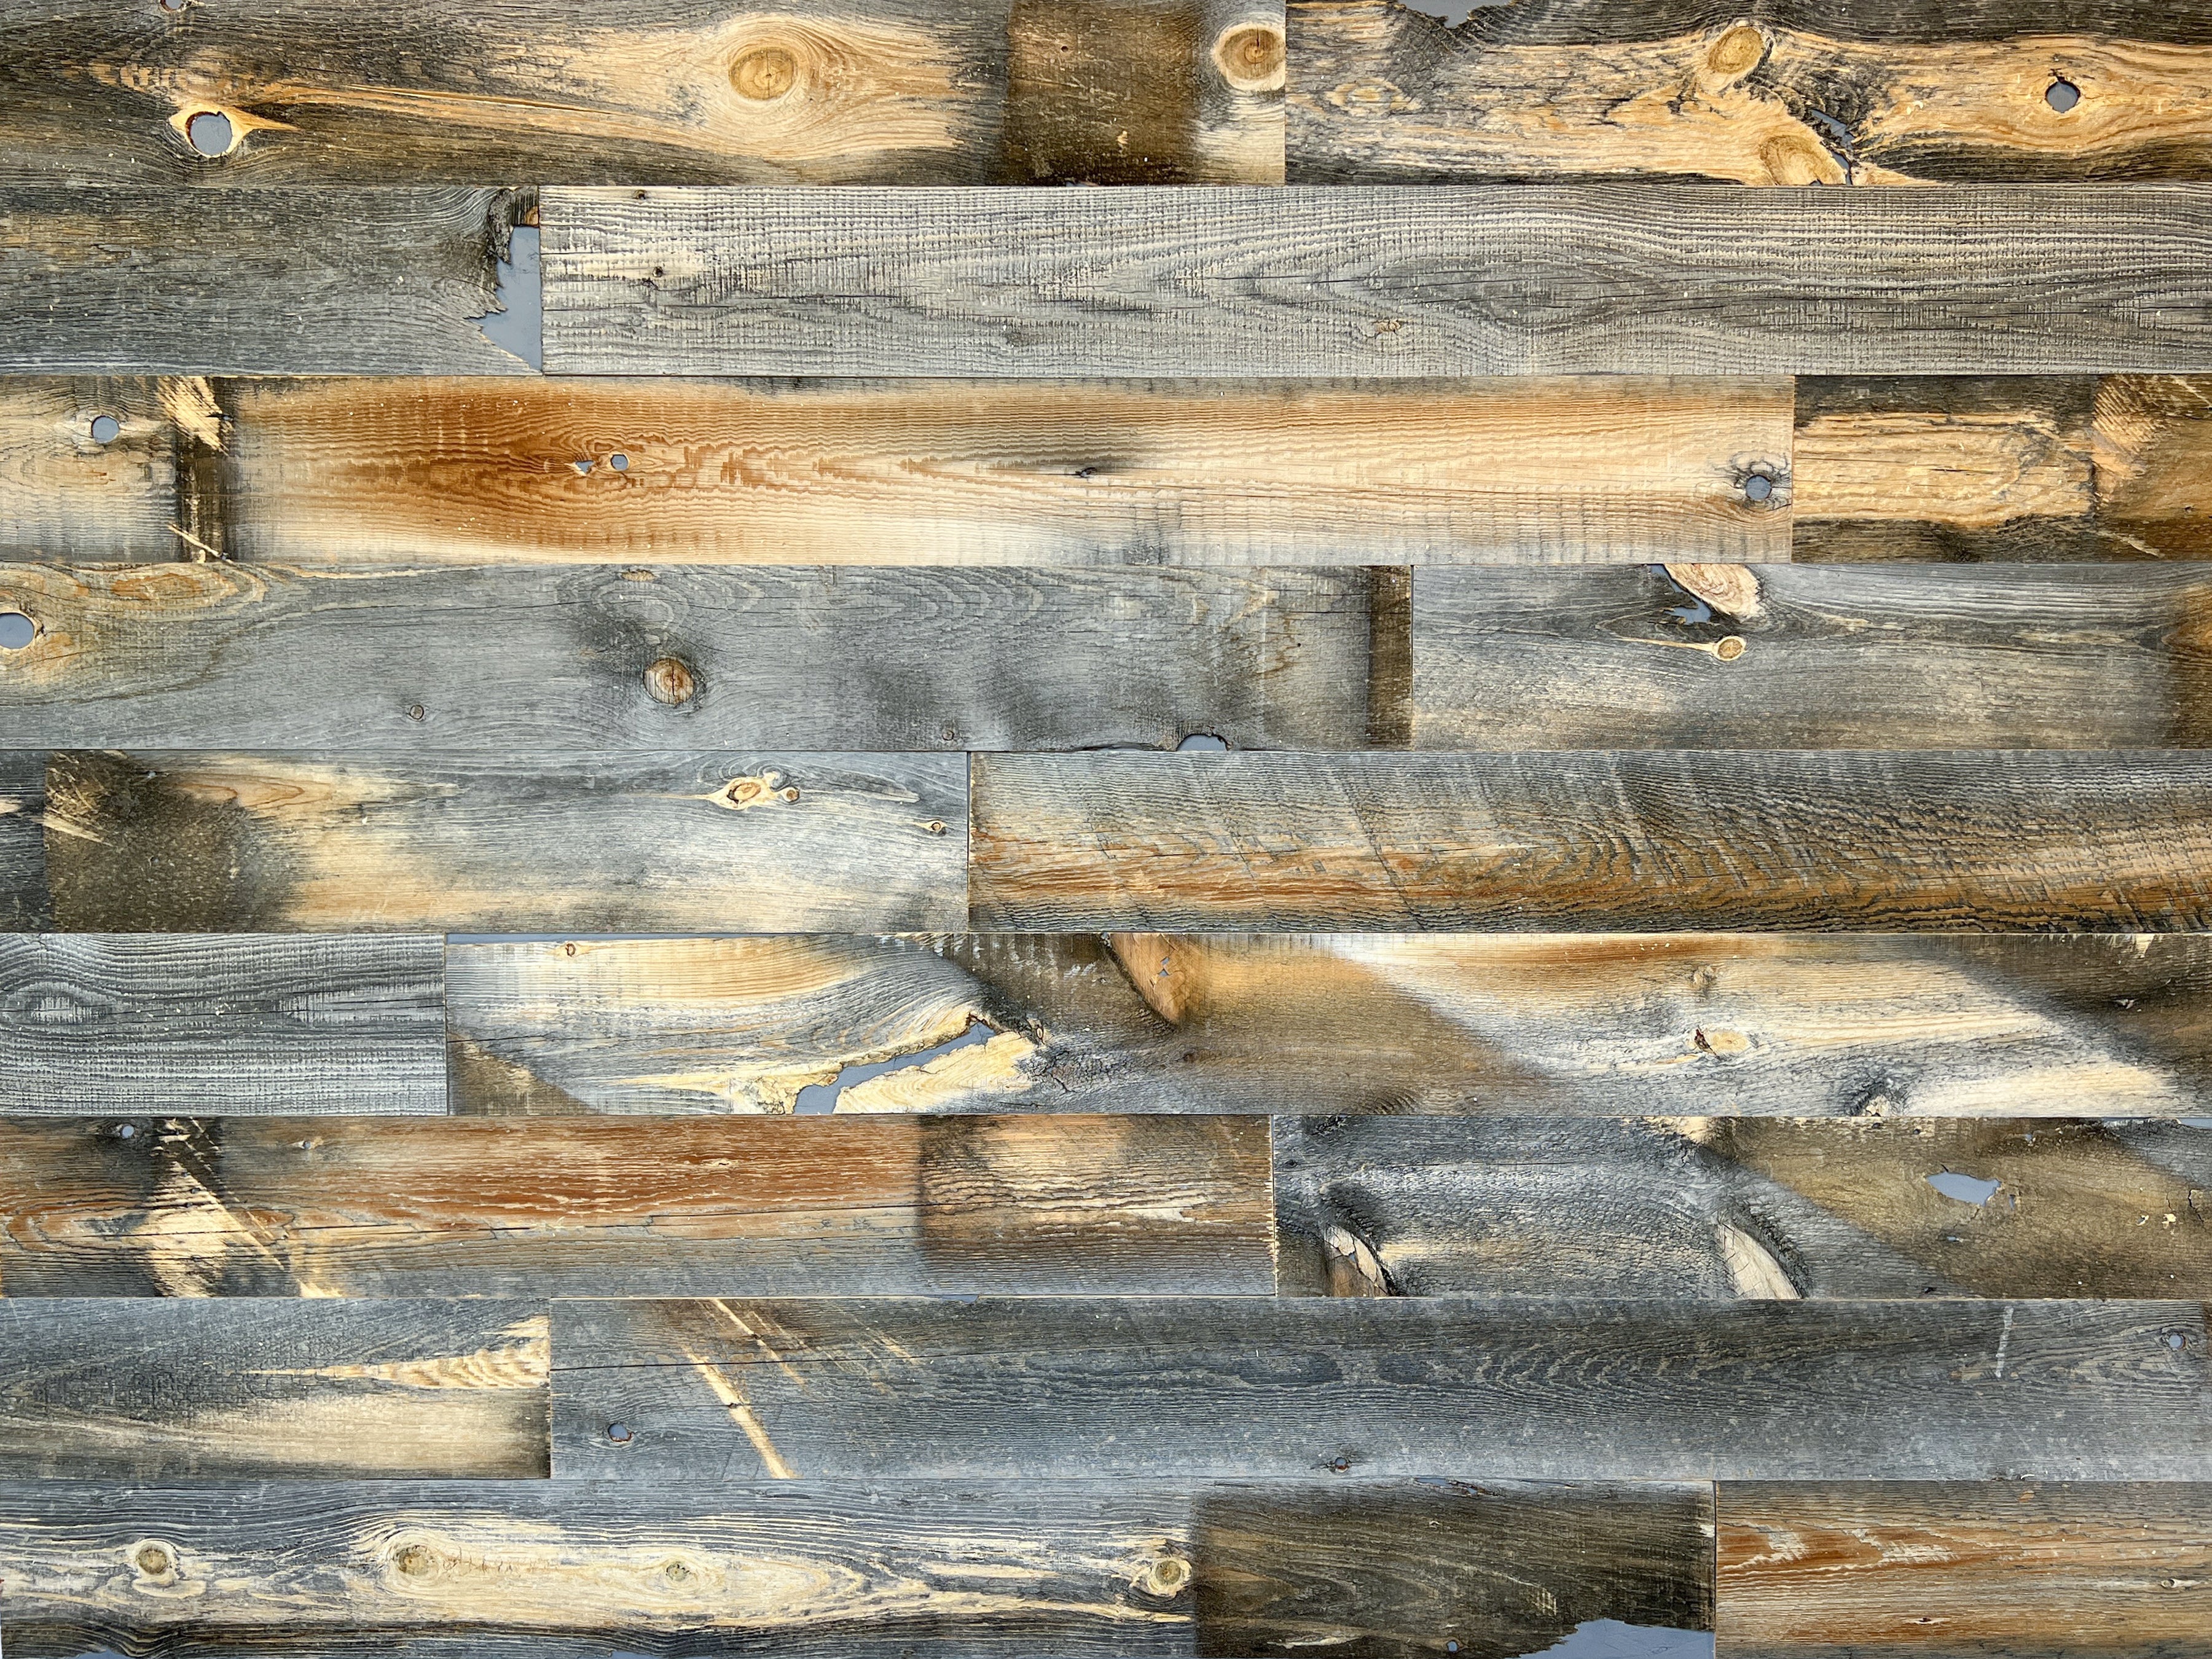
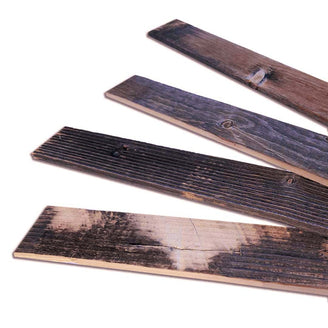
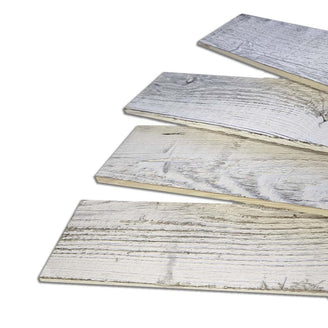
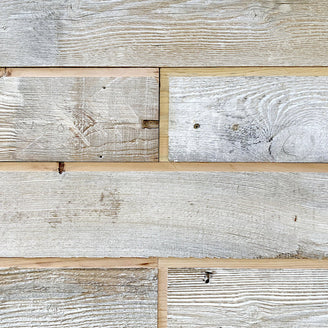
Tools and Materials: 1 box of reclaimed wood planks from Centennial Woods (20 square feet), brad nails/finsish nails, hammer or nail gun, level, tape measure, construction adhesive, pencil, chalk board paint, paint brush, saw, 2 leather strap reclaimed wood shelves and reclaimed wood trim from Centennial Woods. Most important – dartboard kit.
Instructions: Mark your wall with an “x” at 5 feet 8 inches high which is regulation height, this is where the bullseye will be centered. Then arrange your wooden planks on the floor in the pattern and size you would like on your wall; your wood should extend beyond the dartboard by at least 2 feet in all directions to protect your wall from poorly thrown darts by your less-coordinated friends.
Next, place your first board and center it over the “x” and use a level to draw reference lines on all sides of the center board, remember to mark this board where the “x” on the wall was. Apply construction adhesive and place the first board within your reference lines and nail the corners of the board to the wall. Next glue and nail all boards piece by piece until all of your boards and glued and nailed to the wall in the pattern you arranged on your floor.
Make a true to size paper or cardboard cutout of the dartboard and center it over your “x” mark. Then cut two rectangular pieces of wood from plywood and sand them smooth, these will be your scoreboards.
Next, apply the chalkboard paint to one side of each board. While drying, install your 2 shelves on either side of the dartboard, remember that the scoreboards will be installed above the shelves. Once the chalkboard paint has dried nail your scoreboards next to where the dartboard will be above the shelves using your level and tape measure.
Now measure your wood trim so it fits around your scoreboards. You can then cut the butting edges at a 45 degree angle. Then install your dartboard’s mounting hardware so your board will be centered where you marked the “x” on the wood wall. After the dartboard is mounted measure where to place the line on the floor in front of the dartboard, make sure it is regulation distance. Don’t forget to use your chalk to create the scoring system on your chalkboard. Finally, practice and take your friends’ money!
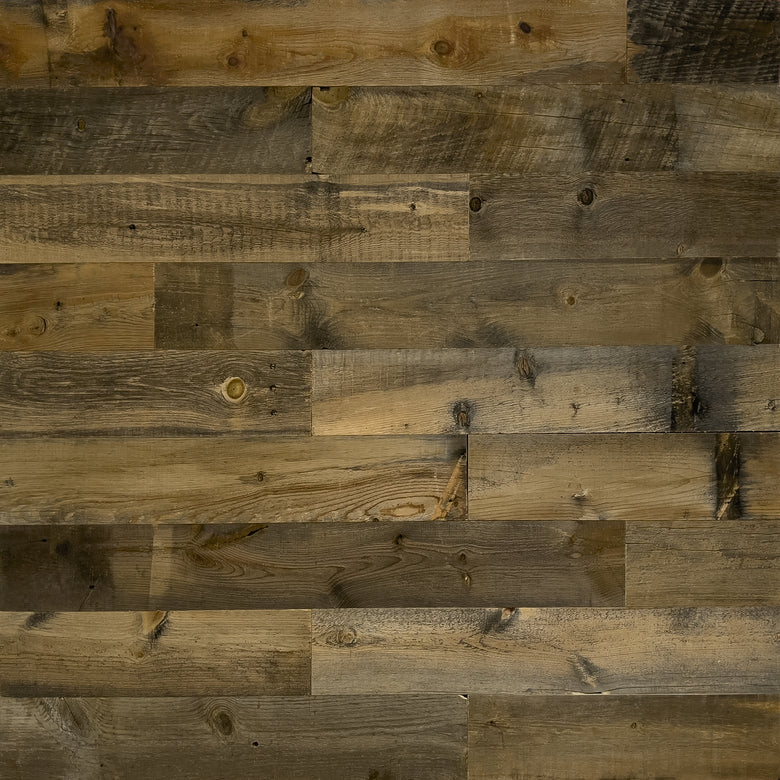
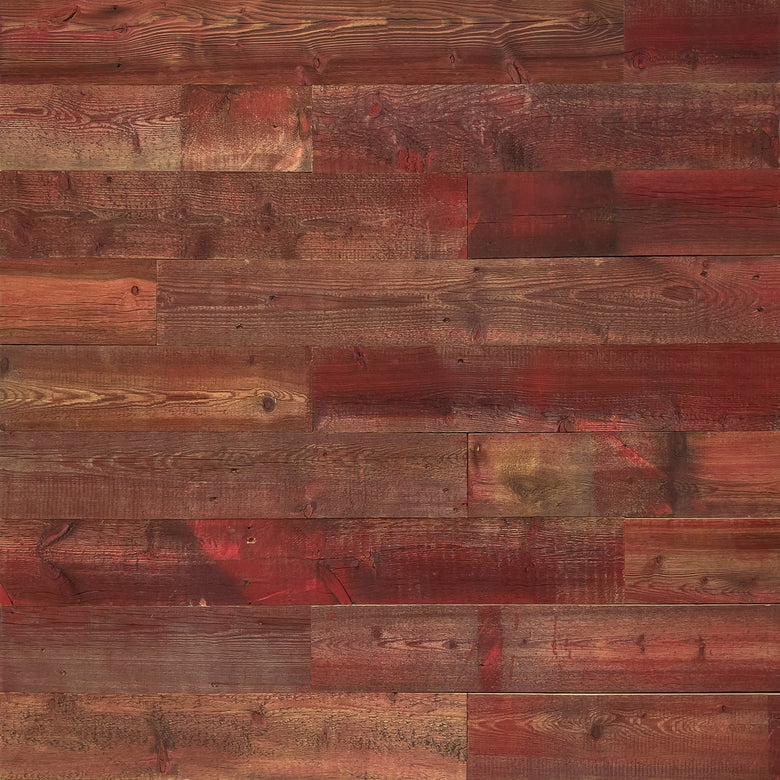
The finish of the reclaimed wood in this video is a custom white wash of the Wheatland finish.
For more information on the installation and care of reclaimed wood visit The Ultimate Guide To Reclaimed Wood.