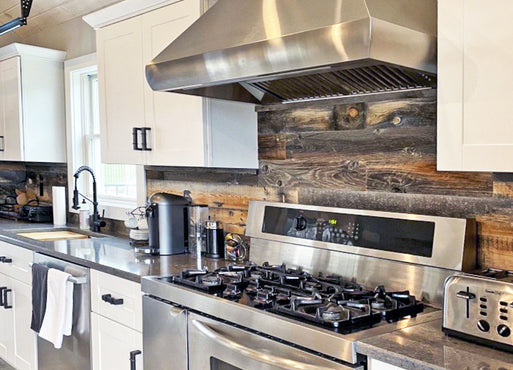
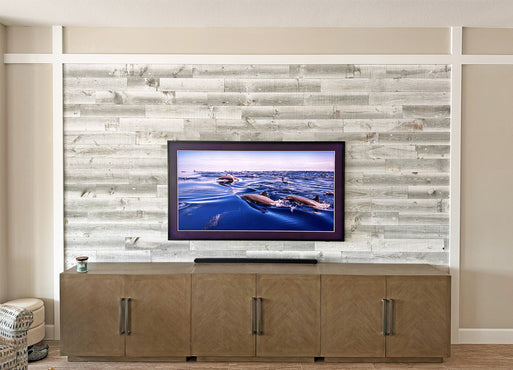
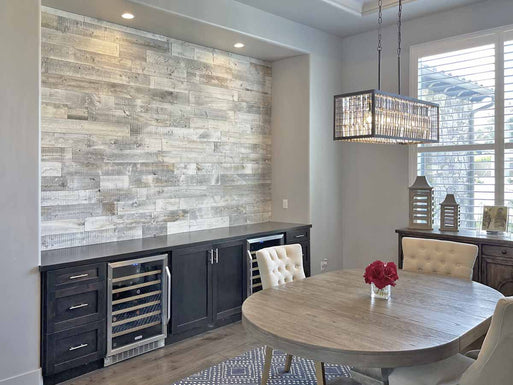
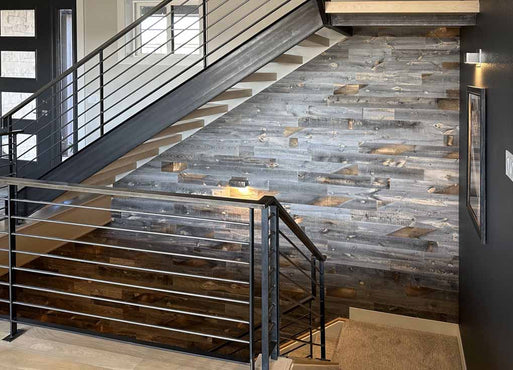
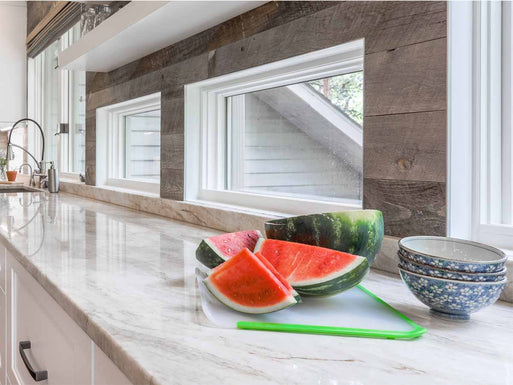
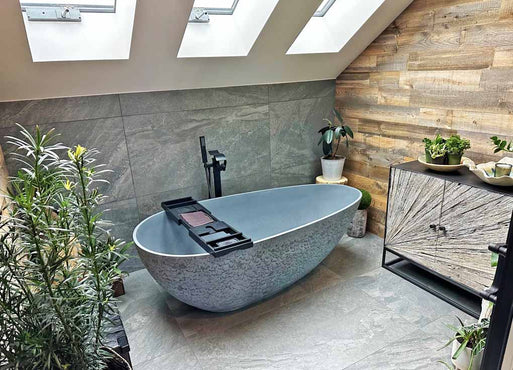
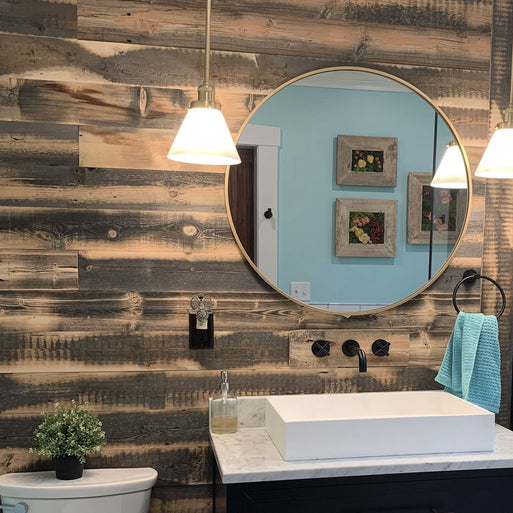
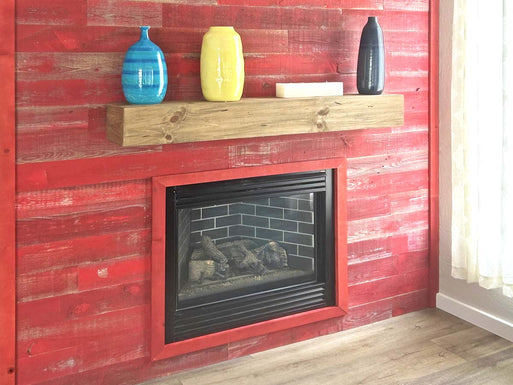
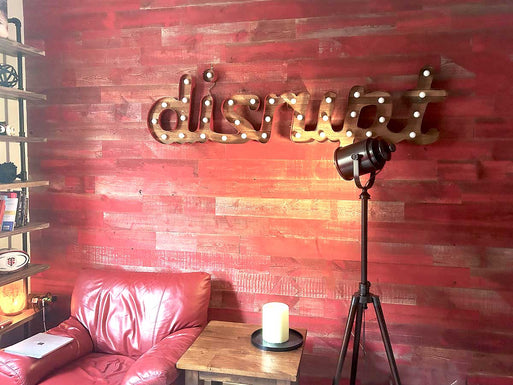
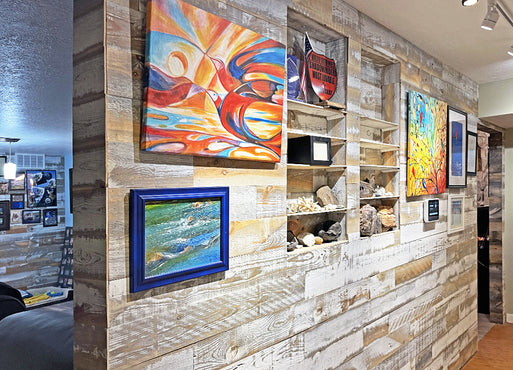
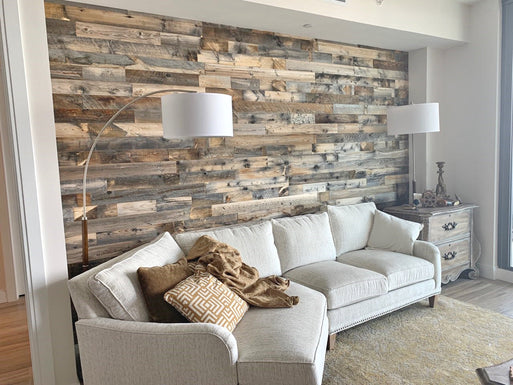
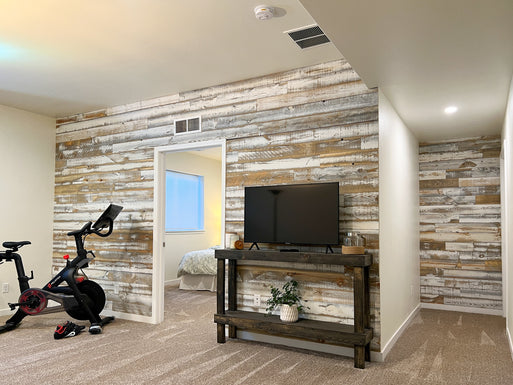
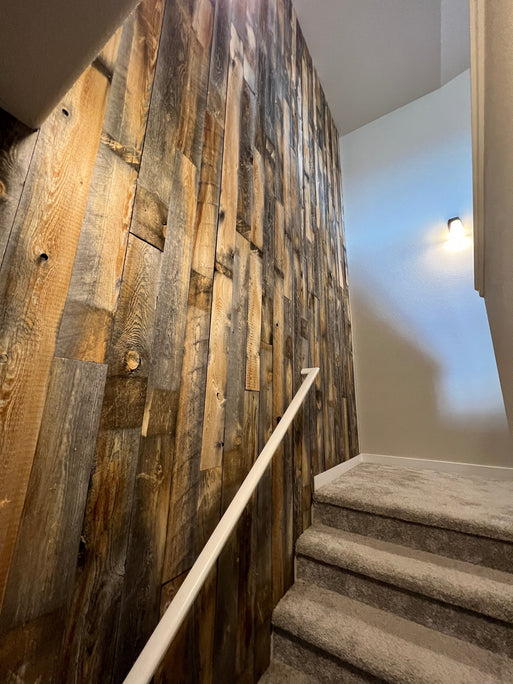
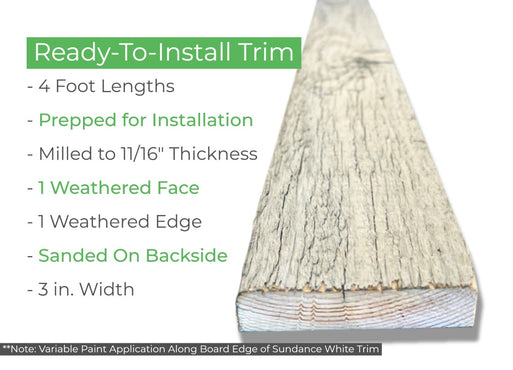
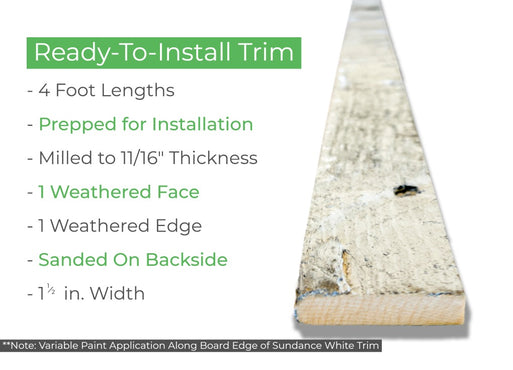
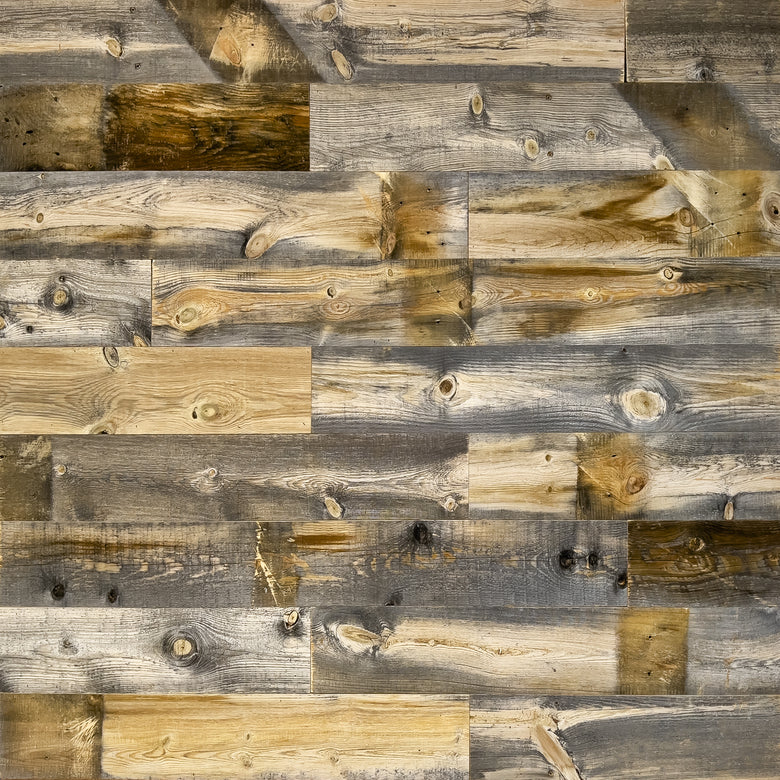
How To Install A Reclaimed Wood Wall

Tool List
 Gloves
 Goggles
 Ear Plugs
 Dust Mask
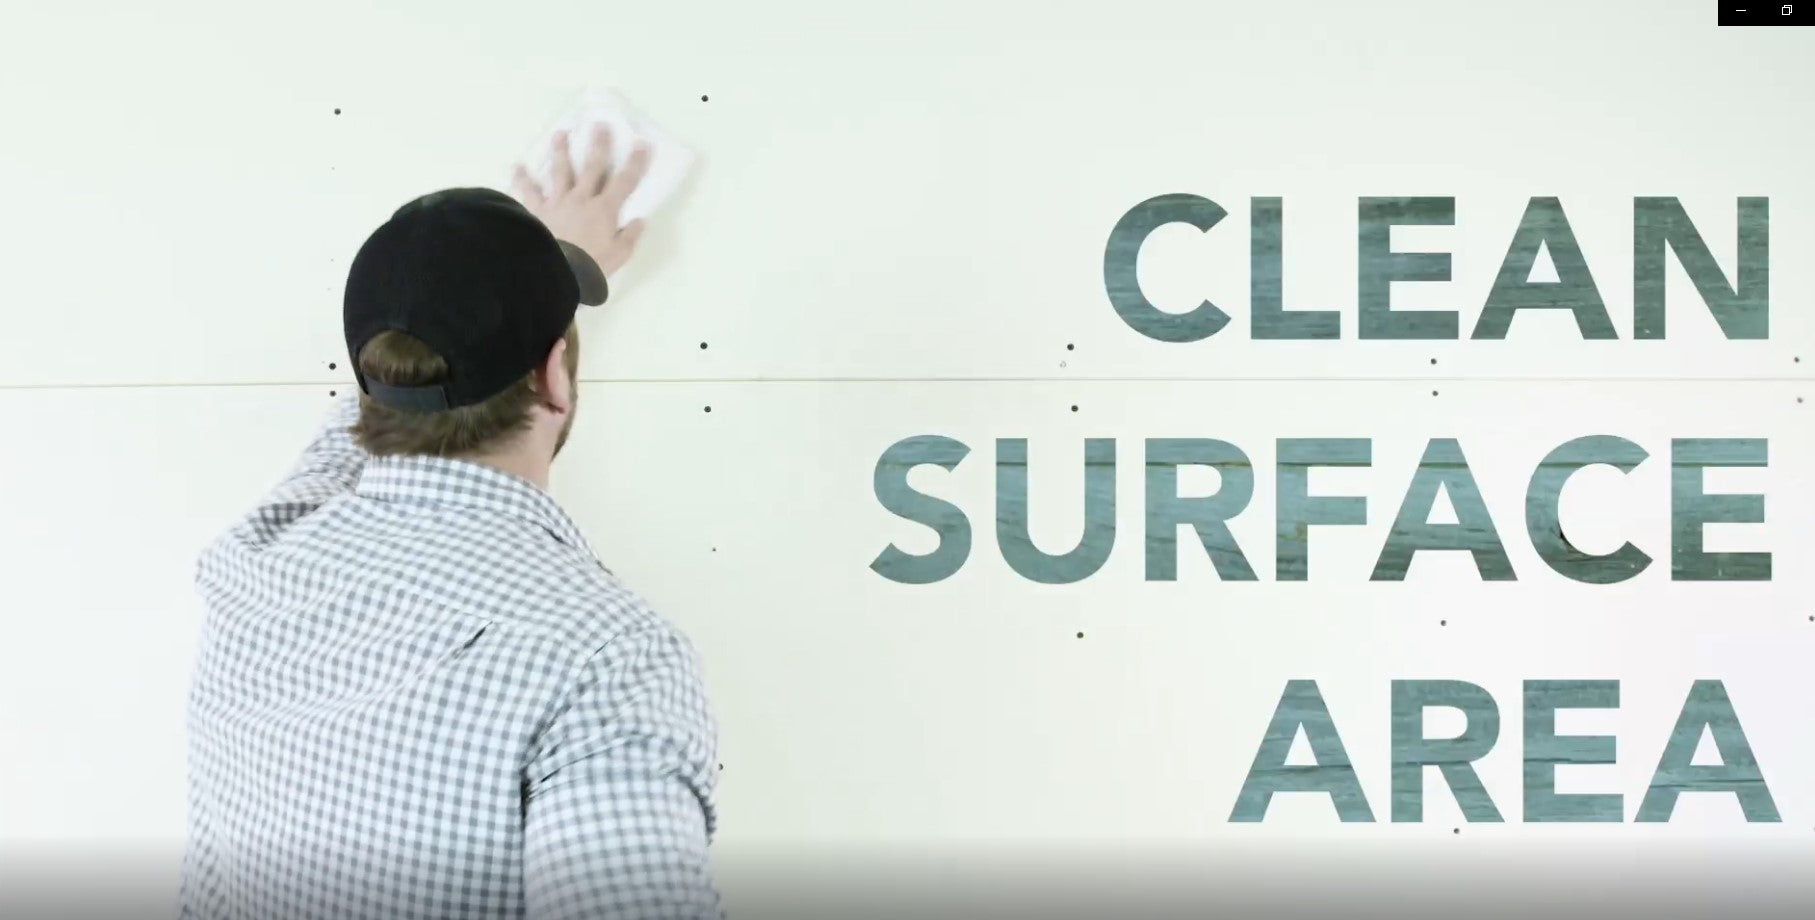
Preparation
Make sure that your surface is relatively flat, smooth, clean, dust-free, and structurally sound. Painting the wall or ceiling a color similar to your wood is an optional step, this will help camouflage any knot holes or slight gaps between boards.
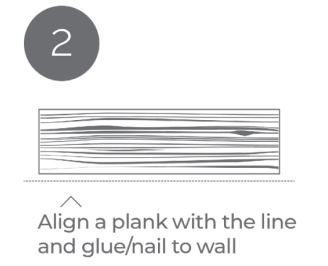
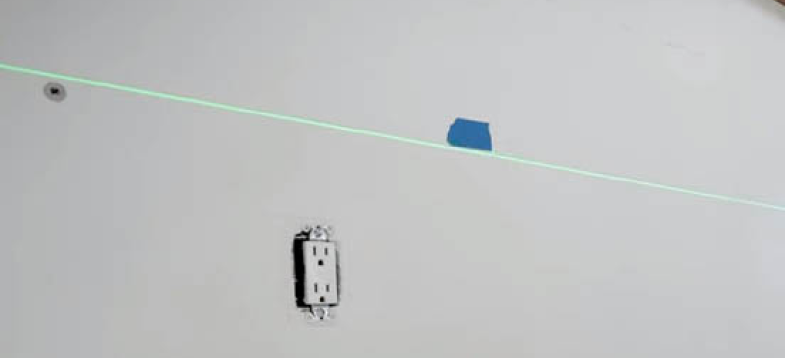
Reference line
We recommend starting your wood wall installation at the top or bottom of your wall. Prior to starting make sure the area where you will begin your first row is level.
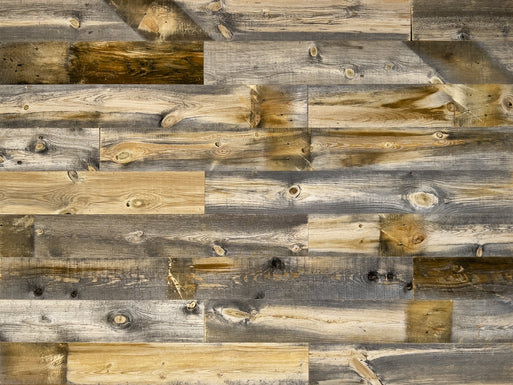
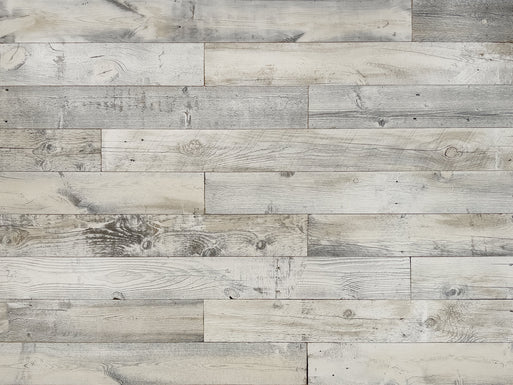
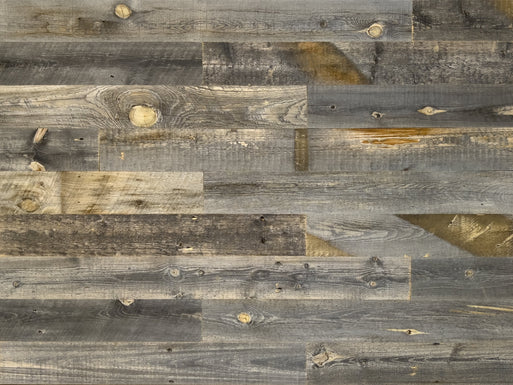
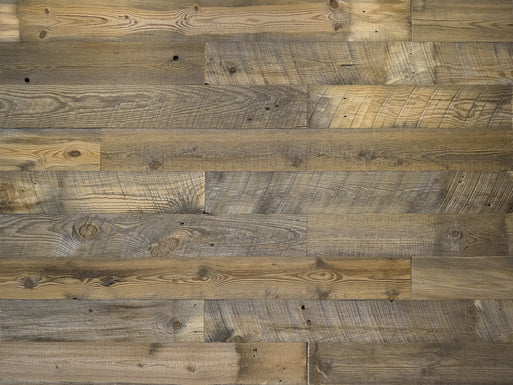
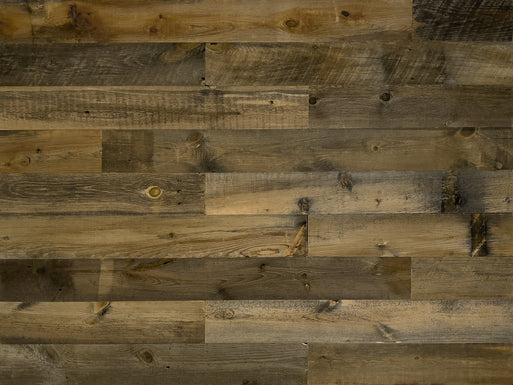
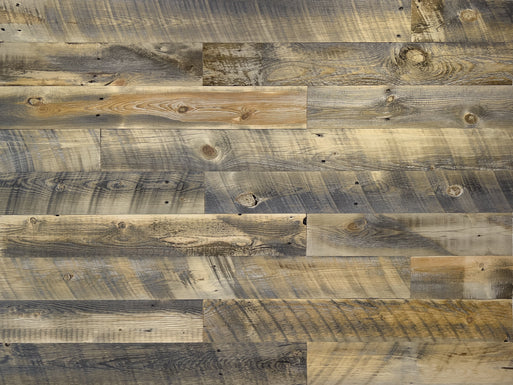
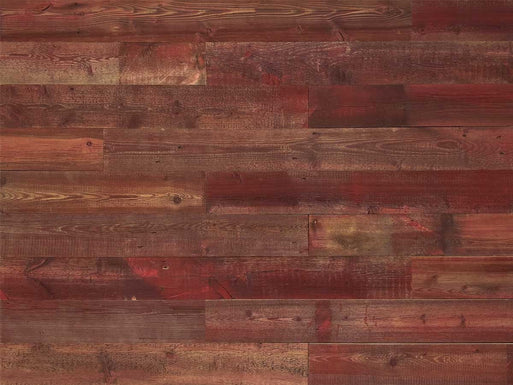
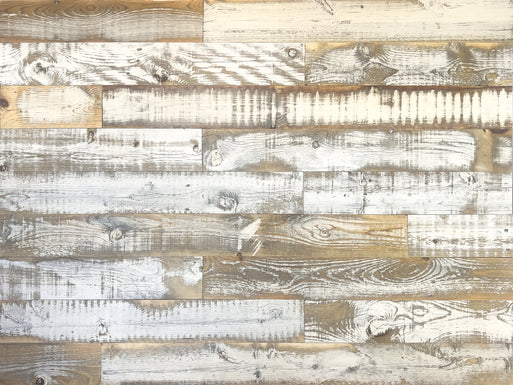
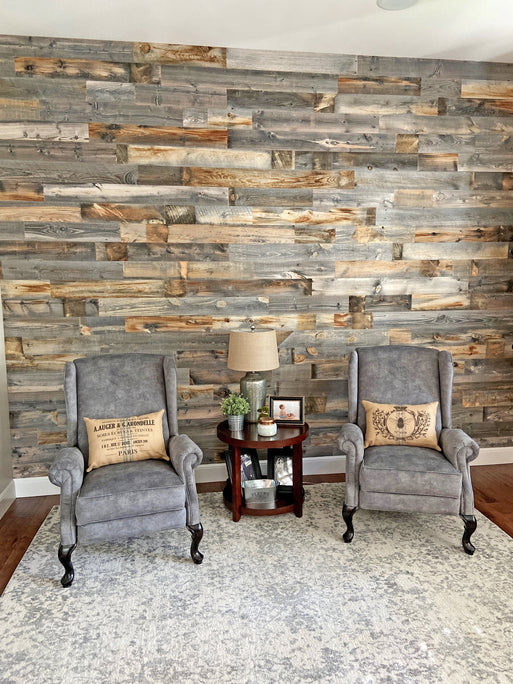
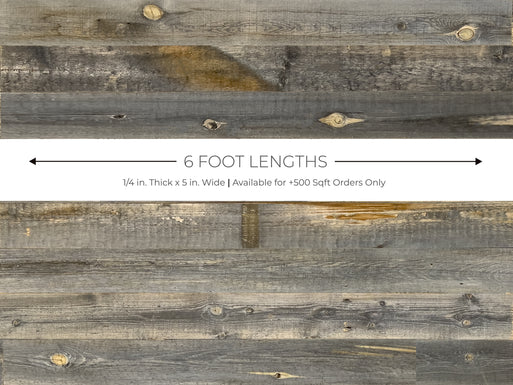
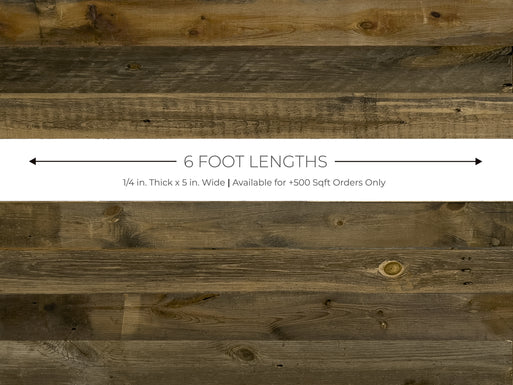
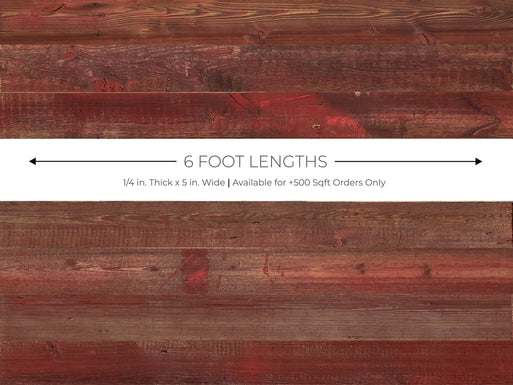
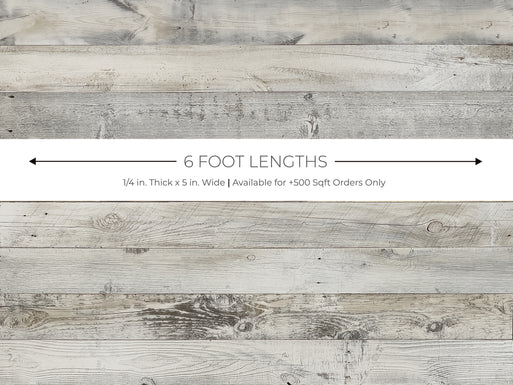
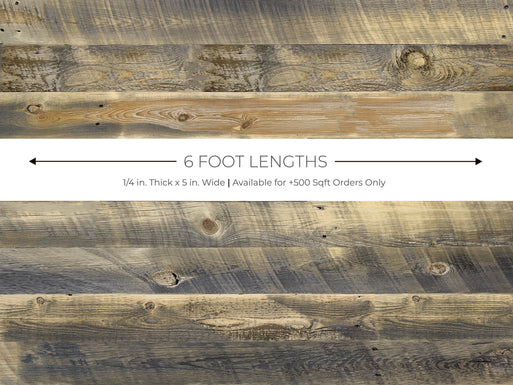
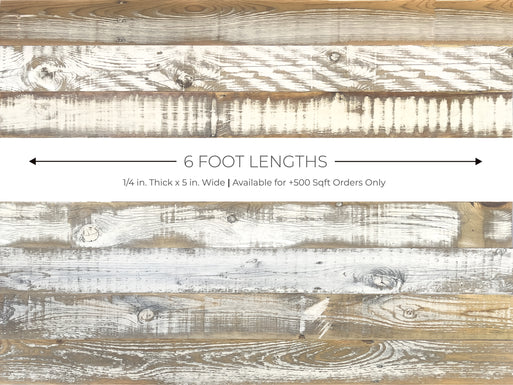
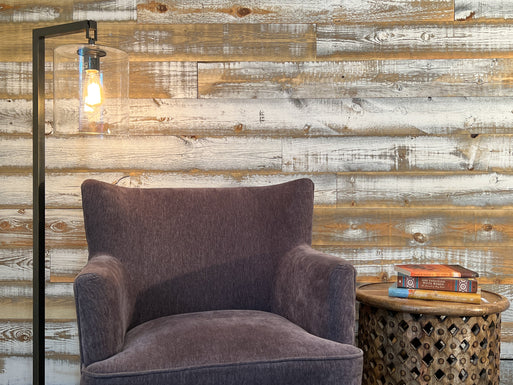
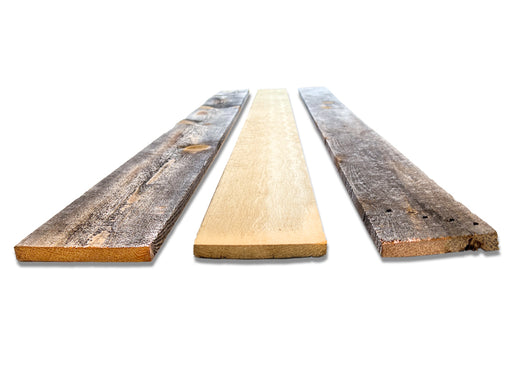
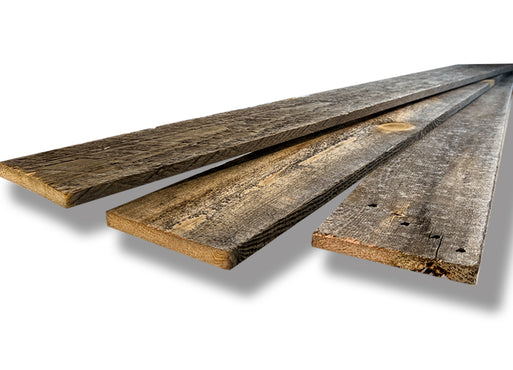
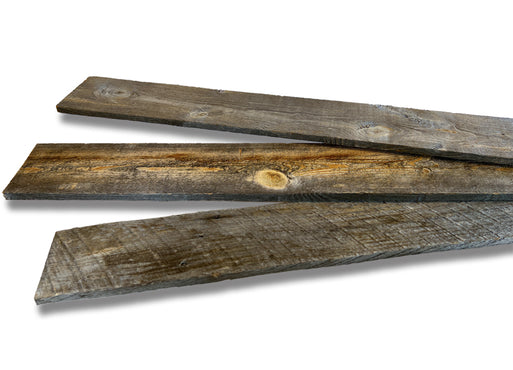
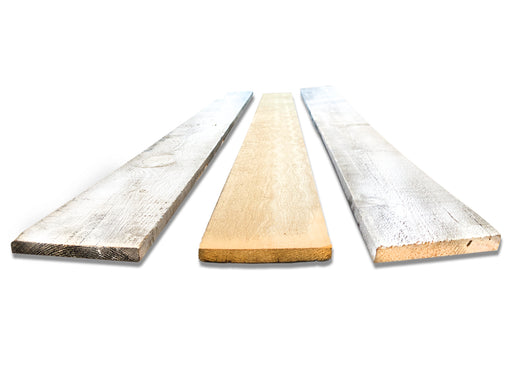
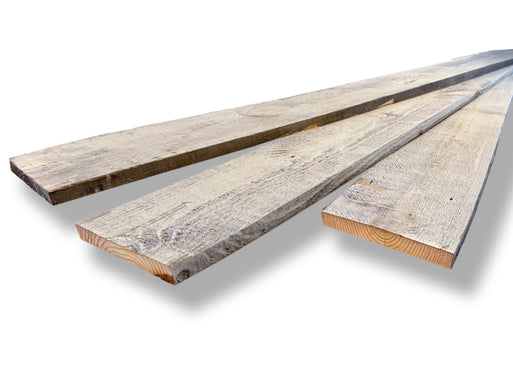
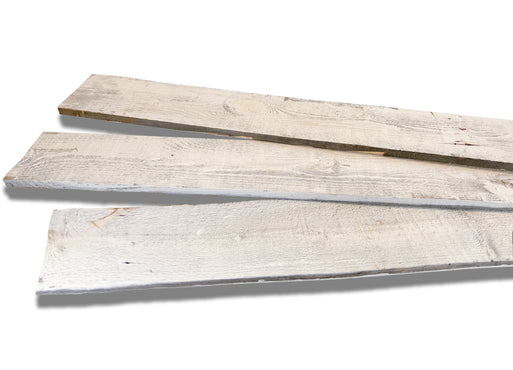
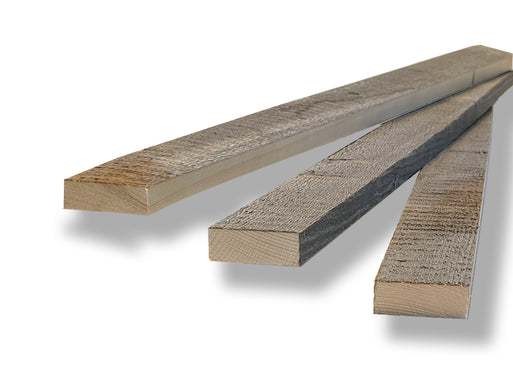
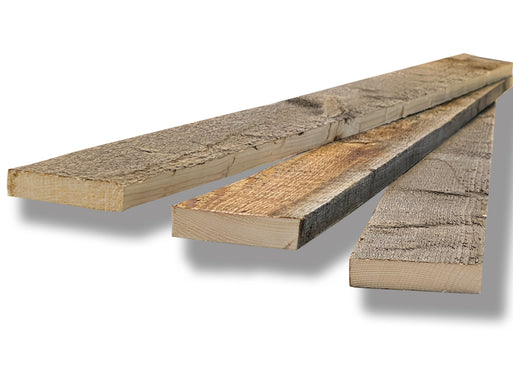
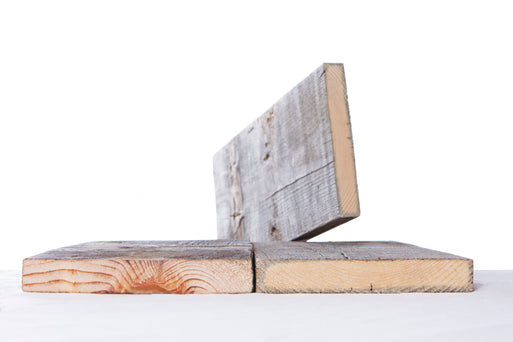
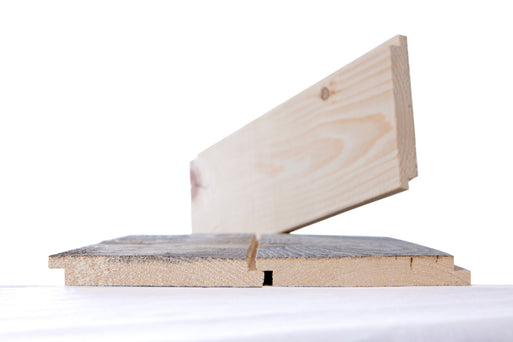
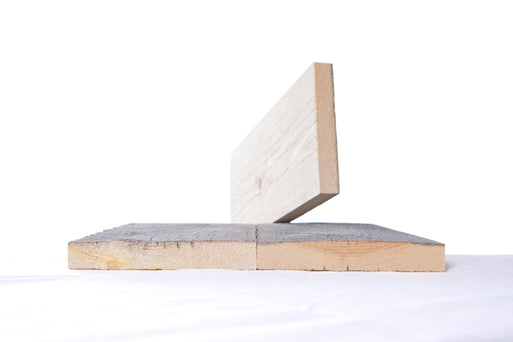
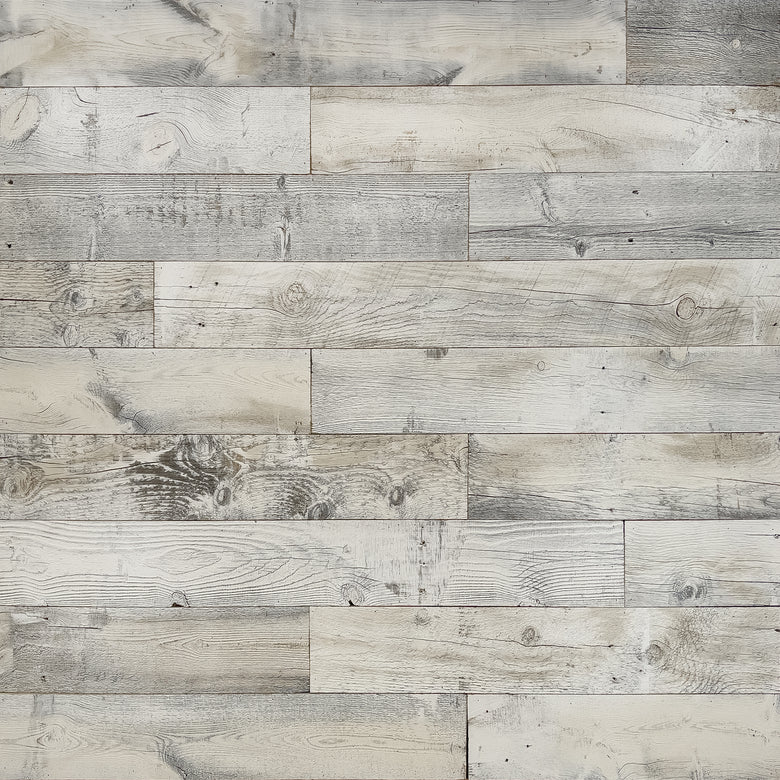
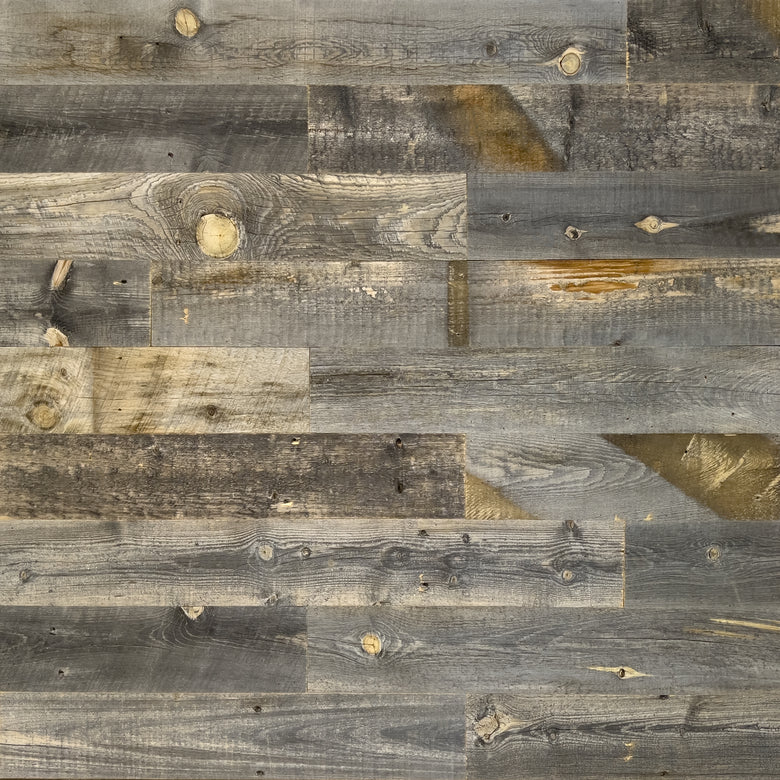
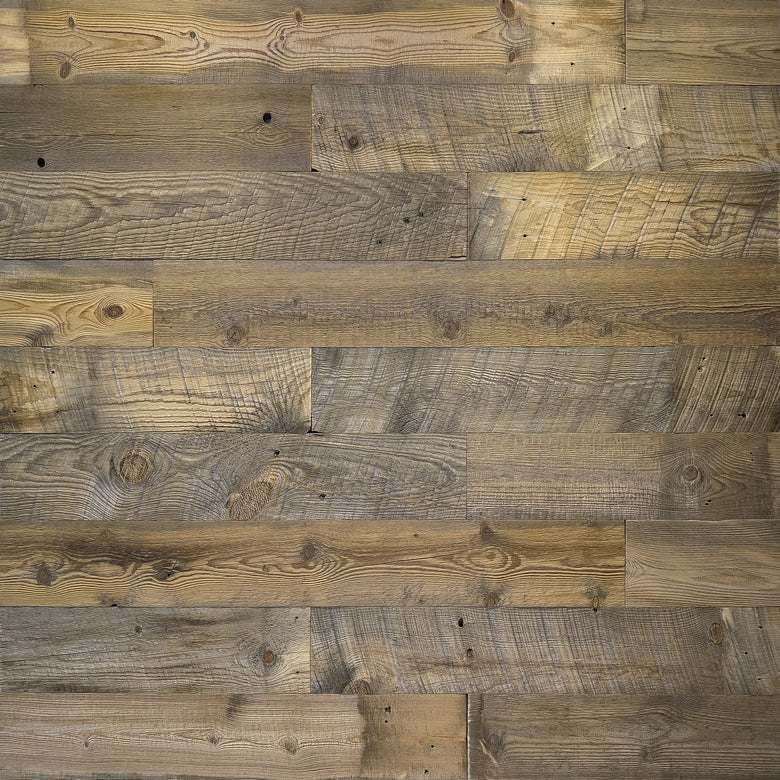
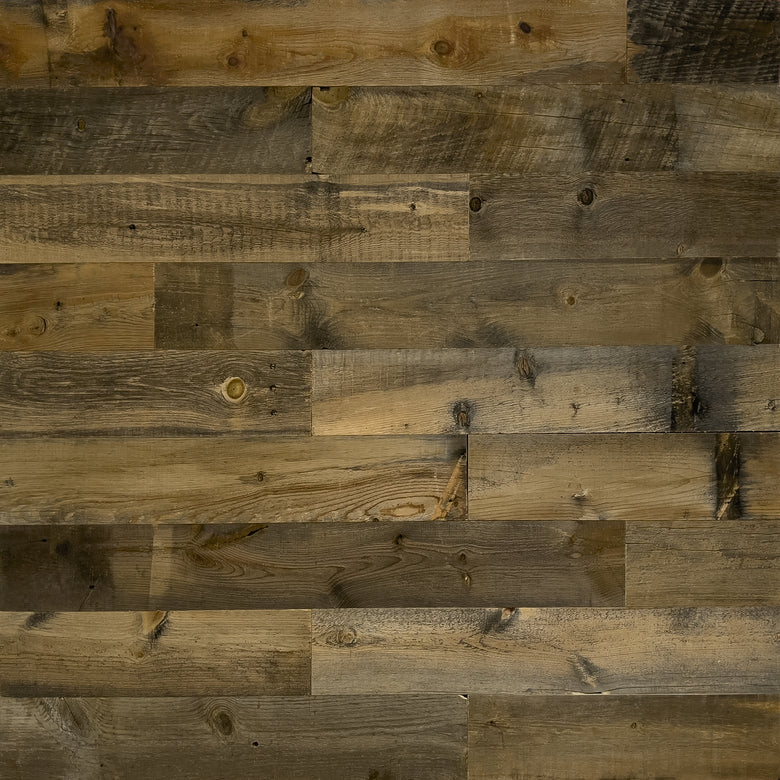
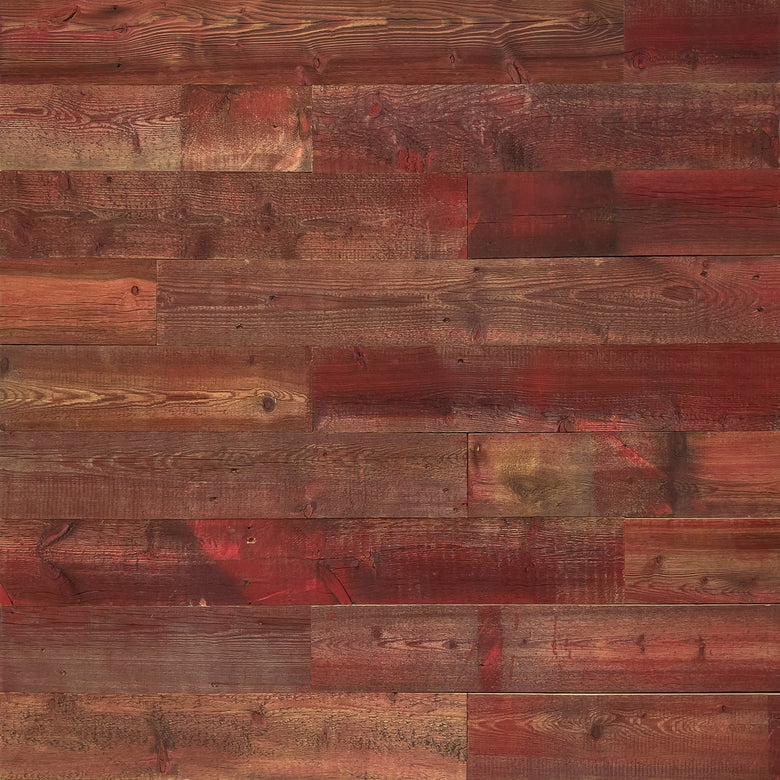
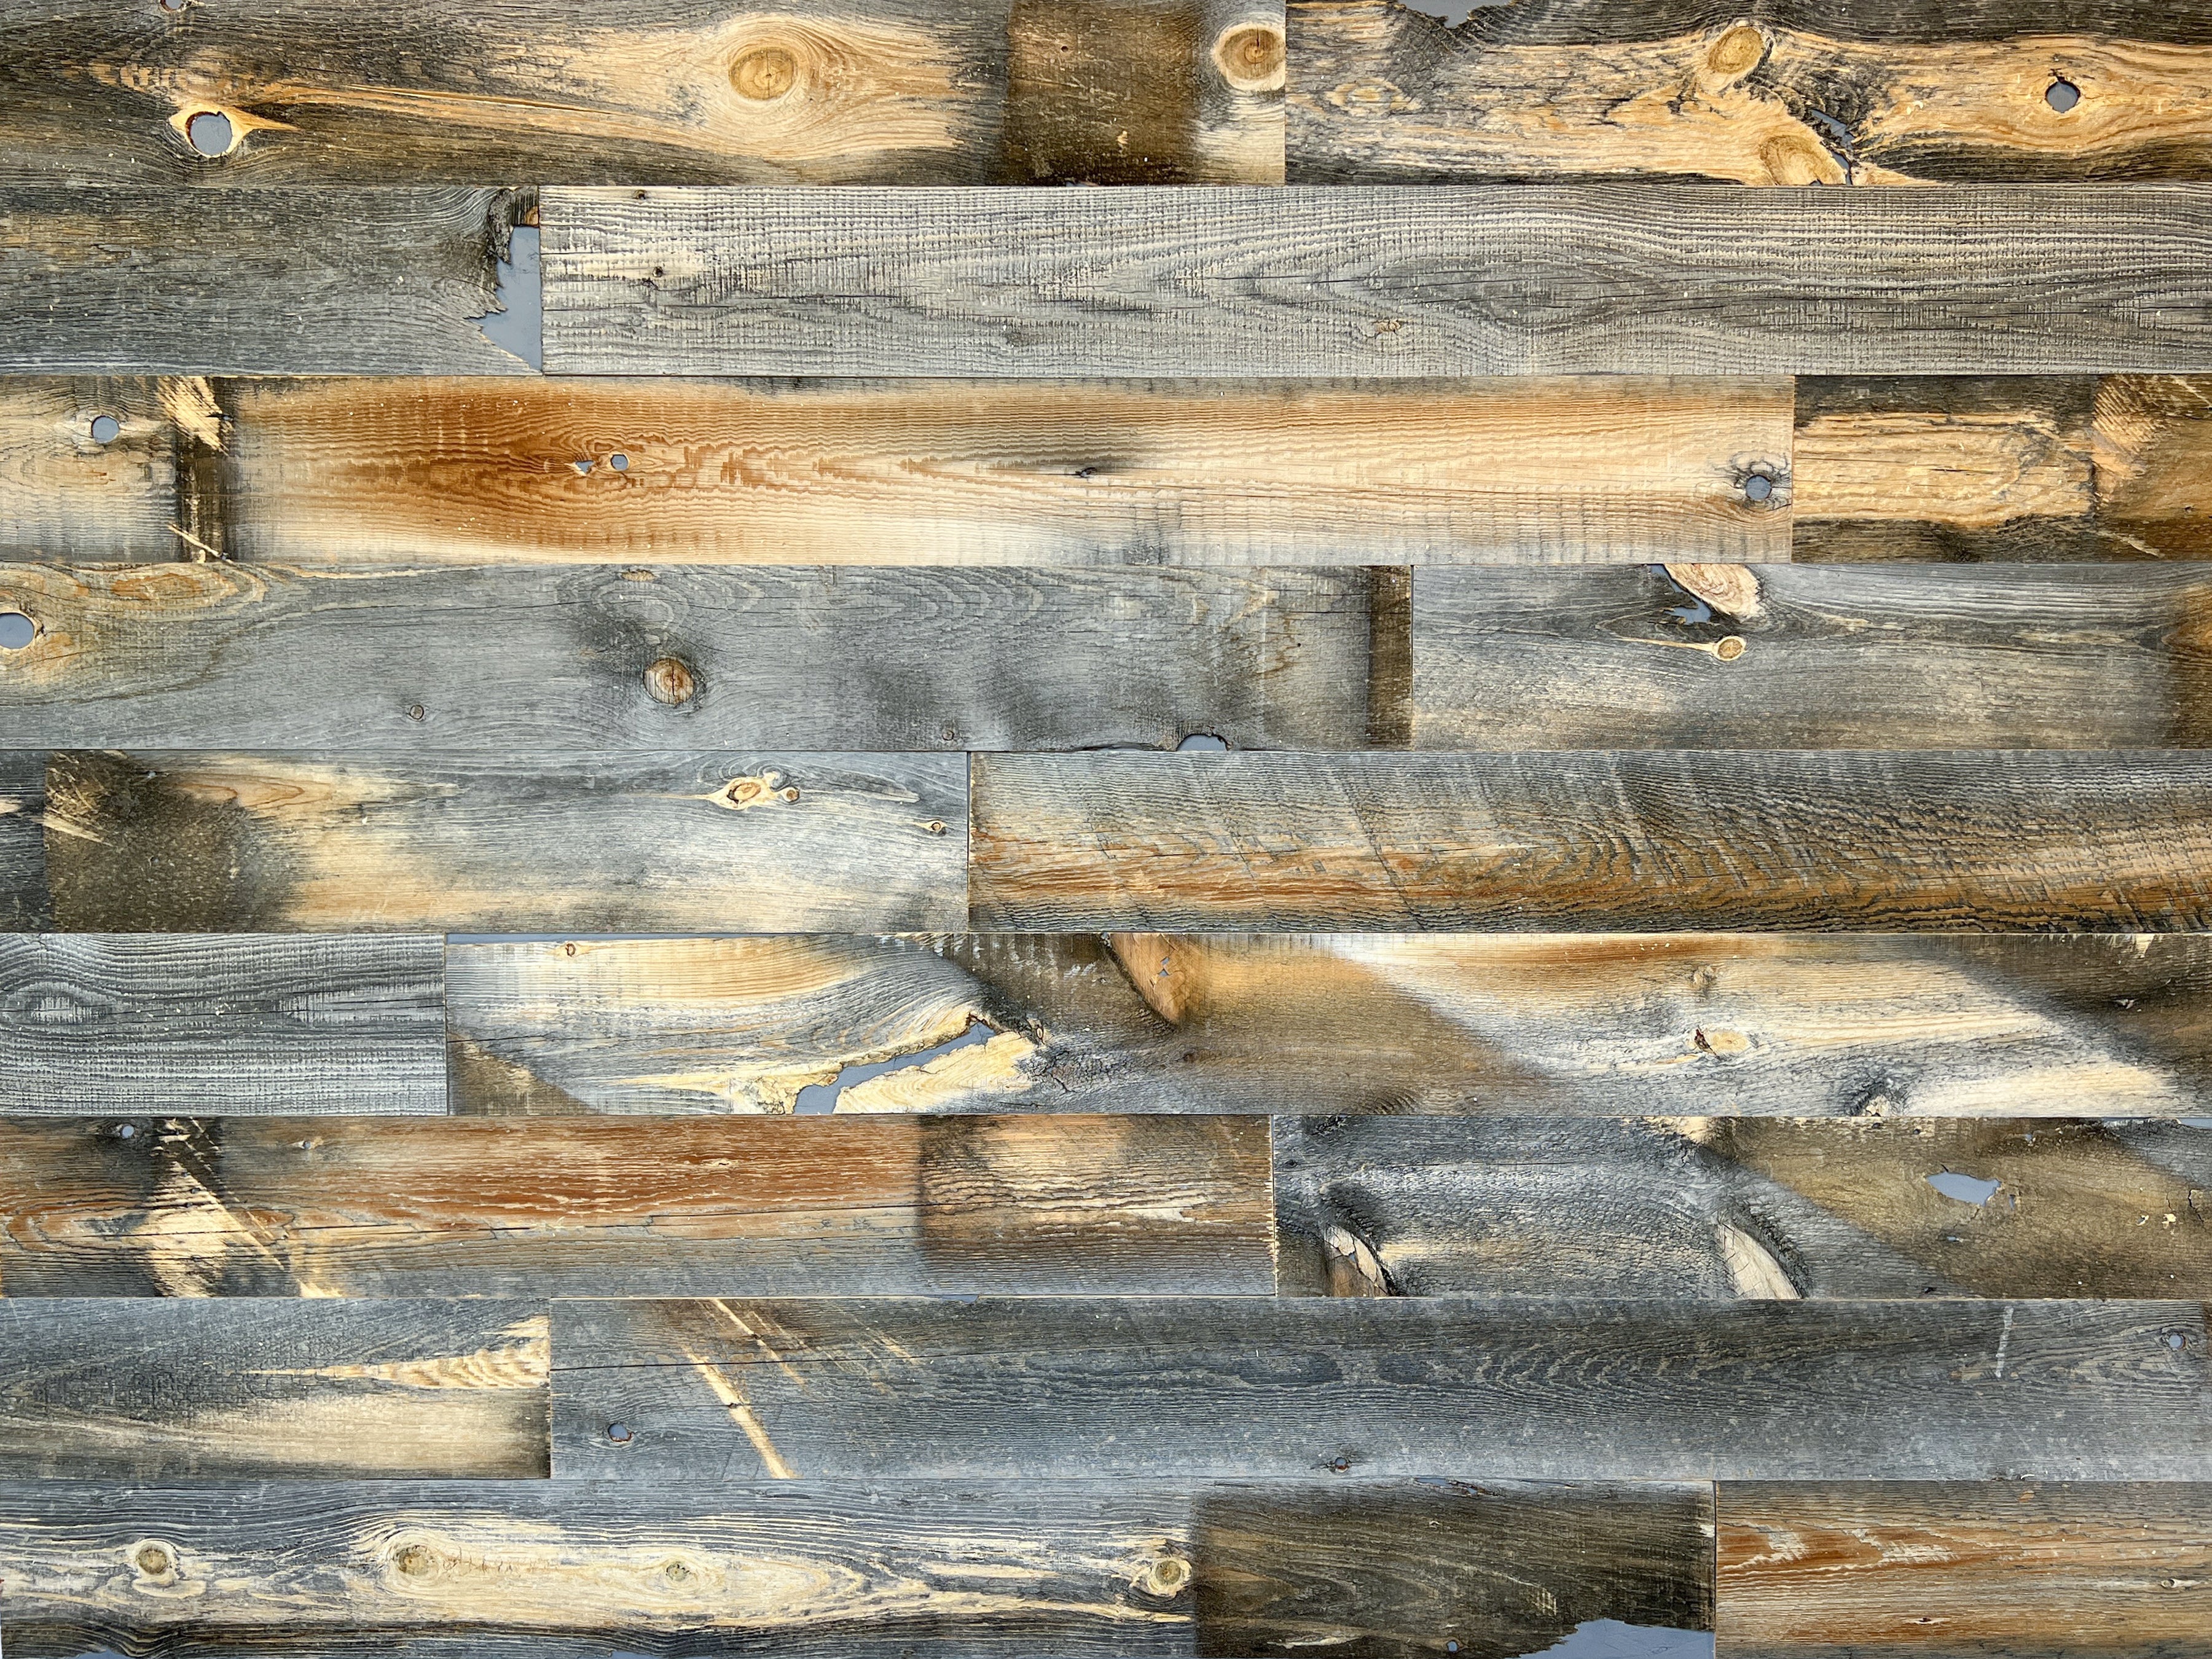
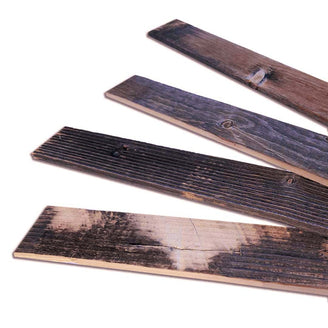
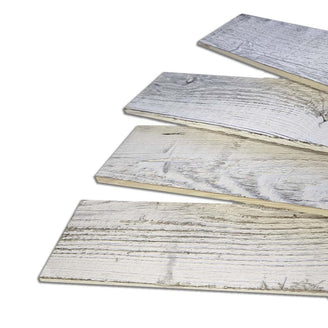
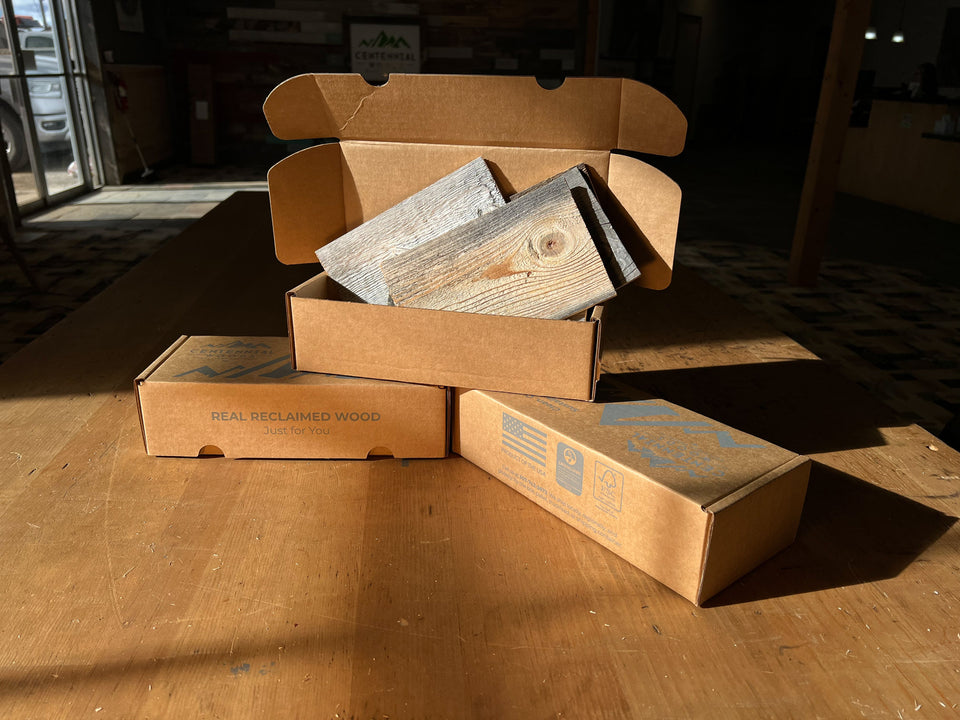
Reclaimed wood varies in texture and color hues. We recommend laying out 1-2 packs of planks prior to installation to see how the different boards will look together once on your wall.
Do not remove banding from the bundles of wood that you do not plan on installing that day.
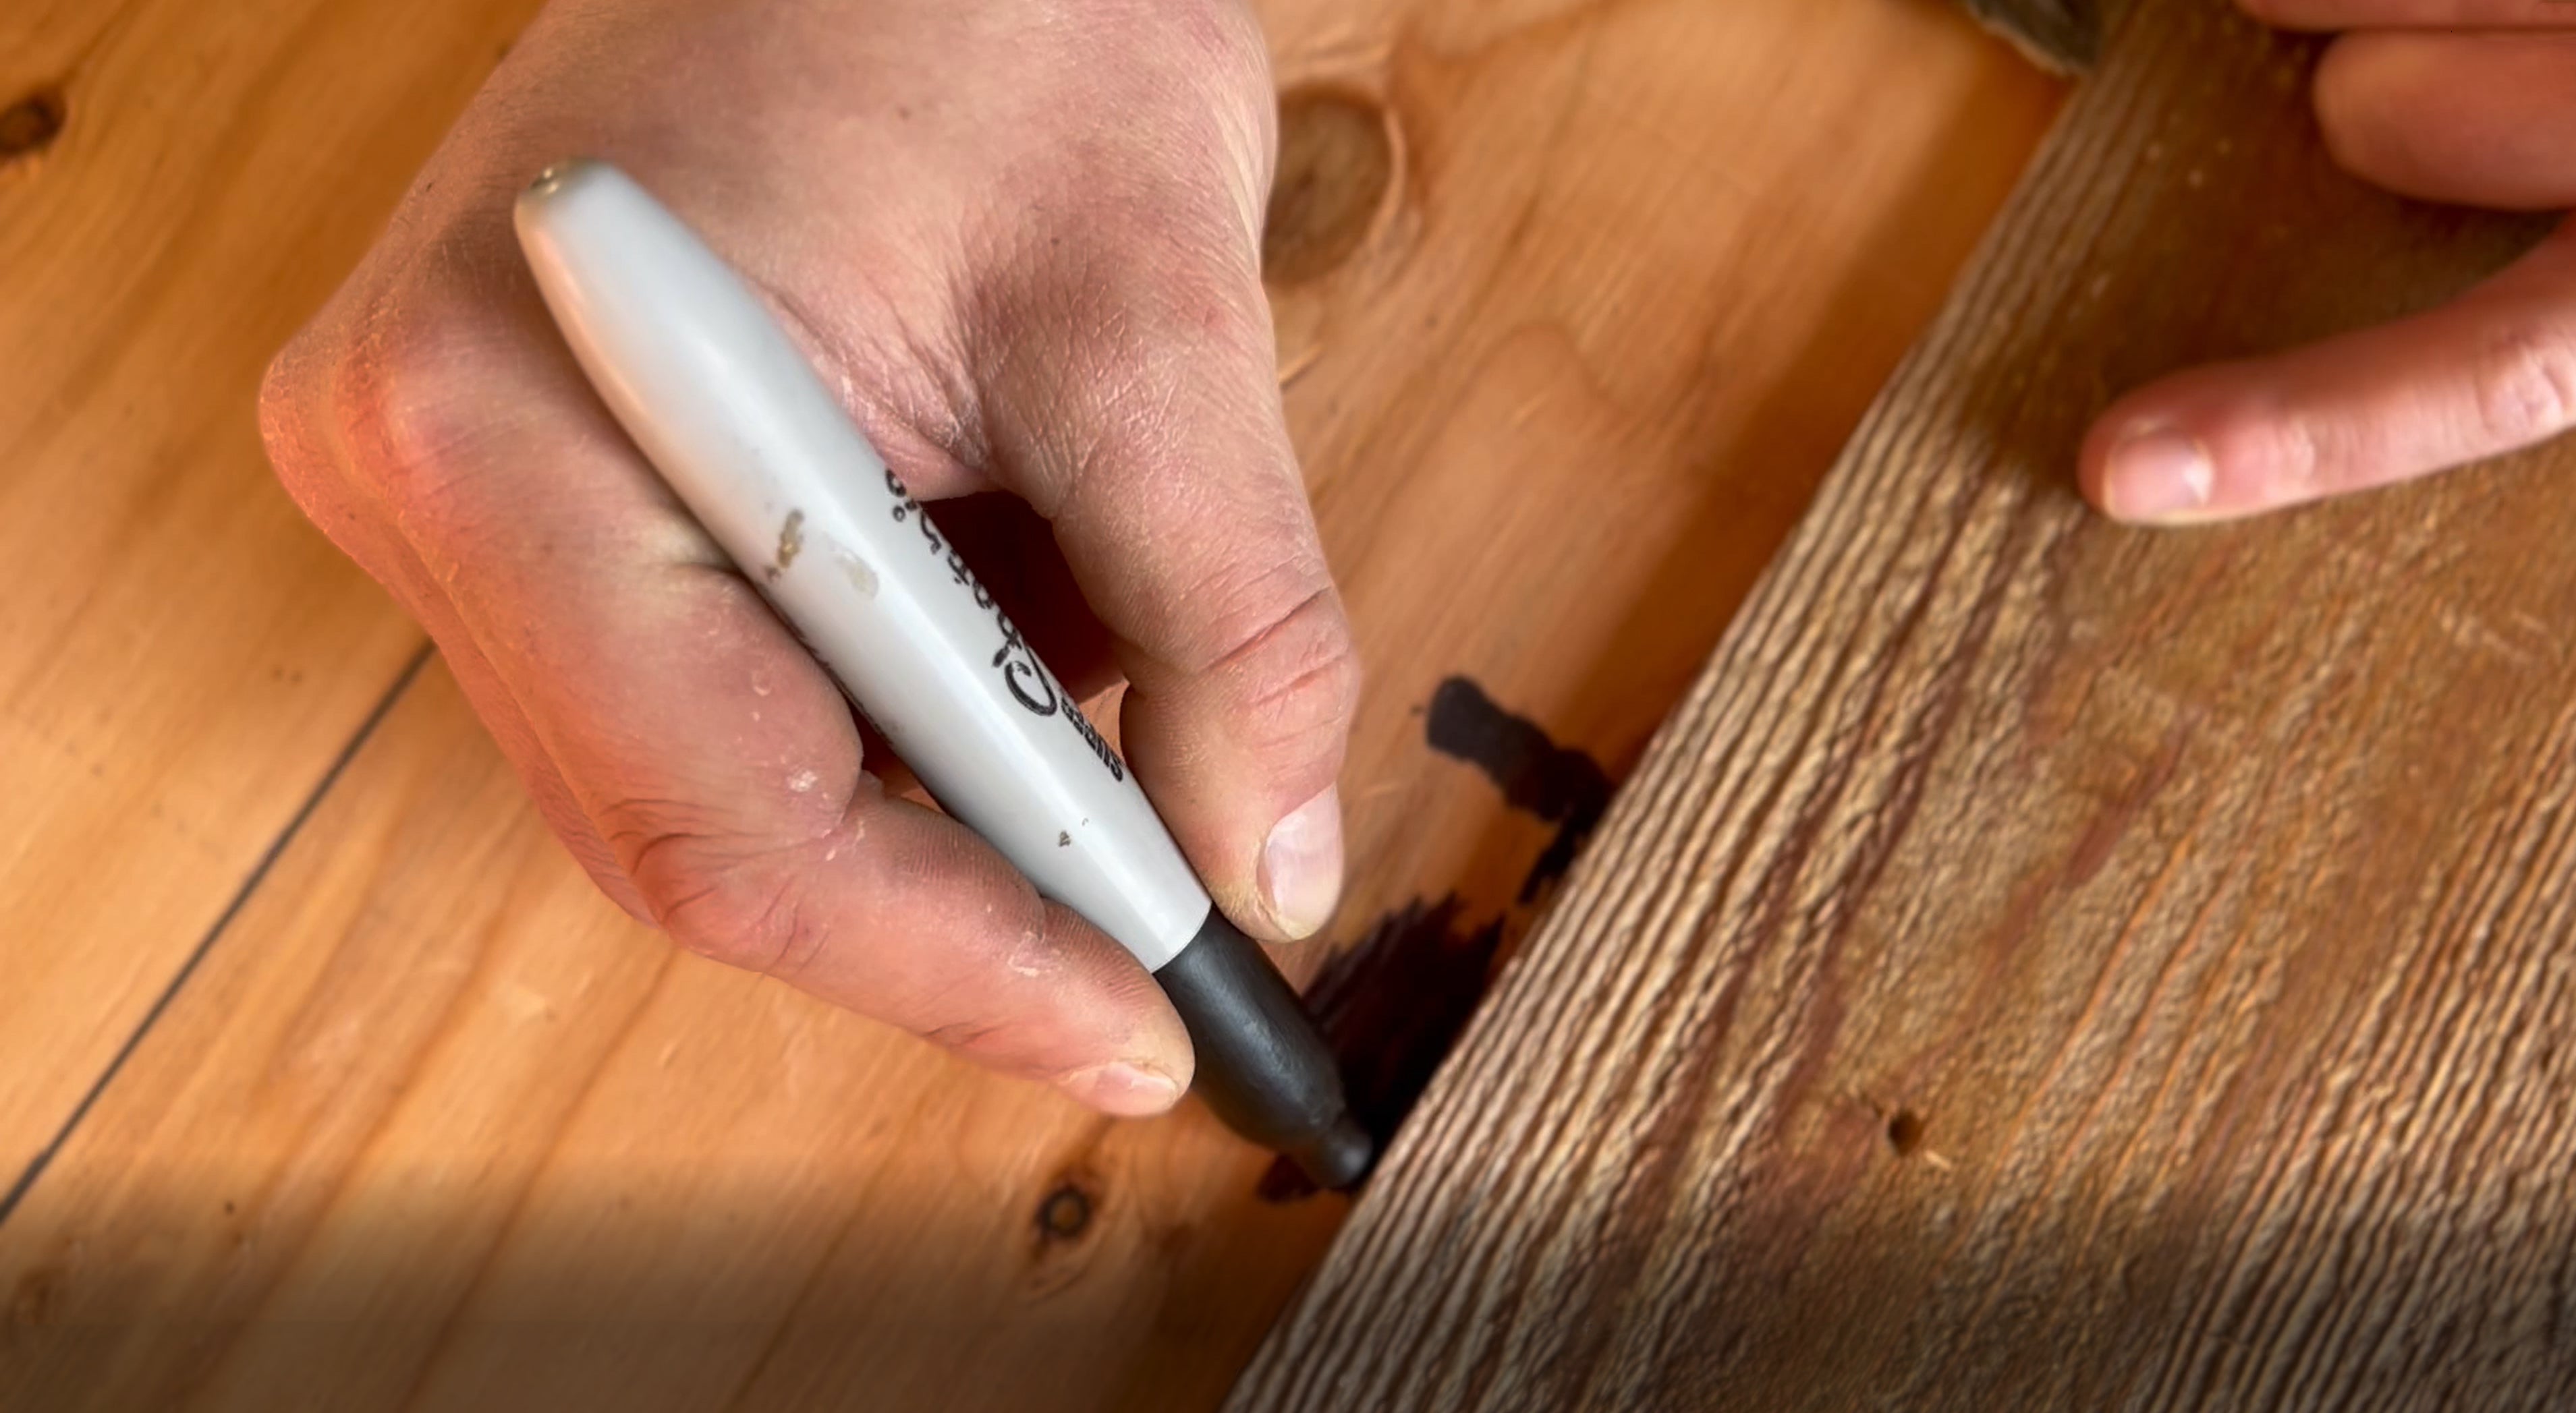
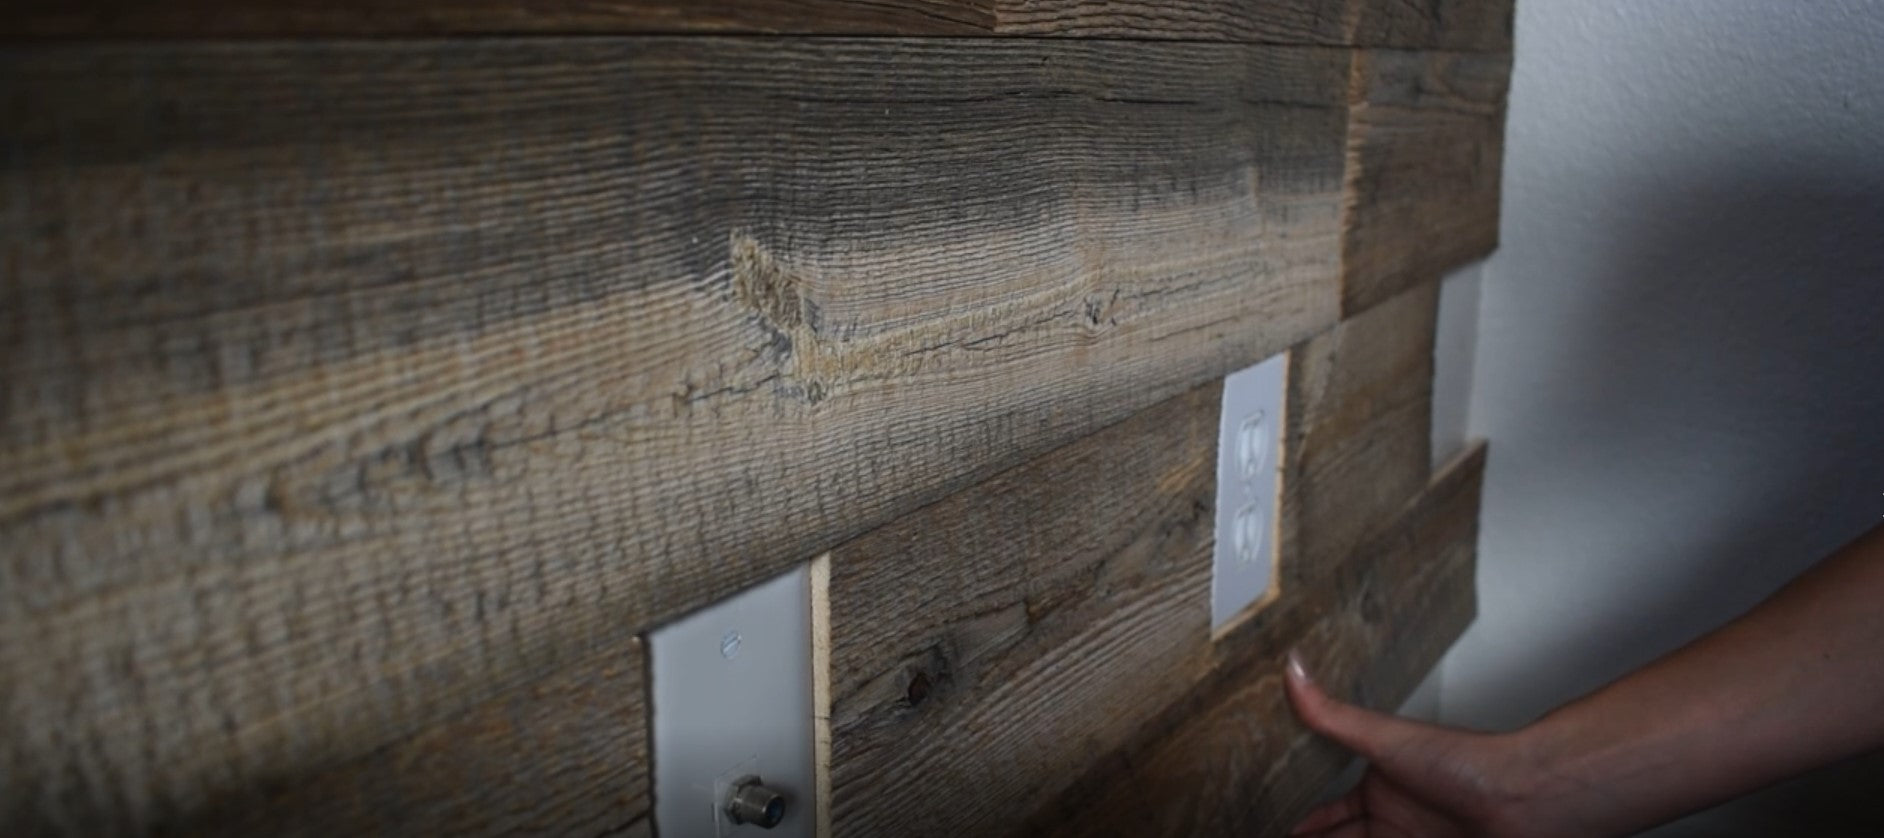
Gaps
There may be small knot holes and/or slight gaps between boards. If you didn't paint your wall ahead of time, a sharpie can be used to color in these spaces.
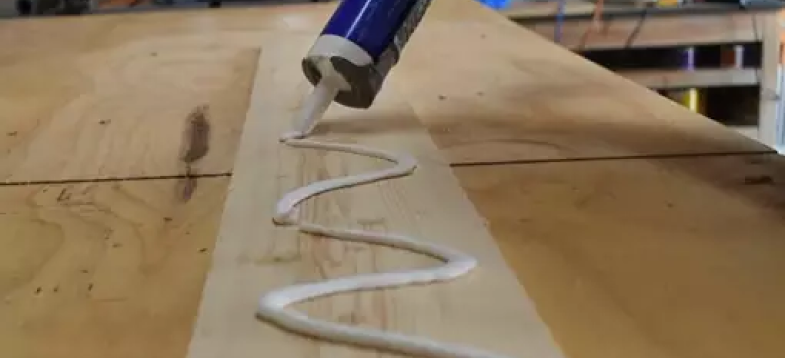
Construction Adhesive
Apply construction adhesive (Liquid Nails or similar) to the backs of the planks. Keep the adhesive away from the edges so the adhesive won’t ooze beyond the plank once applied to your wall. A continuous “S” pattern or squiggle line works best.
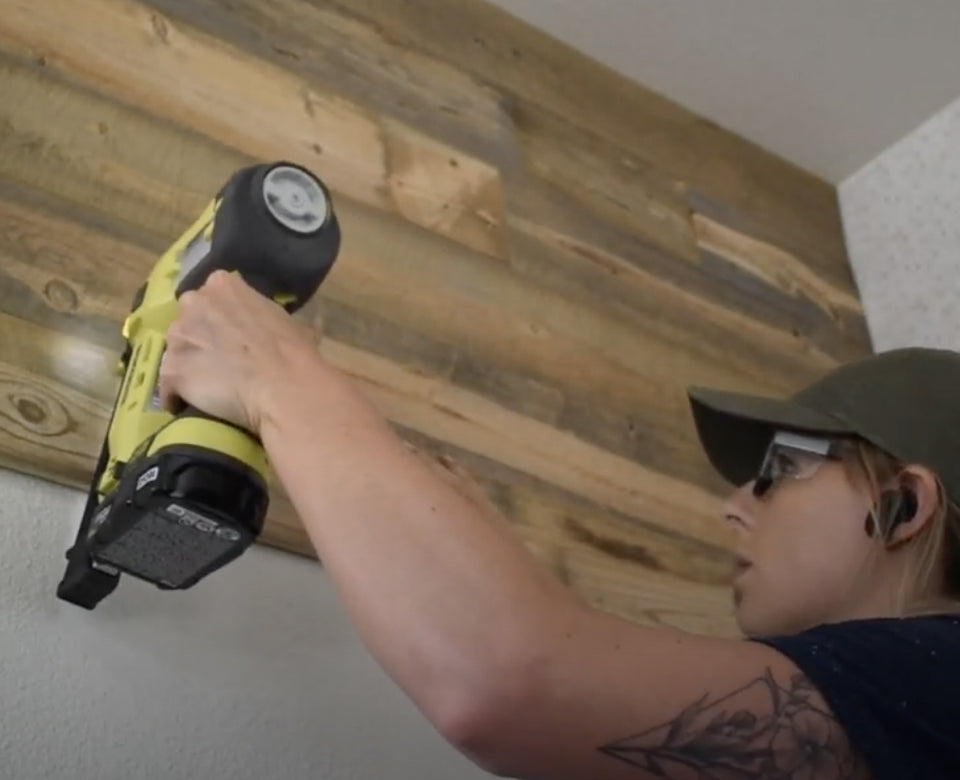
Secure With Nails
Place the board flush with your selected straight edge (floor, ceiling, or reference line). While holding the board in place, put nails in the four corners approximately 1/2 inch from the edge of the board. The nails will keep the reclaimed wood from warping or cupping as the adhesive sets.

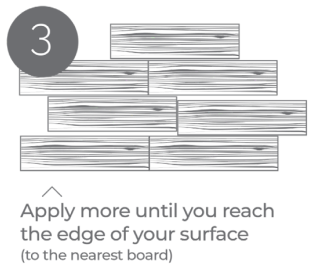
Continue
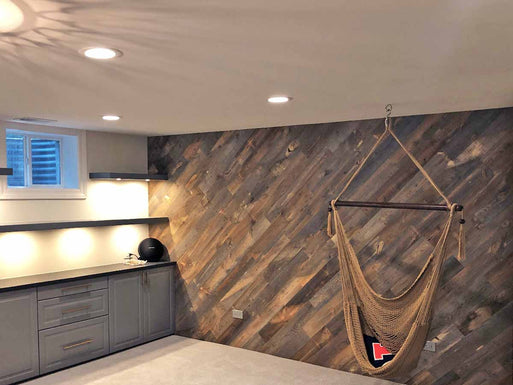
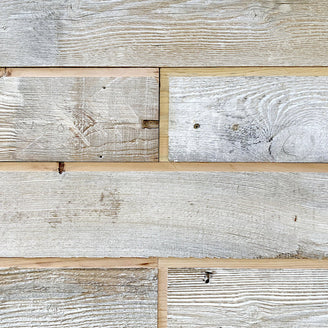
Repeat step 5 with the next board. Continue until you reach the edge of your wall or ceiling. Remember to stagger your reclaimed wood planks so the ends of your boards don’t line up and create seams that are too close together. A good rule of thumb is to keep the edges of the planks at least 8 inches apart from row to row.
When finishing a row, keep the cut piece. This piece can be used to start your next row, or fill gaps later on in the project.
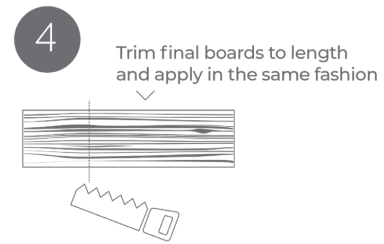
Repeat Until Complete
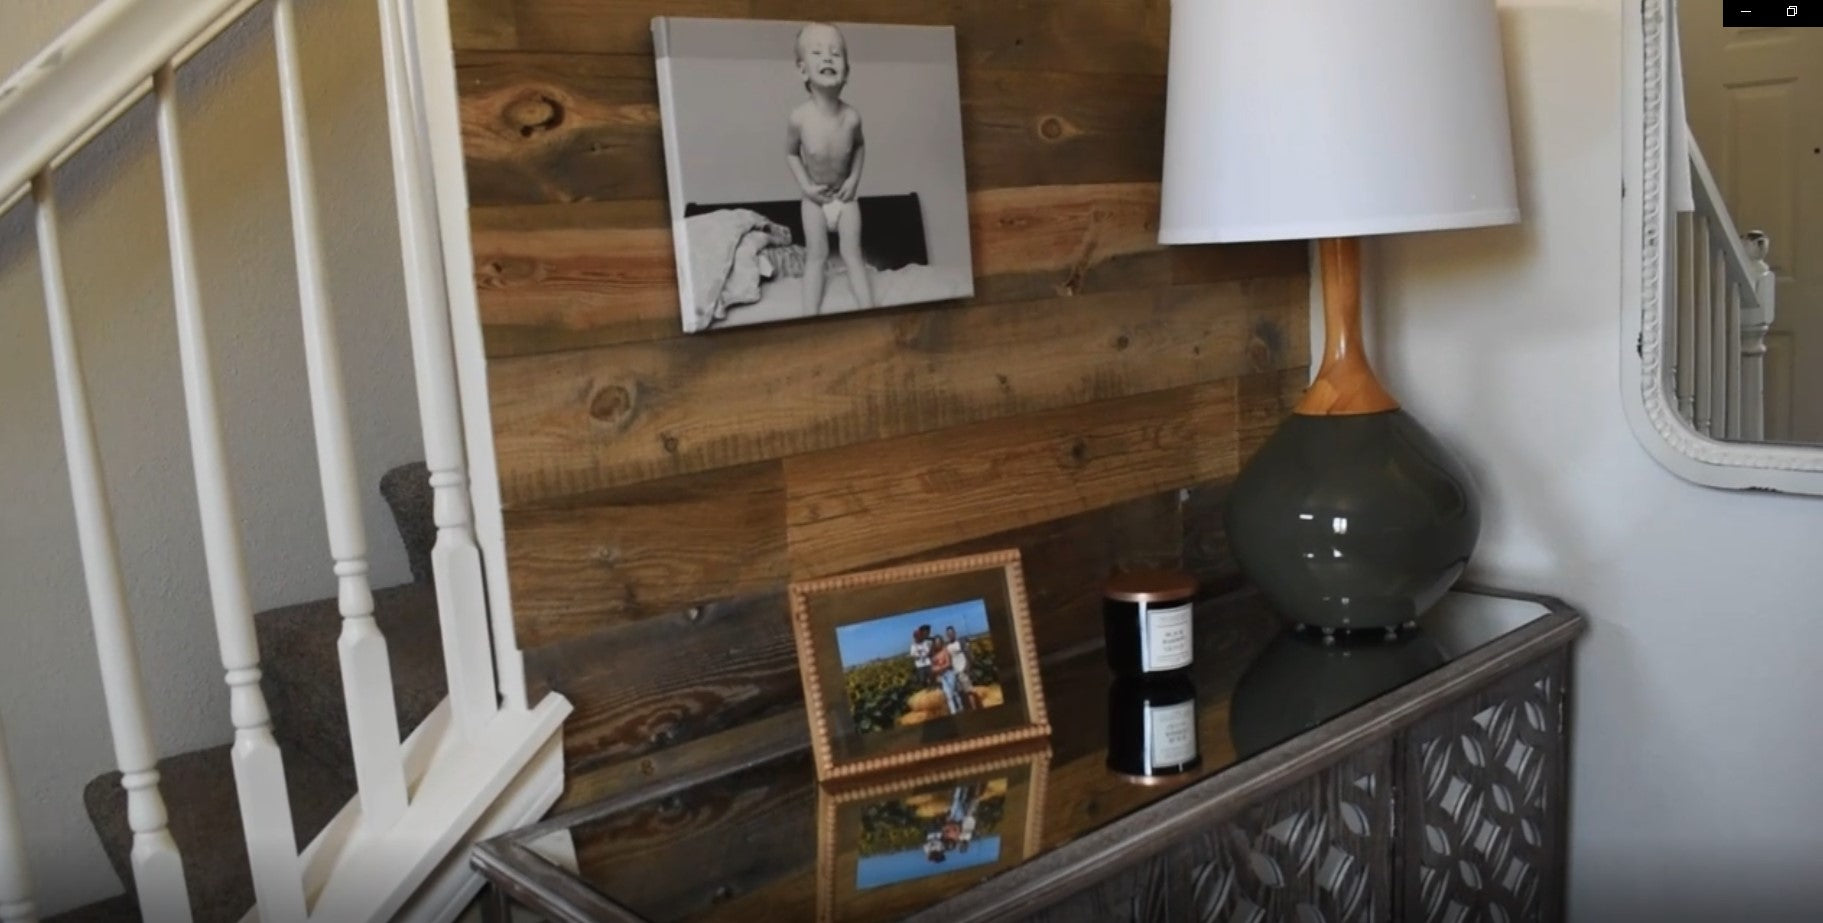
Repeat steps 1-6 until your wall or ceiling is completely covered by your reclaimed wood planks.
need more information?
Talk to a Reclaimed Wood Expert at Centennial Woods, or check out our helpful reclaimed wood guide.
Order Your Accent Wall Today
Order Free Samples