DESIGN
November 10, 2023

How to Build a Mantel or Ceiling Beams with Reclaimed Wood

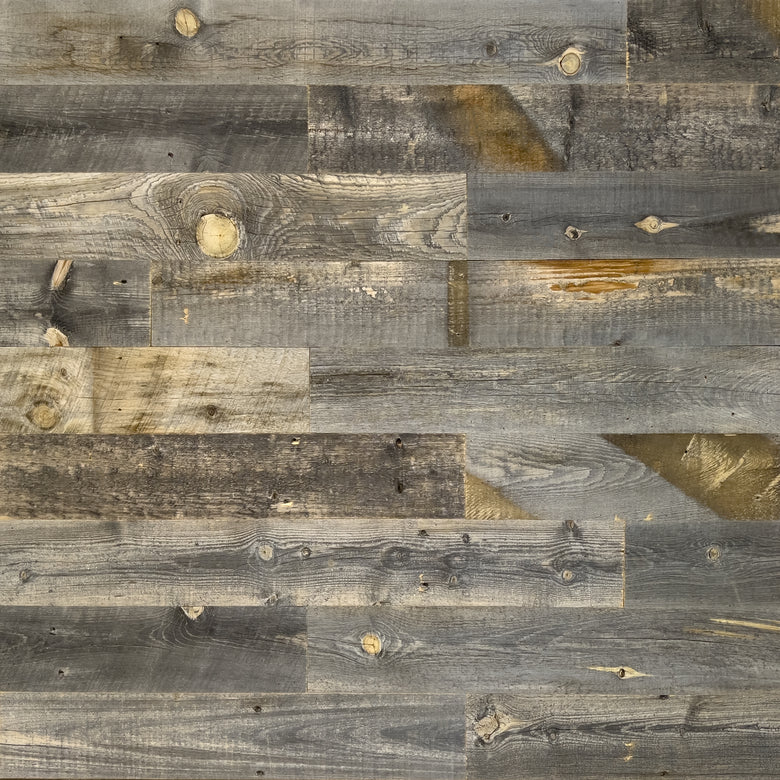
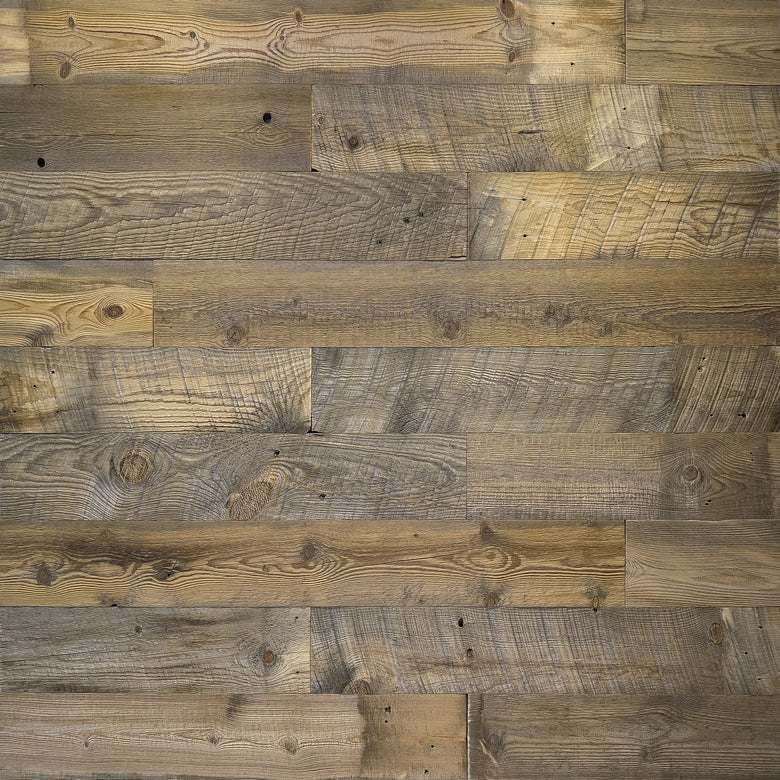
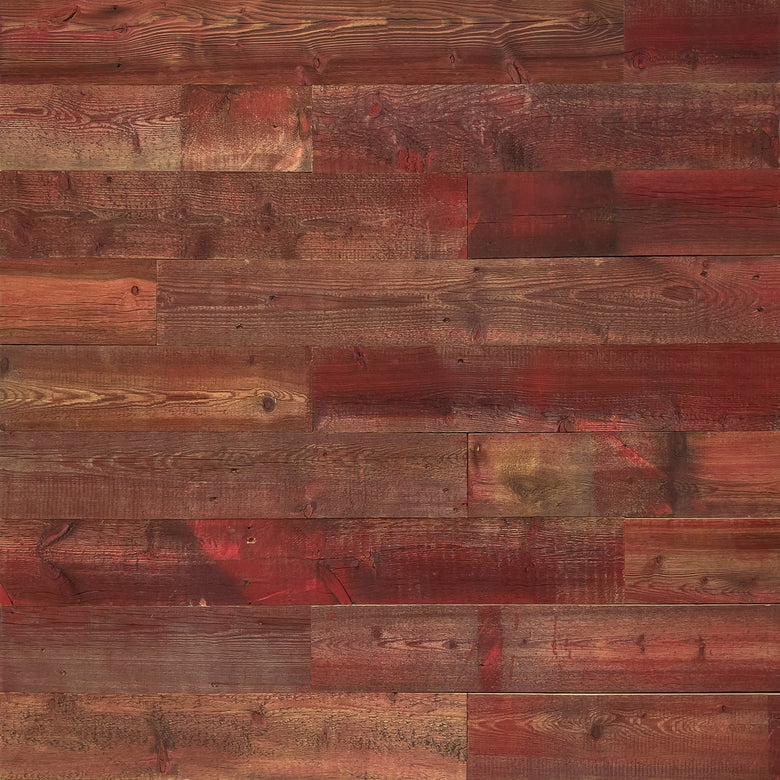
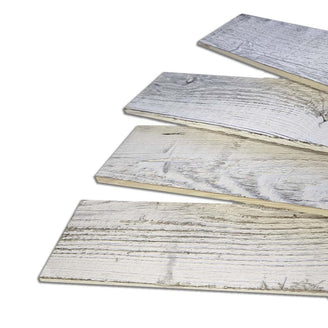
If you’re looking for a new DIY reclaimed wood project, we have an exciting new build to share with you!


In our latest video tutorial, we walk you through the steps of building a reclaimed wood mantel or exposed ceiling beams. The best part about this project is it gives you the opportunity to either make two reclaimed wood ceiling beams, two floating mantels, or one of each.


This is a great standalone project if you’re new to working with reclaimed wood, but it can also be used to accent any other reclaimed wood features you may have.


In terms of difficulty, we consider this a beginner to intermediate-level project that can be finished in a few days.

What You’ll Need to Make a Reclaimed Wood Beam or Mantel

Before you get started on your DIY ceiling beams or mantels, you should make sure you have all the supplies and tools you need. There’s nothing worse than starting a DIY project and realizing in the middle of it you’re missing a crucial tool or don’t have enough wood.


Tools:

  • Measuring tape

  • Level

  • Square

  • Stud finder

  • Screwdriver
  • Miter saw
  • Table saw

  • Brad nail gun

  • Caulking gun

Stud Finder

Miter Saw

Table Saw

Brad Nail Gun

Caulking Gun

Images From The Home Depot

Materials:

Image From The Home Depot

Image From The Home Depot

Hardware and Adhesives:

  • 18-gauge brad nails (1 in. and ⅝ in.)
  • One box of 3½ in. screws
  • Wood glue

  • Construction adhesive

Images From The Home Depot

Steps for Making a Reclaimed Wood Beam or Mantel

Step 1: Rip Plywood and Cut Boards

The first thing you’ll want to do is cut your reclaimed wood boards and rip your plywood to the right sizes. These are the cuts you’ll need to make:


Plywood:


  • Rip four pieces to ⅜ in. x 8 in. x 8 ft.
  • Rip two pieces to ⅜ in. x 7¼ in. x 8 ft.


Boards:


  • Cut both (two) boards to 8 ft.
  • Use the leftover lengths to cut as many pieces to 6⅛ in. as possible (this should give you about 12 pieces)

Step 2: Decide Which End Product You Want & Create a Center Mounting Piece

At this point in the process, you’ll need to decide whether you’re building a mantel or an exposed beam. This will dictate how you build your center mounting piece.

If You Want to Make Reclaimed Wood Mantels:

Make sure you secure two of the 6⅛ in. center supports at the very end of the 2x8. That’s because we’re going to end up wrapping that center support.

If You Want to Make Reclaimed Wood Beams:

Exposed ceiling beams will wind up being flush against a vertical wall and potentially connected to another beam, so the 6⅛ in. center supports don’t have to be secured flush at each end.


What you do need to do is give yourself some room to secure the screws into the ceiling and enough material to connect with another beam if the total length of that beam ends up being more than 8 ft. long.


Once You Figure Out Spacing

Start by marking the locations where your center supports will go, then pre-drill and counter-sink the pilot holes.


Use glue and screws on the center supports to secure them to the 8-foot-long 2x8.


Step 3: Build a Plywood Box

Test the fit of your plywood first, then use glue and brad nails to secure three pieces together. The two 8-inch wide pieces will go on either side of the middle 7¼-inch wide piece. You can use the center support piece to ensure your plywood joints stay square and tight during the glue-up. You can also use the center support piece to clamp the plywood together.


When you start brad nailing the plywood together, make sure to shim the box up as you go. This prevents the box from accidentally being nailed to the center support piece too early or getting stuck if any glue squeezes out.


After securing the plywood box with glue and brad nails, let it dry for about 24 hours.


Step 4: Prepare the Reclaimed Wood Paneling

Once your plywood box is dry and your center support piece has been put together, you can move on to paneling.


Since you want to create as seamless a look as possible, you’ll need to cut the paneling at an angle (also called a miter cut) along the length of your reclaimed wood planks. Since lengths vary, we recommend mitering all planks on a table saw with the blade set at a 45-degree angle. Doing this gives you more options when it comes to selecting tones.


Step 5: Install the Panels on the Plywood Box

Now that your paneling has been mitered, it’s ready for installation.


To avoid nailing the plywood box to the centerpiece too soon, remove the support piece before you start installing the paneling. You can use some of the extra 2x8 pieces to retain the shape of the box during this part.


If You’re Making a Mantel: Make sure the first and last paneling planks are mitered at a 45-degree angle on one end as well as the edge.

From there, you can install your first row of paneling with the mitered edges facing out.


Whether you’re making a mantel or a beam, you can use adhesive and brad nails to attach the reclaimed wood paneling planks to the box.


Before moving on to the row that will be closest to the wall or ceiling, you’ll need to go back to the table saw to square up the plank edges. If you mitered the edges on the planks for that row, use the table saw to remove the edge and rip the planks to fit the remaining width of the exposed plywood.


Once both rows of planks have been installed, flip the box and start working on the other side.


Pro Tip:

Install the two outside faces of the plywood box first. Doing this will give you the most control when you’re fitting your planks onto the center face of the box so you get the tightest fit between board seams throughout the piece.


When you’re ready to install the panels on the center face of the box, make sure the center planks are ripped to width and line up the mitered edges. If you’re making a mantel, follow the directions provided above about mitering the first and last paneling planks.


How to Install a Mantel or Beam

The Mounting Process

Once you decide where you want to install your project, you’ll want to locate and mark the location of any studs in the wall. Then you can pre-drill your wall and centerpiece and then secure it with screws.


Pro Tip:

If you have someone willing to help you keep your centerpiece level while you pre-drill both the centerpiece and the wall, it will make the process go a lot faster than trying to do it on your own.


Once your centerpiece is secured to the wall, you can mount the box you built and install the last few pieces of paneling to each end of your mantel. If your end product was an exposed beam, you don’t need those final pieces.

Roll the Edges

When everything is on the wall, roll a screwdriver along the edge of the corner seams. This technique helps merge the wood fibers and close up any small gaps that may be present.


Enjoy the Finished Product!

Your new DIY ceiling beams or reclaimed wood mantels will make a great addition to your space and add some rustic character to the room where you install them.

If you’re looking for more ideas for DIY projects with reclaimed wood, check out our gallery and blog! If you have any questions about a project, you can always contact us.


Shop Our Reclaimed Wood Products