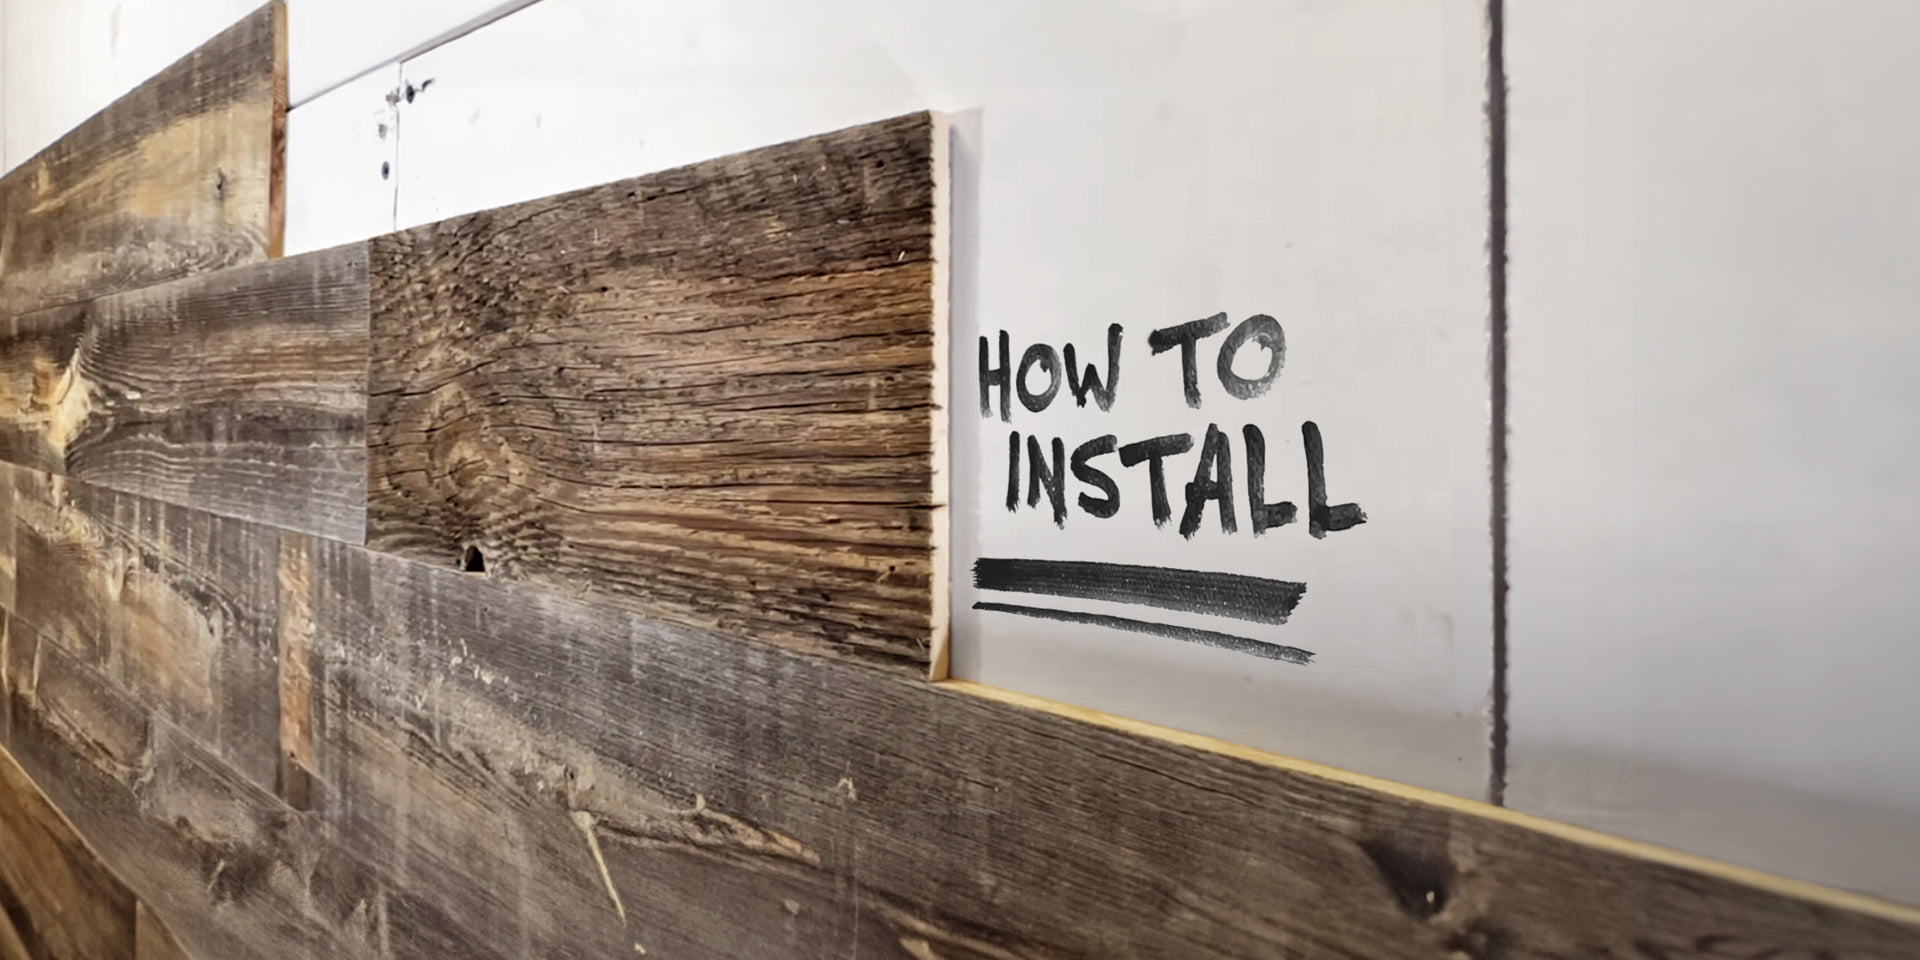
How To Install Reclaimed Wood Paneling on Walls
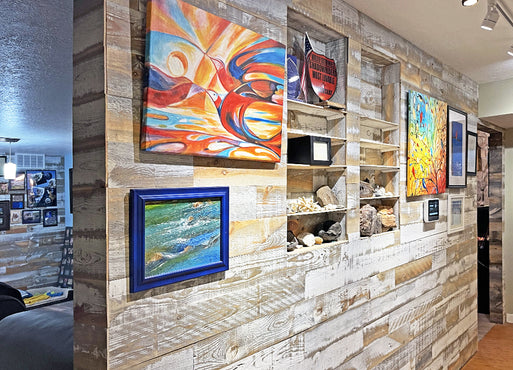
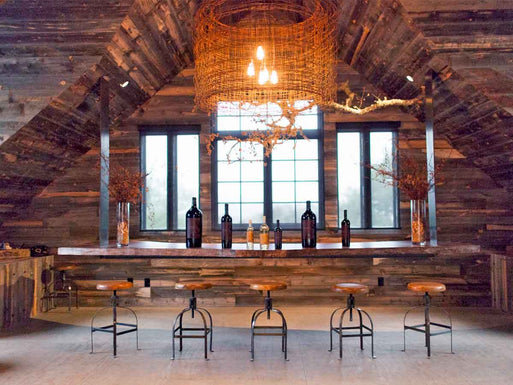
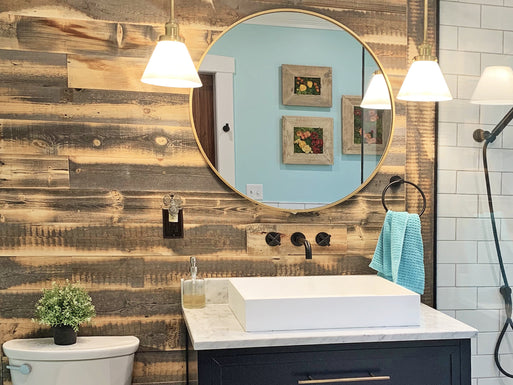
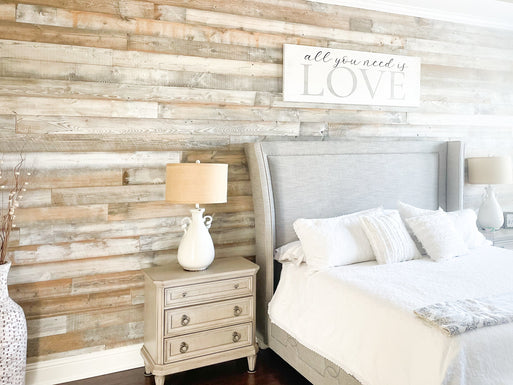
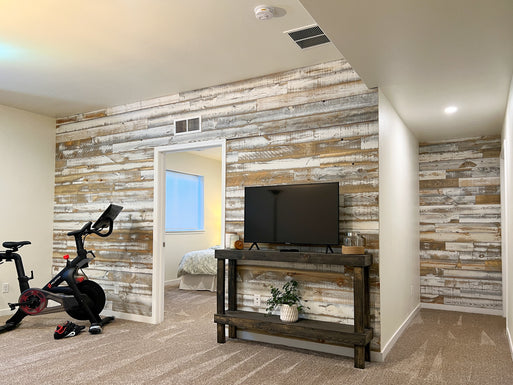
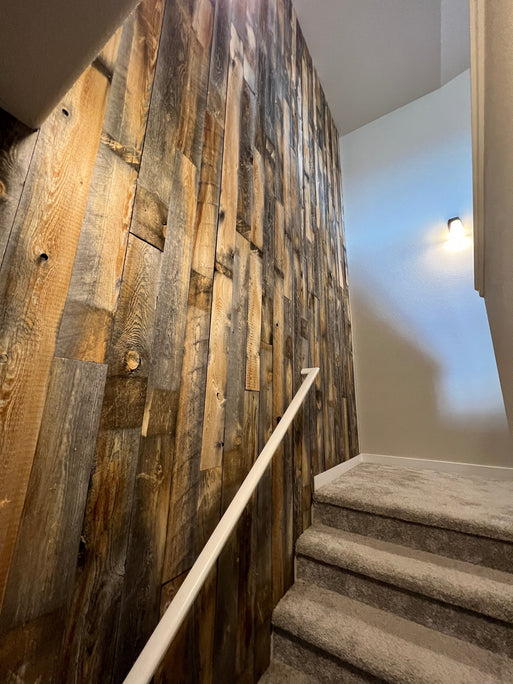
Reclaimed wood has become a popular choice among interior designers and home enthusiasts looking to bring warmth, texture, and character to their interior space. Whether you’re planning a full accent wall in your living room, installing wood paneling across an entire wall in a dining room, or wanting a subtler decorative wall insert, reclaimed wood panels deliver a rich, timeworn aesthetic.
With the right techniques and tools, a reclaimed wood decorative wall can transform any room, serving as a focal point while harmonizing with your existing décor. From interior panels that add dimension to walls to more dramatic decorative wall paneling that elevates the vibe, the possibilities are vast, and totally achievable.
This guide walks you through everything needed to install a reclaimed wood wood panel or wood paneling feature from start to finish. You’ll learn how to prepare your substrate, layout your planks, adhere reclaimed wood correctly, and finish it off for long-lasting beauty. Whether your goal is a striking decorative wood treatment behind the fireplace, an eye-catching feature in the dining room, or a full wood panel accent in the living room, these steps will help you secure a stunning feature wall that interior designers would approve of, and that you’ll love living with every day.
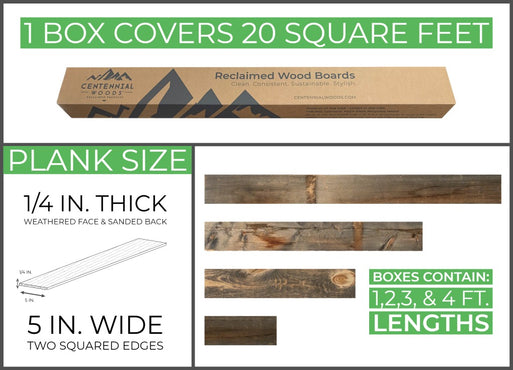
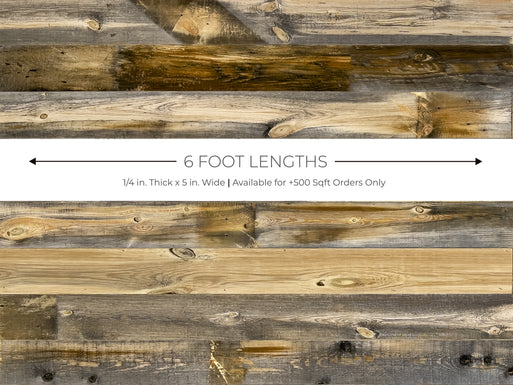
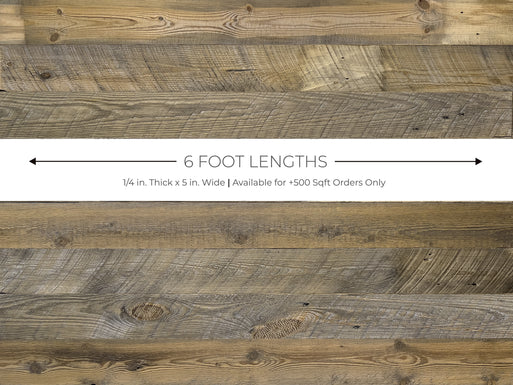
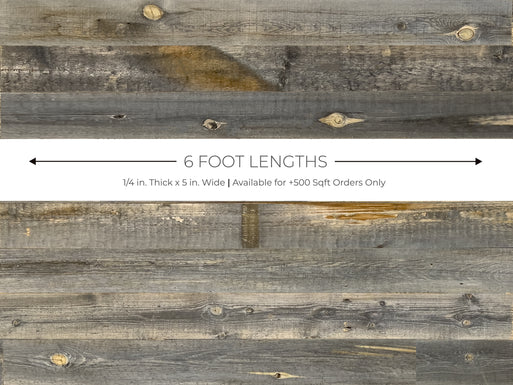
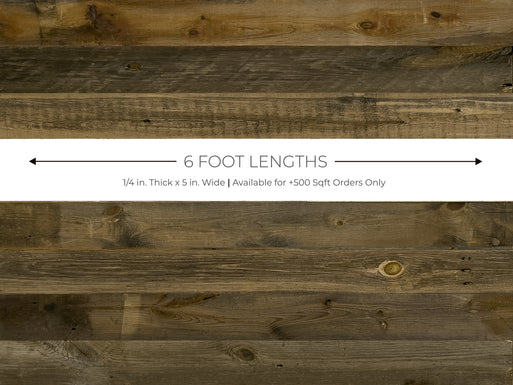
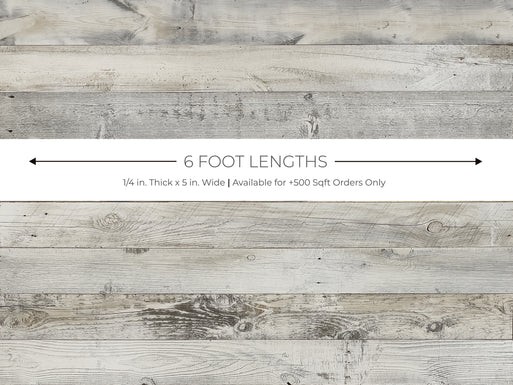
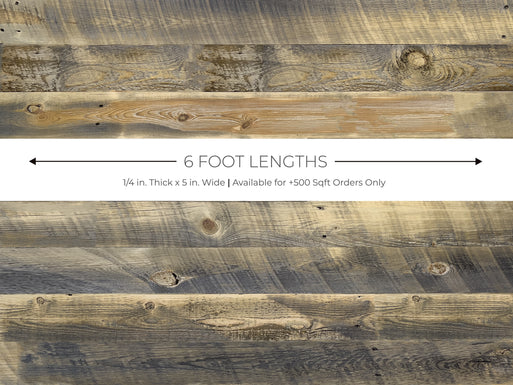
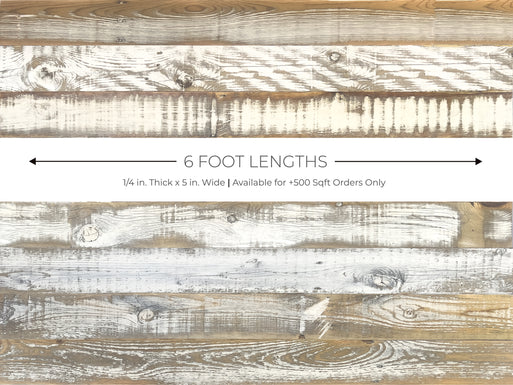
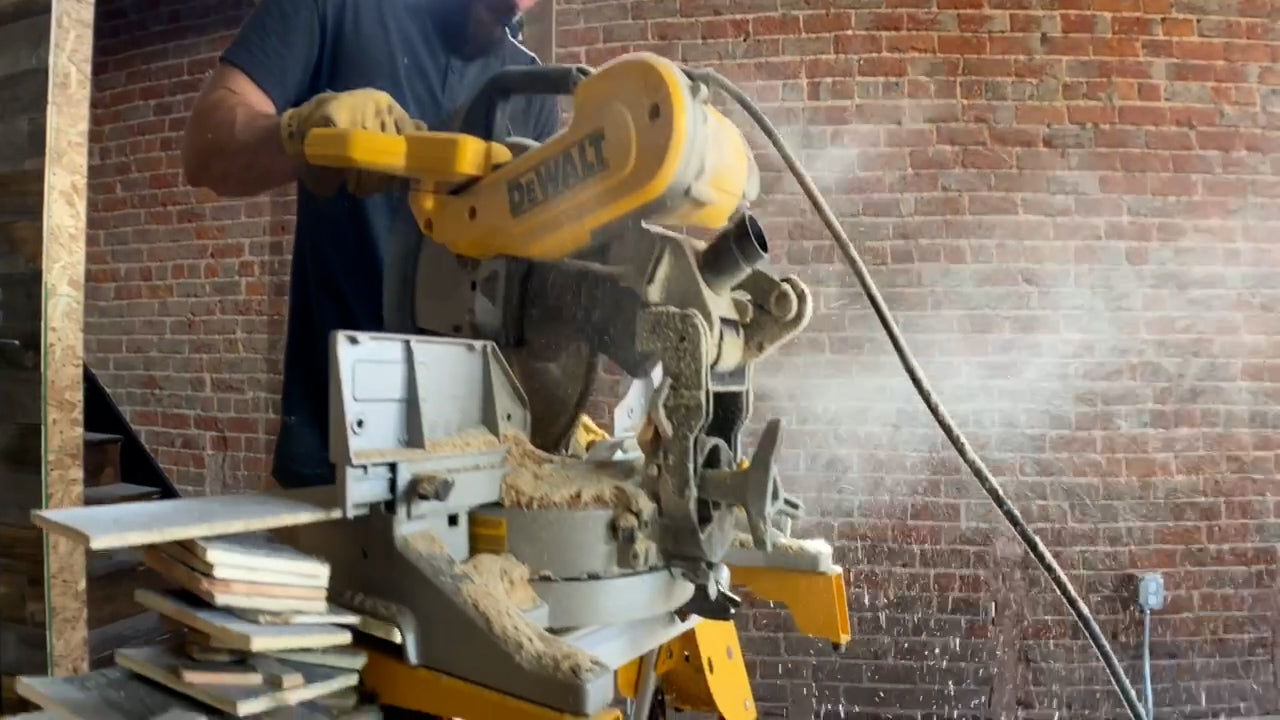
Pro Tip: For reclaimed wood walls, barn wood walls, and regular wood walls using ¼ inch thick planks. Prefer video format? Jump down to our helpful wood wall installation videos by She’s the Carpenter and the Centennial Woods team.
Tool List
 Gloves
 Goggles
 Ear Plugs
 Dust Mask
Before You Get Started
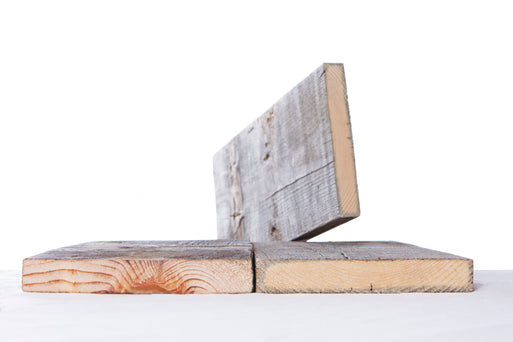
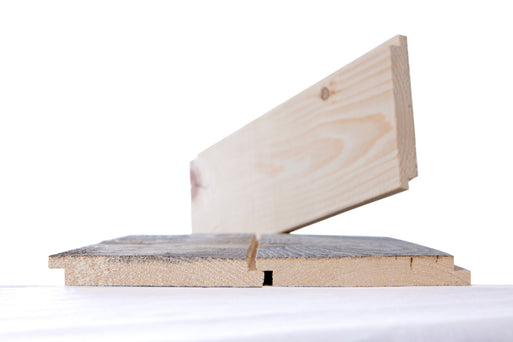
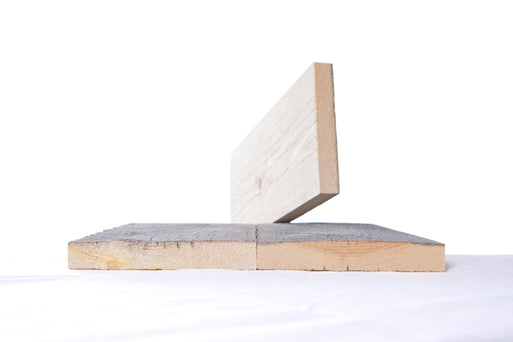
Just like with any wood wall paneling project, it’s important to let the boards acclimate to the room before you begin. Place your wood wall panels in the installation space for approximately 3–5 days in most climates to allow them to adjust to temperature and humidity. This step helps prevent contraction or expansion once your wooden panels are secured to the wall or ceiling.
Preparation
Before installing your first wall panel, take time to prepare the surface. Make sure it’s flat, smooth, structurally sound, clean, and free of dust. For a more finished appearance, consider painting your wall or ceiling a shade close to your wood’s color. This optional step can camouflage small knot holes or narrow gaps that may appear between planks once the wood wall panels are installed.
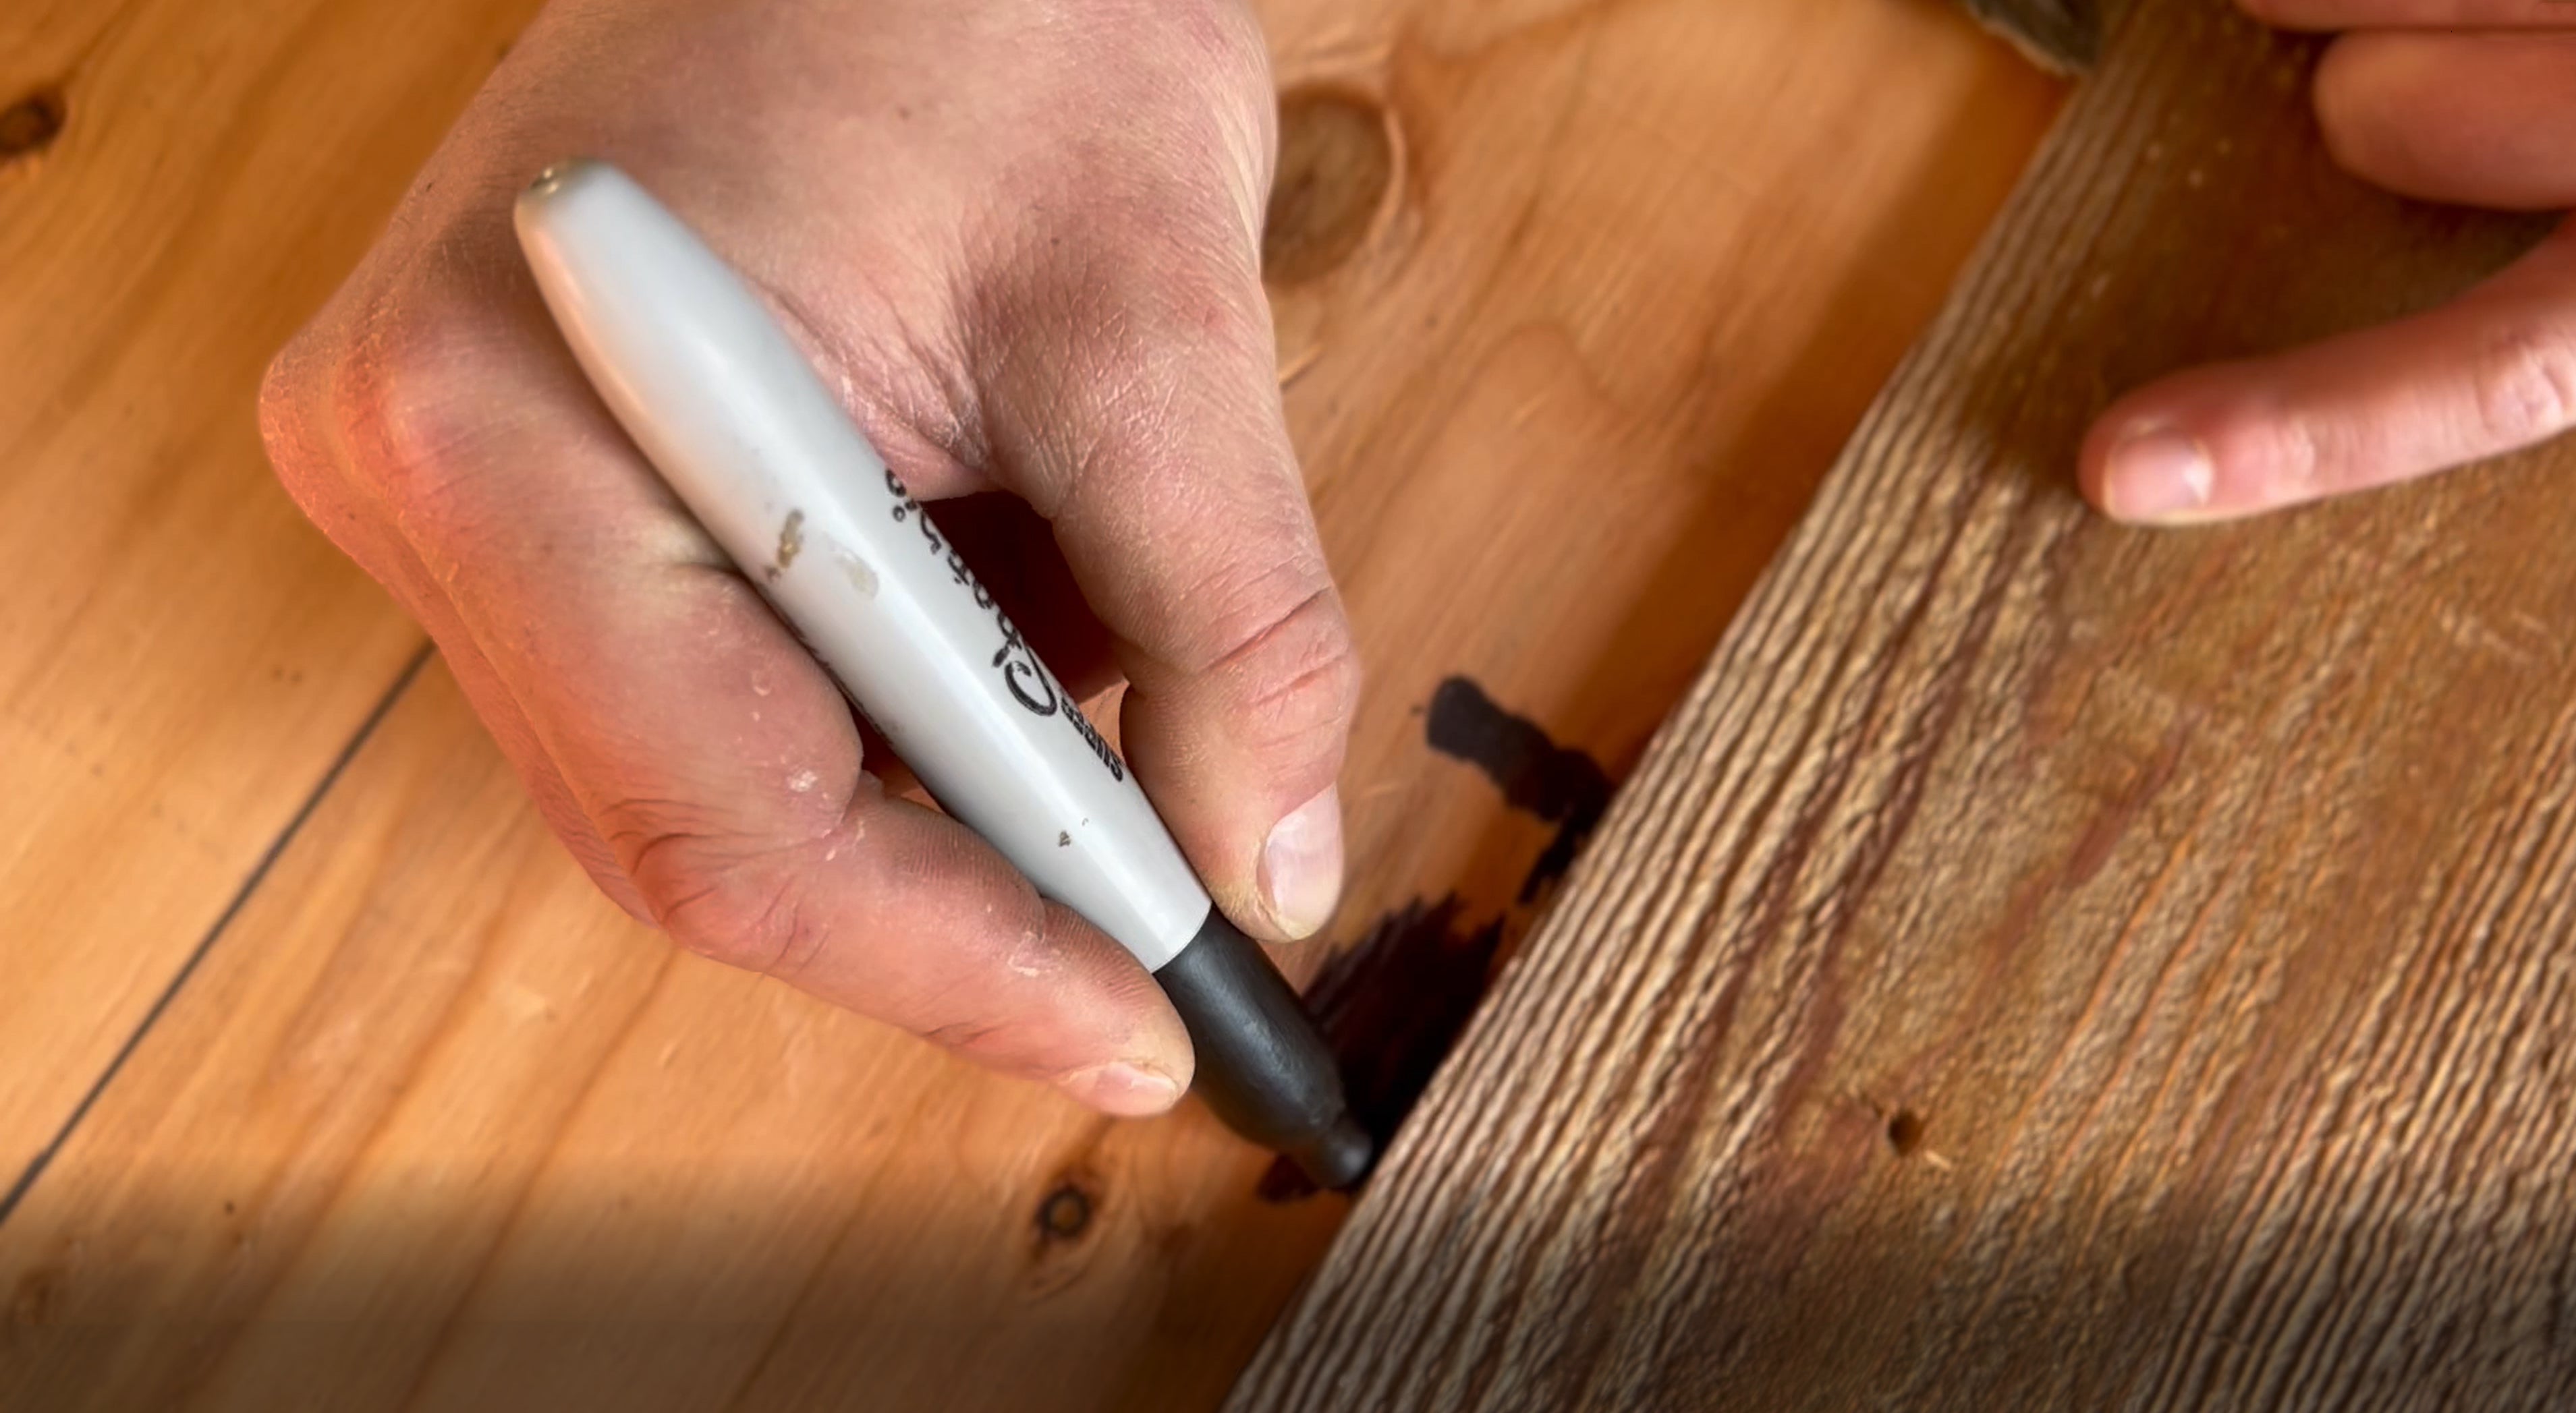
Pro Tip: As an alternative to painting your wall, carry a paint pen that is close to the shade of your wood. If a gap/hole is present, simply mark the spot with the gap, color in the area with the paint pen, and then adhere the plank to the wall.

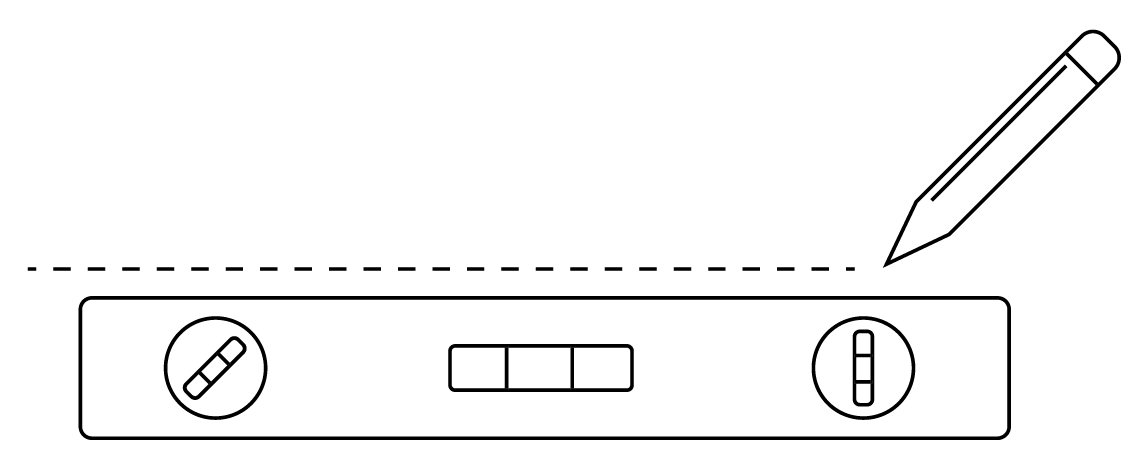
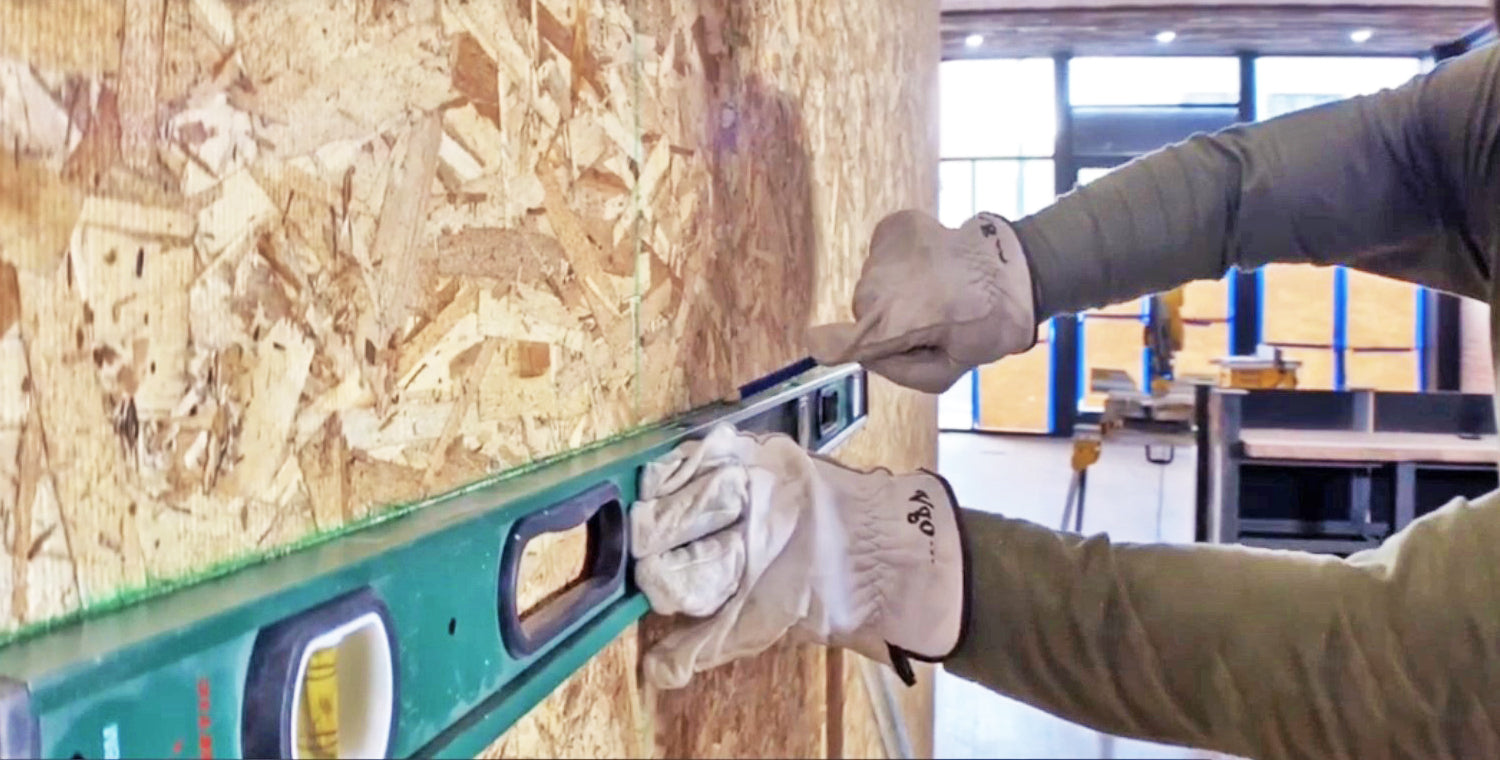
Establish a Reference Line
To achieve a clean, professional look, start your reclaimed wood installation at the top or bottom of your wall.
Use a level to create a straight line where your first panel will go - this will help keep the rows consistent throughout the project.
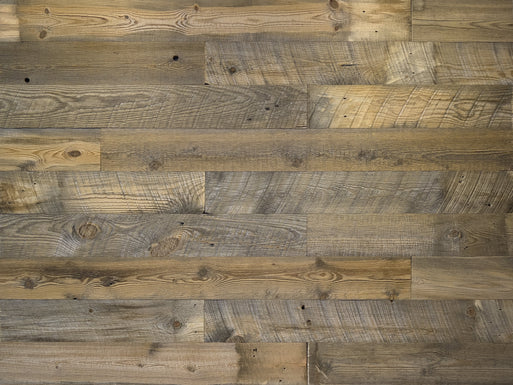
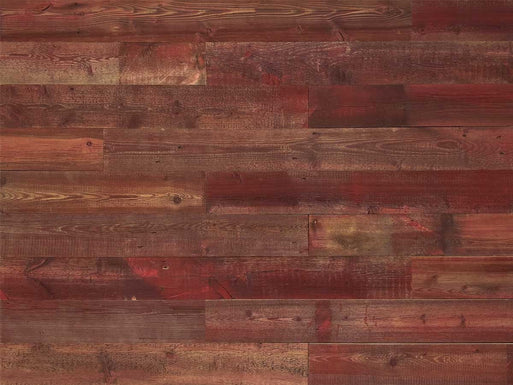
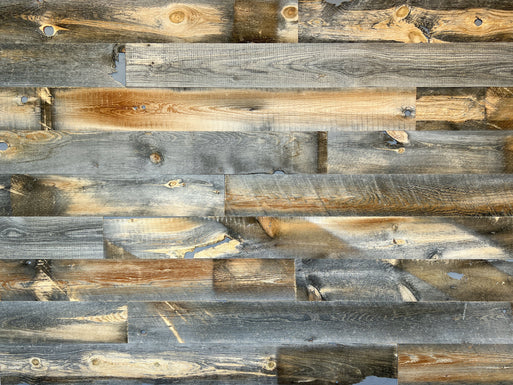
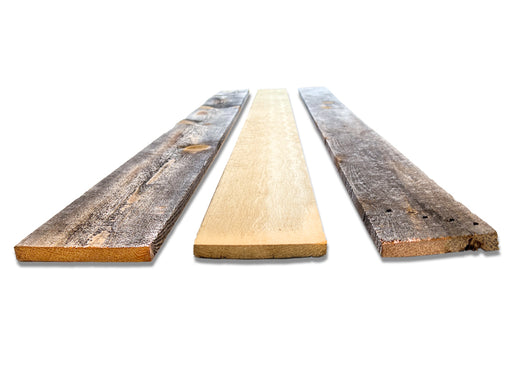
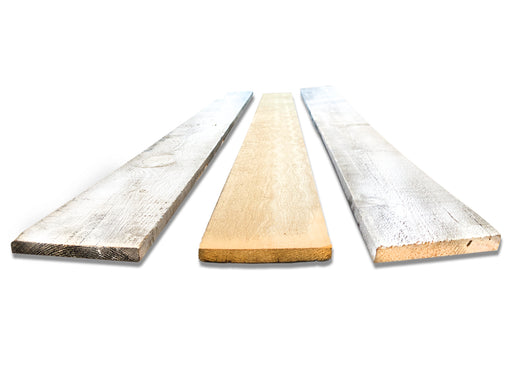
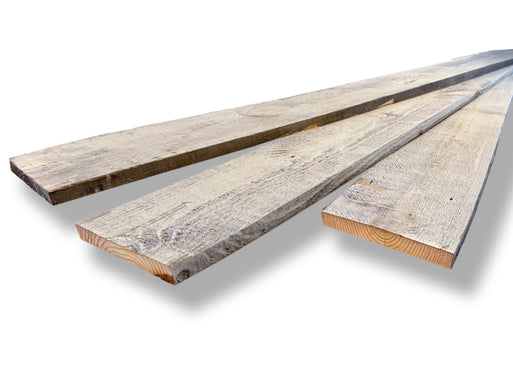
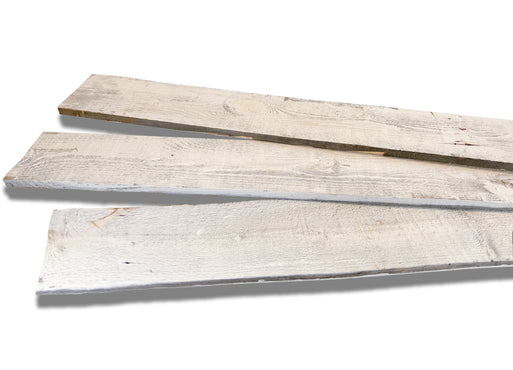
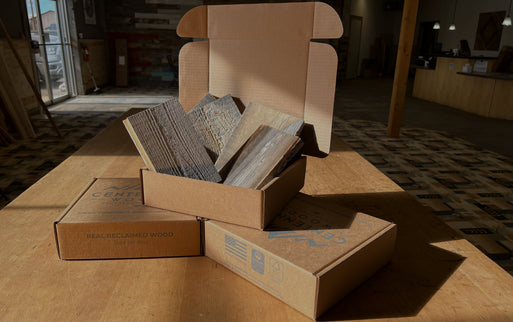
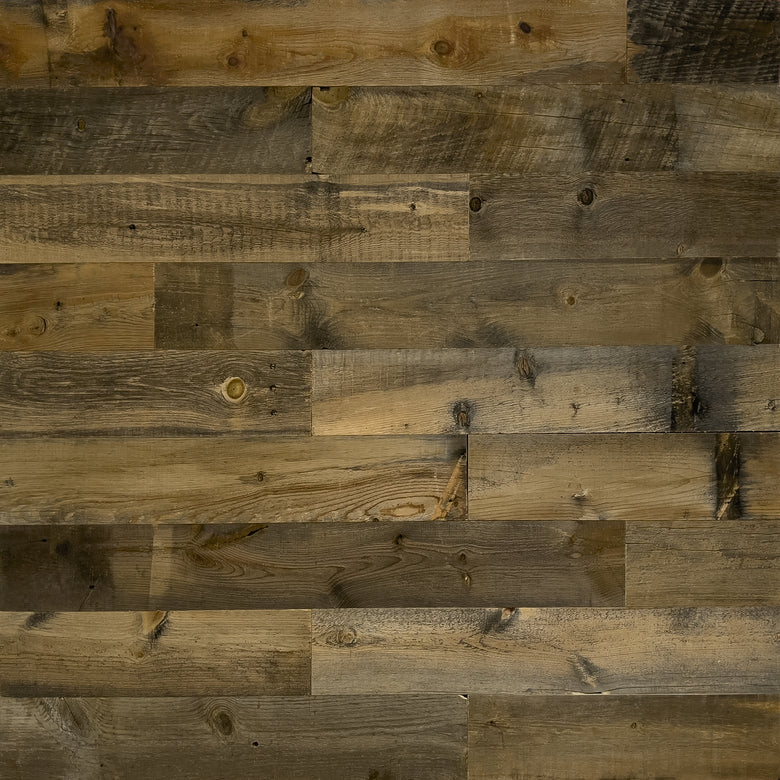
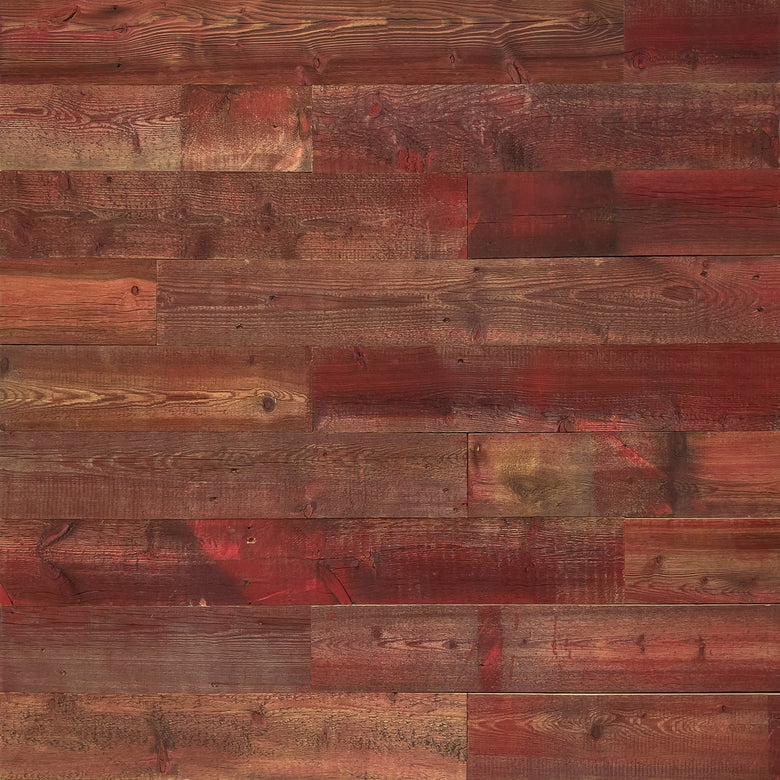
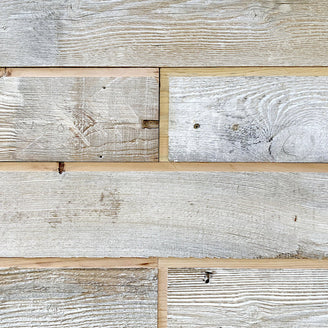
Reclaimed wood varies in texture and color hues. We recommend laying out 1-2 packs of planks prior to installation to see how the different boards will look together once on your wall.
Do not remove banding from the bundles of wood that you do not plan on installing that day.
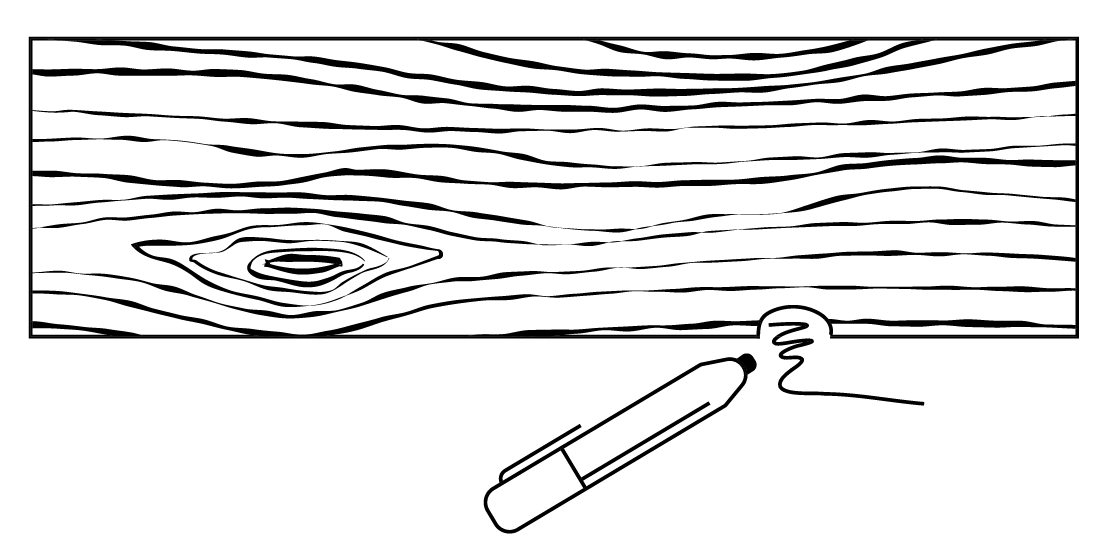
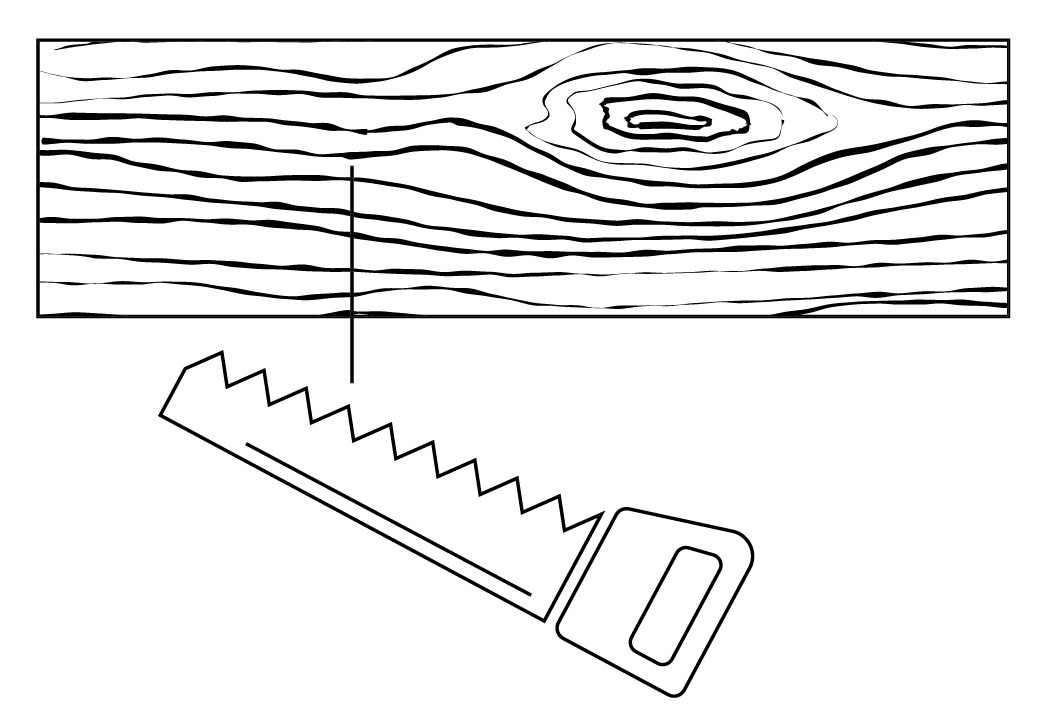
Managing Gaps
It’s natural for reclaimed wood to have small knot holes or spaces between boards. If you don’t have the tools to fix and/or cut out small gaps/knot holes, you can use a marker to darken these areas, helping them blend seamlessly into the rest of your wall paneling.
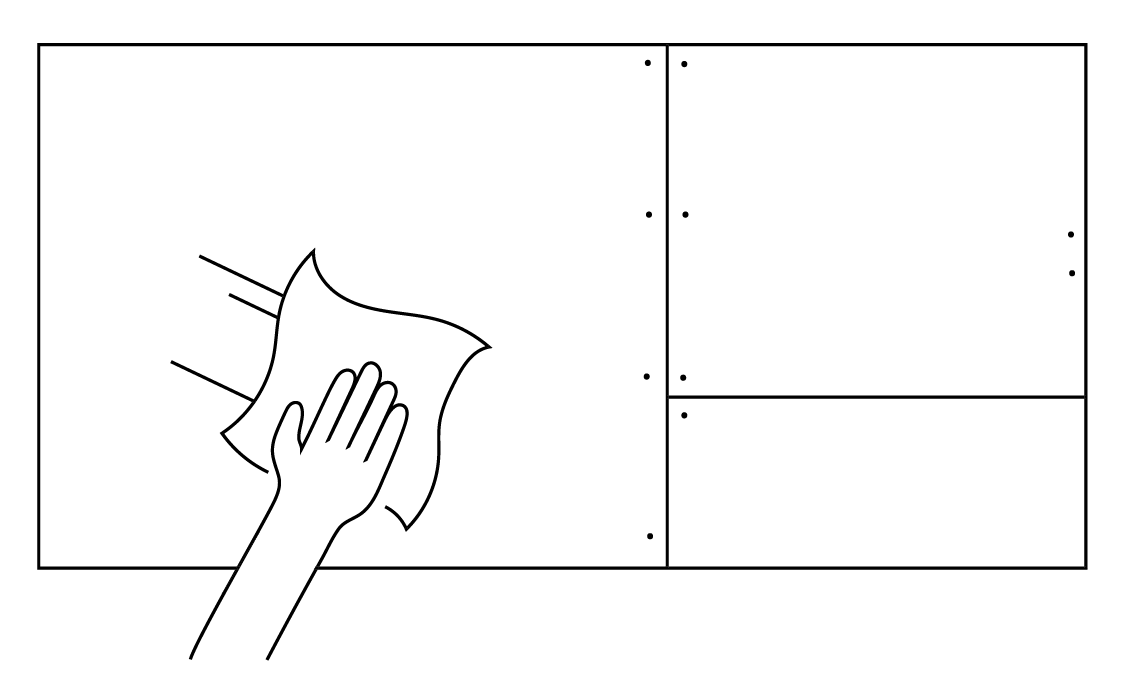
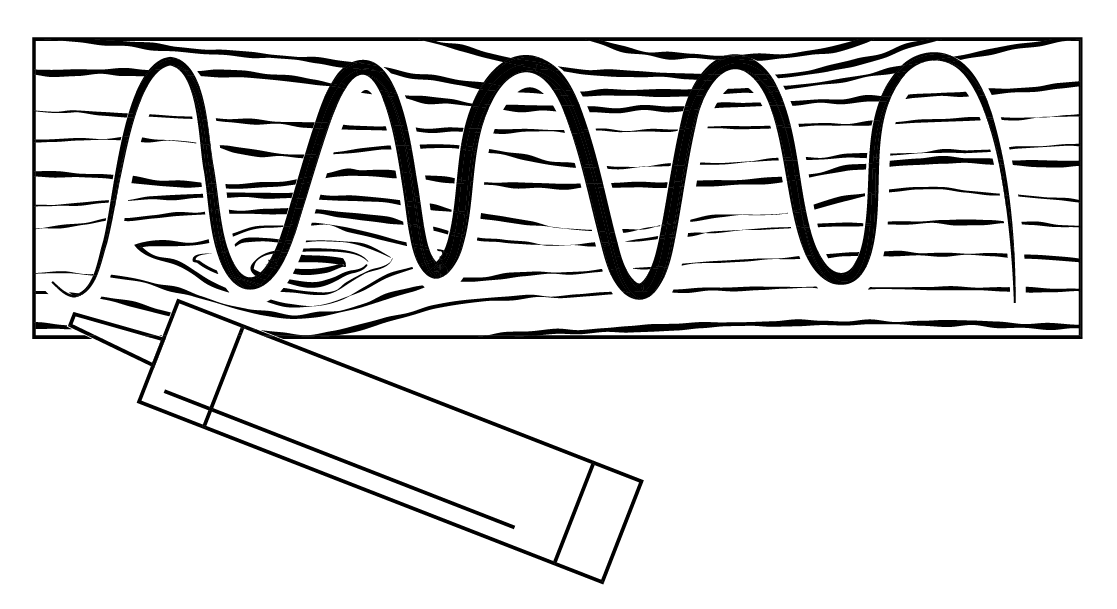
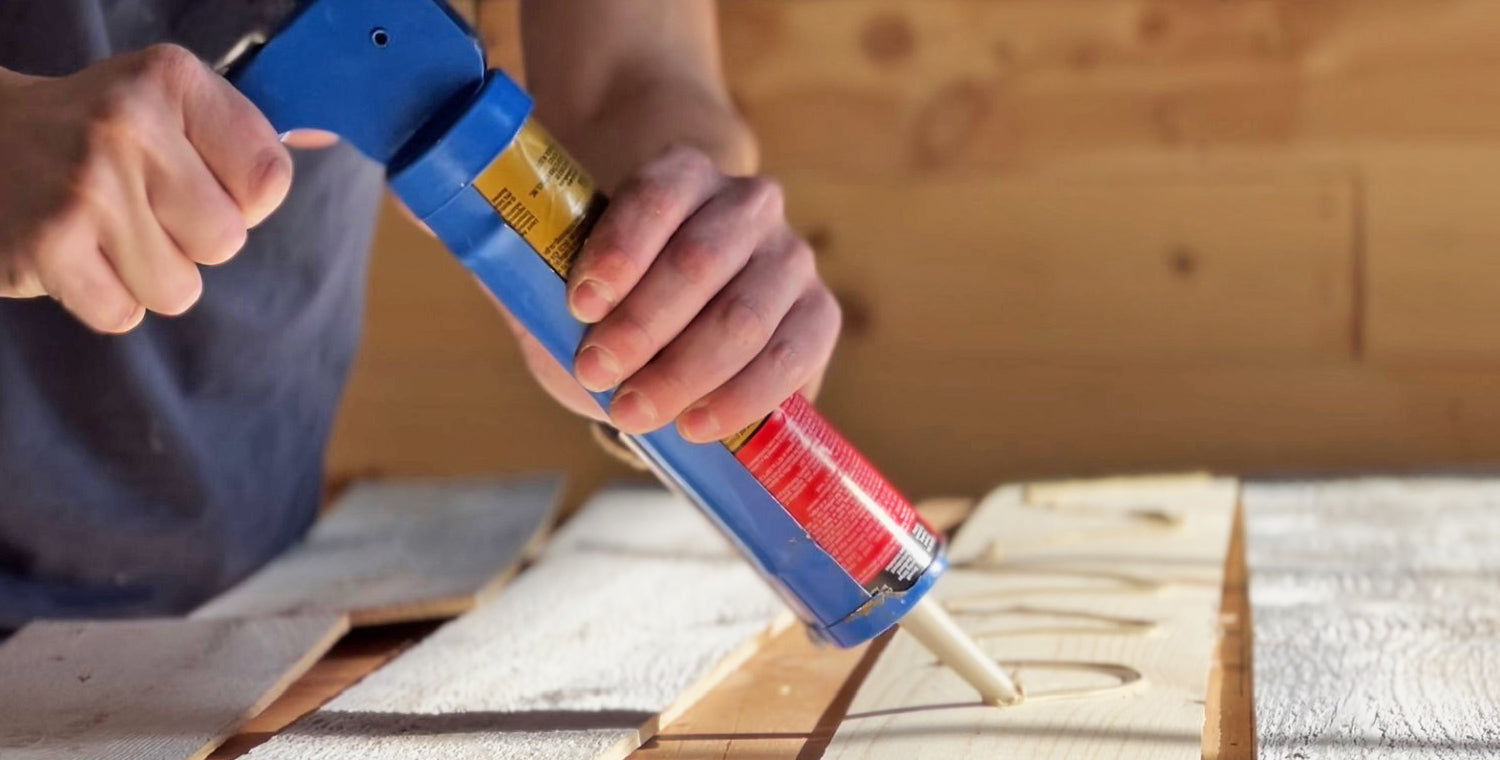
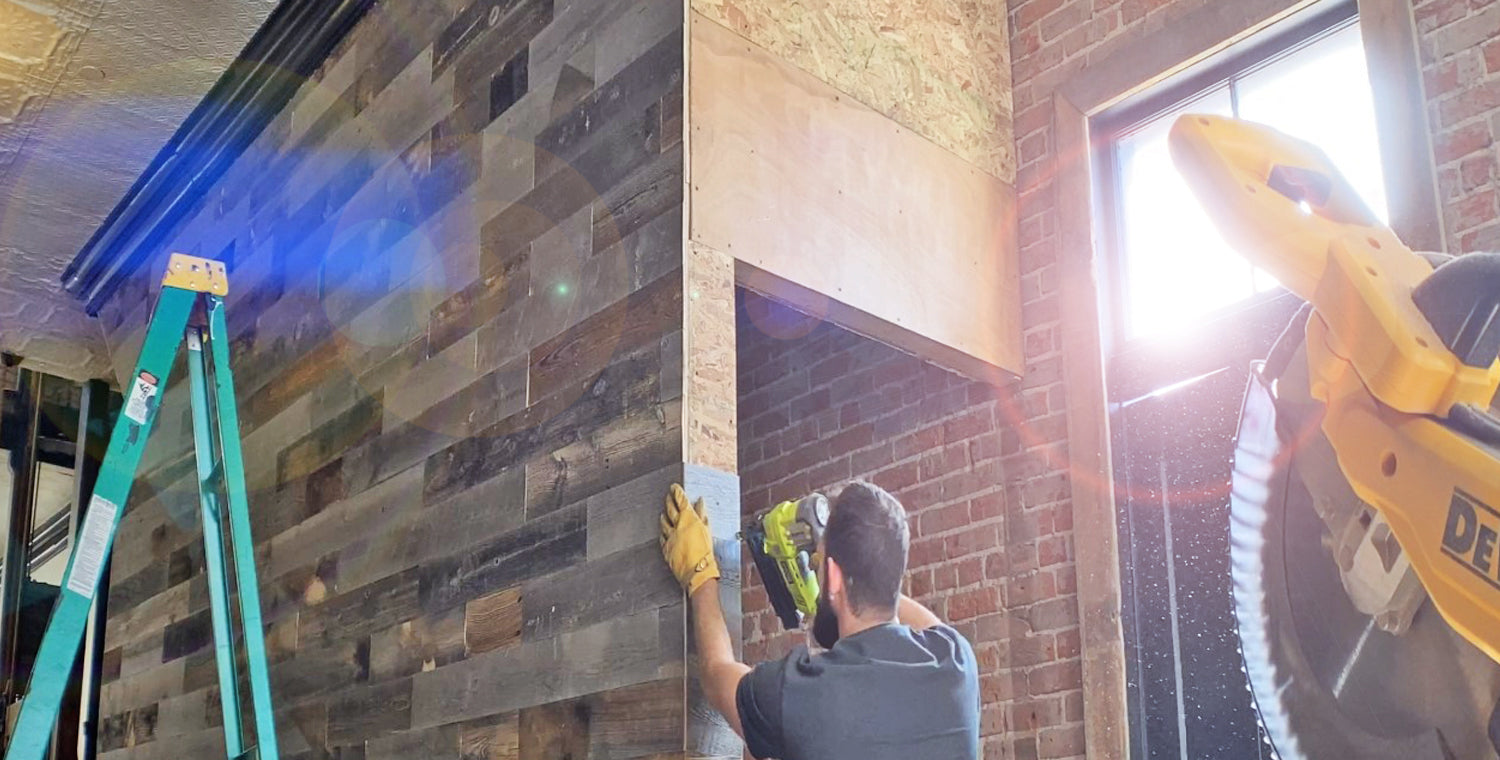
Apply Construction Adhesive
Apply construction adhesive, such as Liquid Nails Heavy Duty Construction Adhesive, to the back of each board in a squiggle or “S” pattern. Keep the adhesive slightly away from the edges so it doesn’t seep out once the wood wall panels are pressed into place. If you’re a visual learner, be sure to watch our videos for tips on installing a reclaimed accent wall with ease.
Are you a visual learner? Check out our helpful videos on how to install a reclaimed wood accent wall.
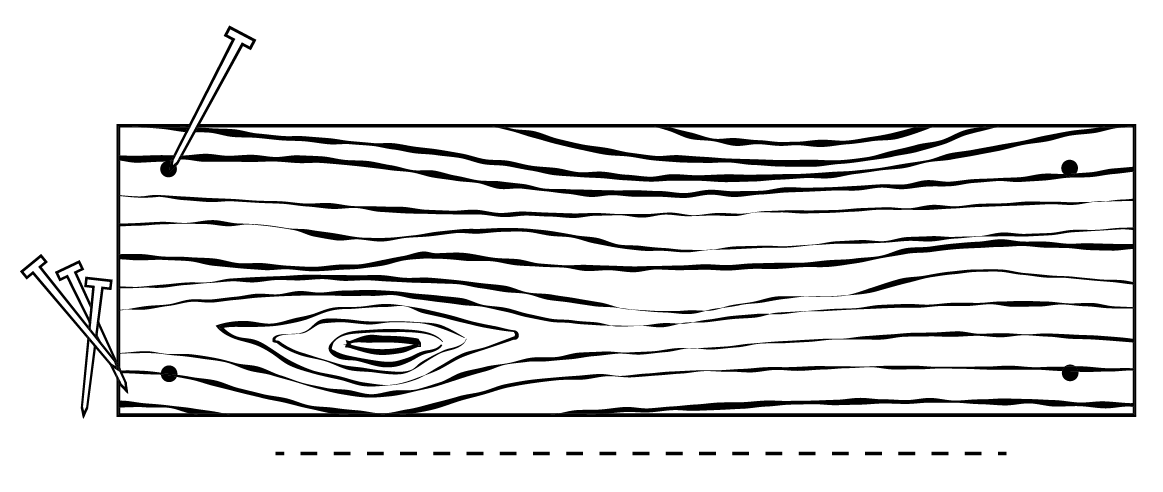
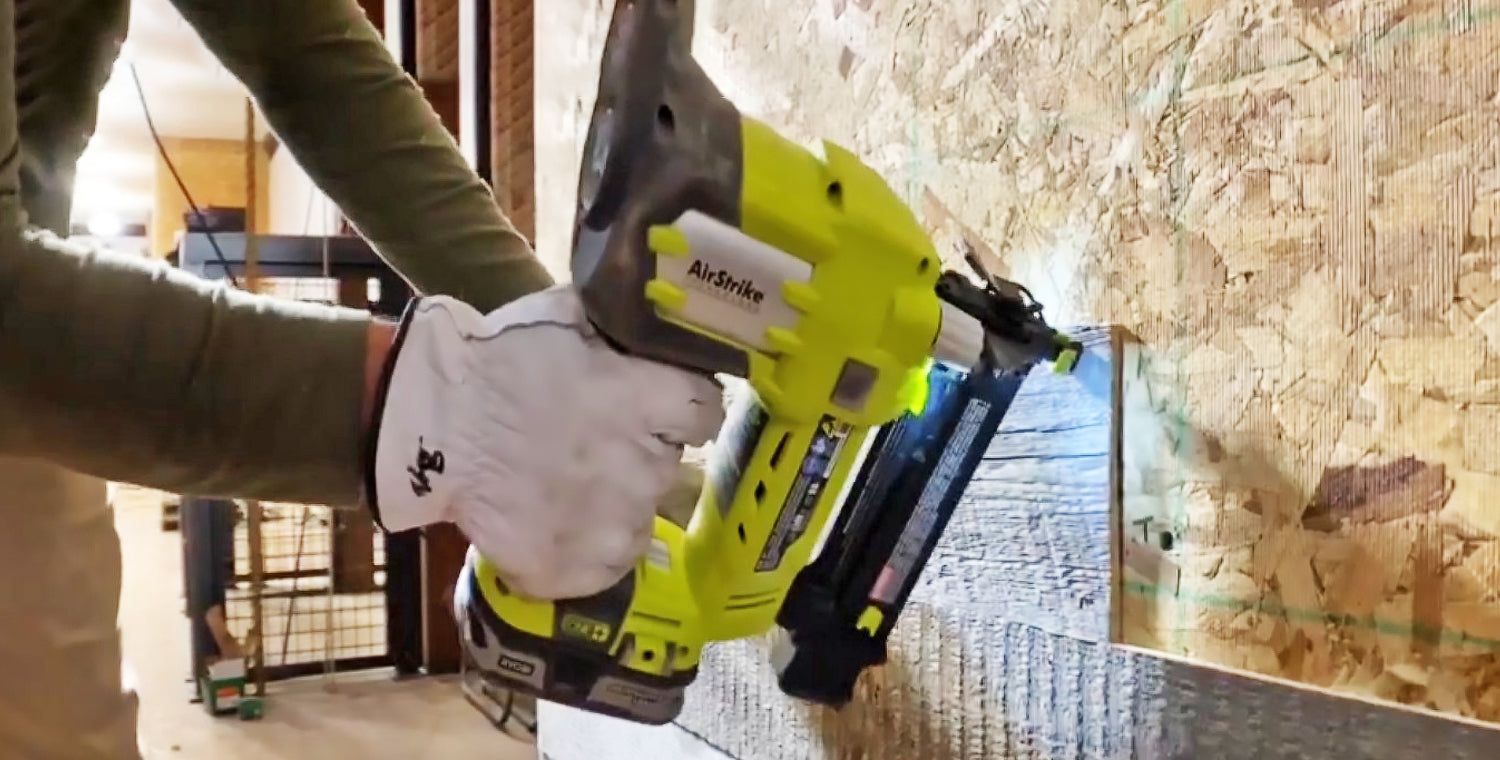
Secure With Nails
Align the board with your chosen reference point, either the ceiling, floor, or that initial straight line, and press it firmly in place. Add nails in each corner, about ½ inch from the edges, to keep the panel secure while the adhesive sets.
If your project involves trimming the boards at angles, you can reference 1:51 in the She’s the Carpenter installation video further down the page.
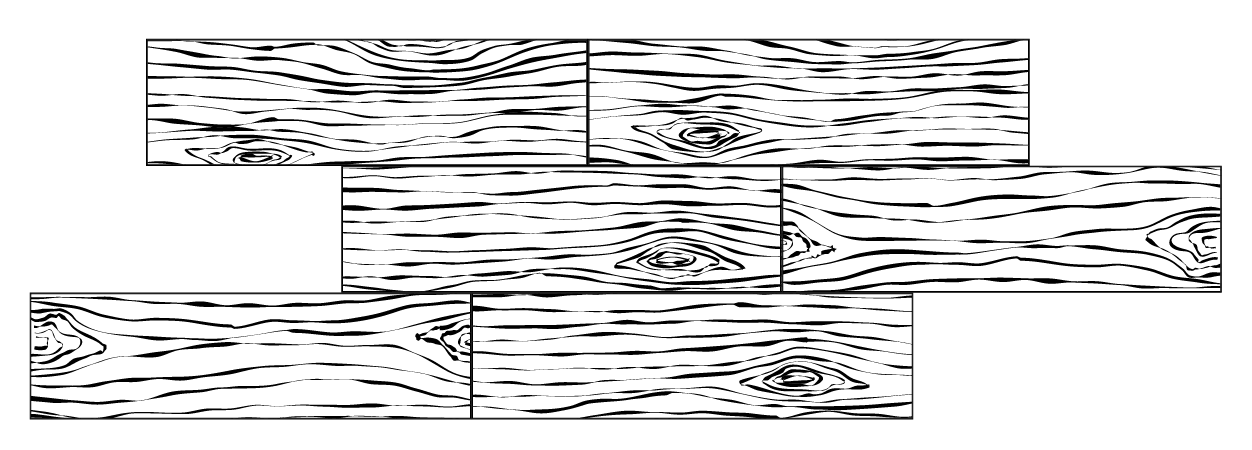
Continue Installing Panels
Repeat the process with each new wall panel, staggering the ends so seams don’t fall too close together. A good rule is to offset the edges of your wooden panels by at least 8 inches from one row to the next.
Tip: When finishing a row, keep the cut piece. This piece can be used to start your next row or to fill gaps later on in the project.
Repeat Until Complete
Continue applying adhesive, securing nails, and staggering seams until your wood wall paneling project fully covers the wall or ceiling. This layered approach not only improves the look of your interior but also adds the dimensional texture that makes reclaimed wood so appealing.
Trim Final Boards
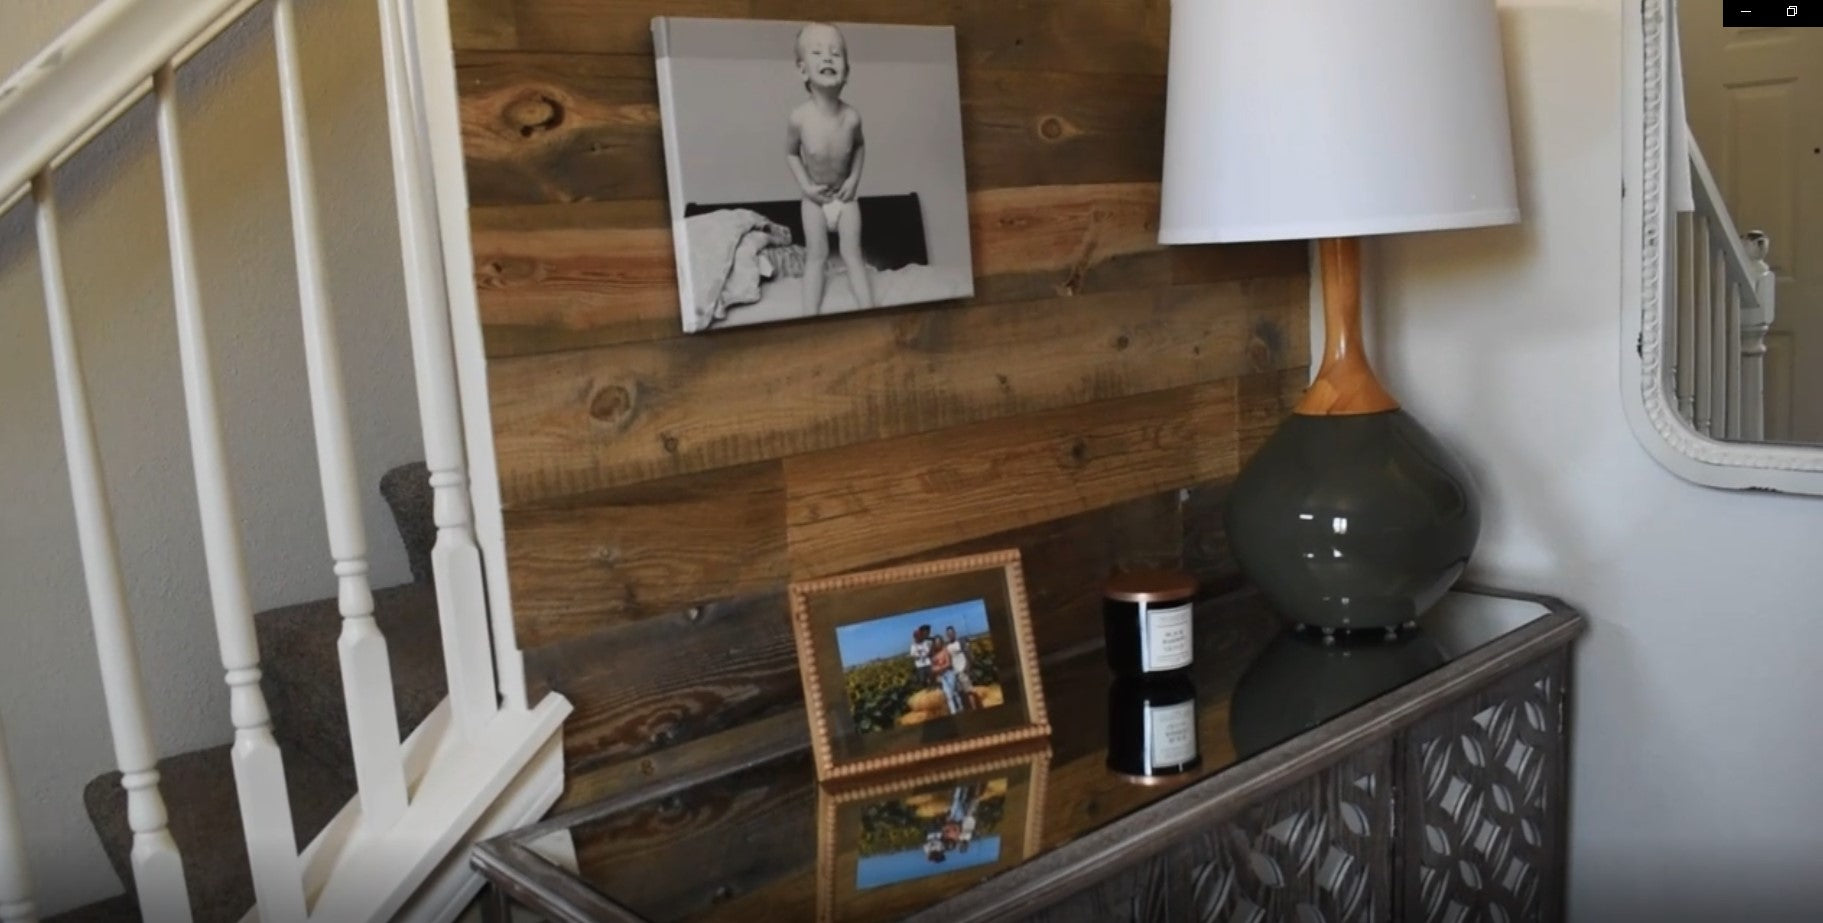
When you reach the final row, trim the boards to fit the remaining space. Install them just like the earlier panels, making sure they sit flush and align cleanly with surrounding boards. Once finished, your reclaimed wooden panels will create a beautiful, lasting decorative surface that feels polished, balanced, and intentional.
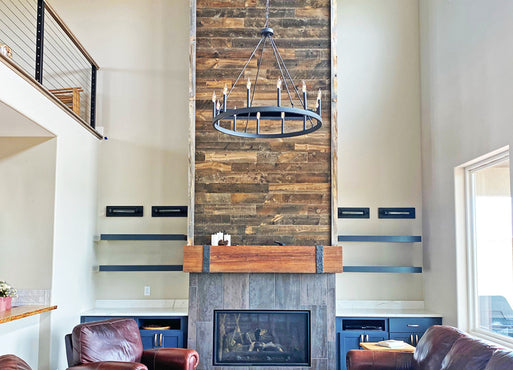
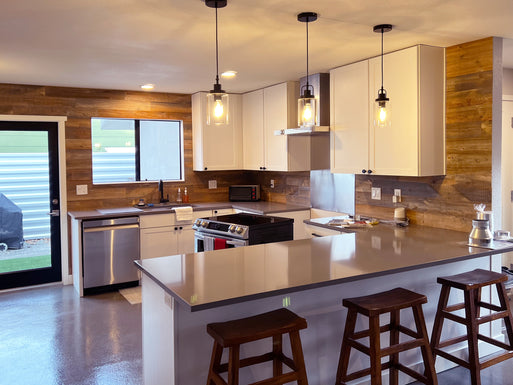
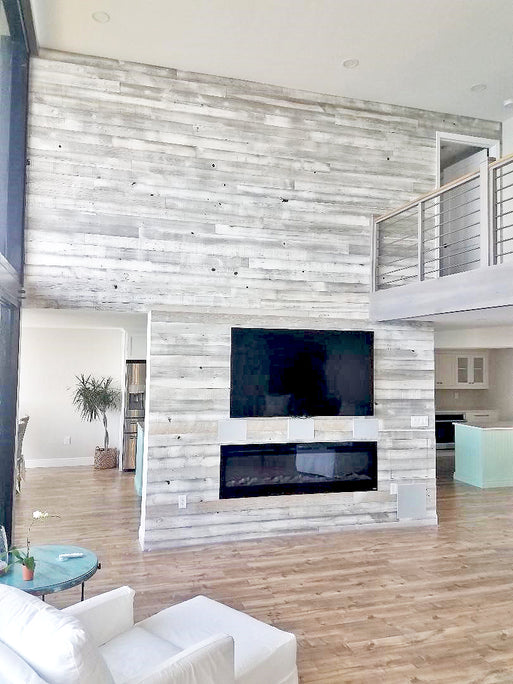
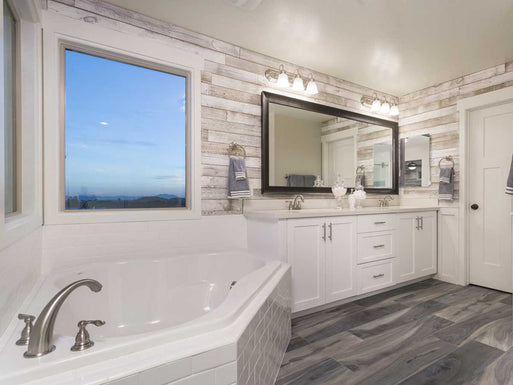
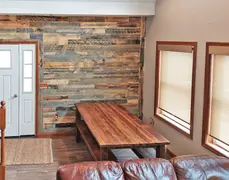
Crafted with Care: The Final Look
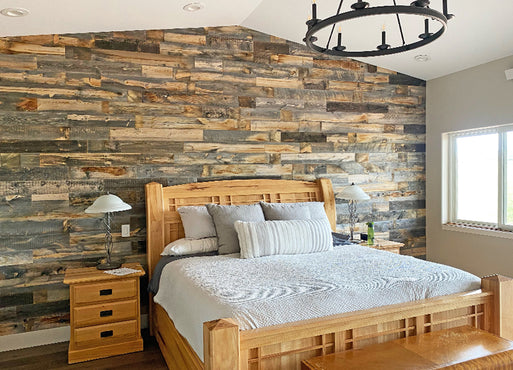
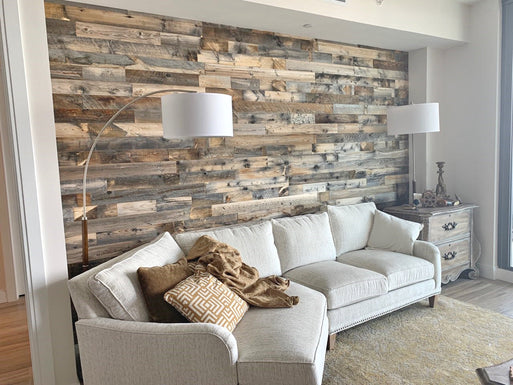
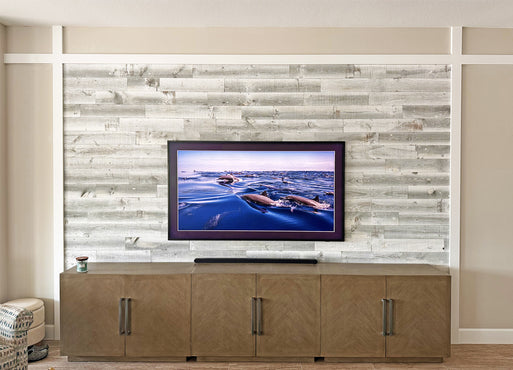
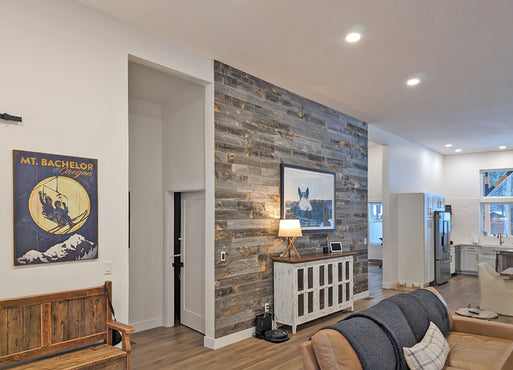
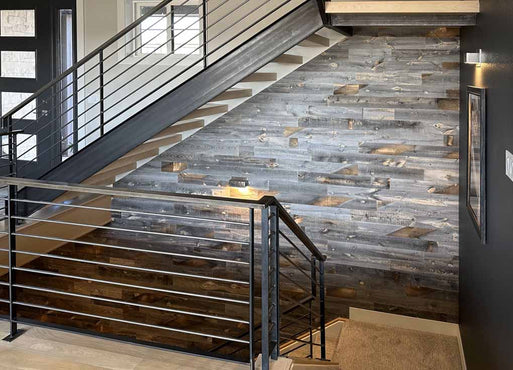
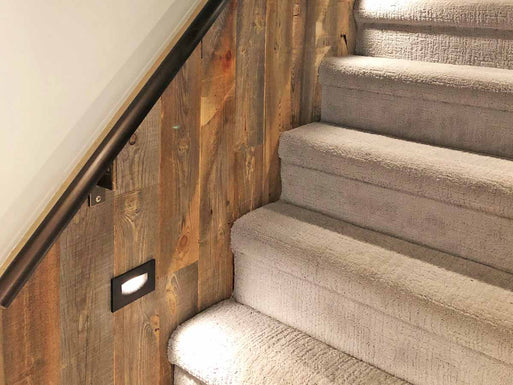
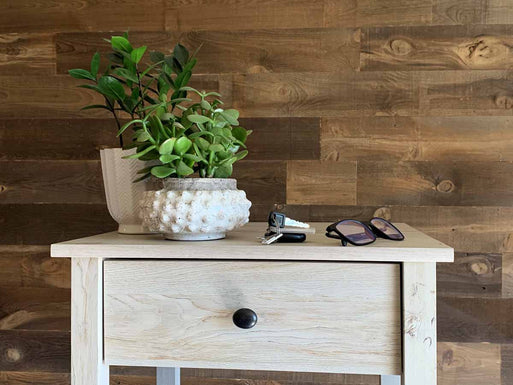
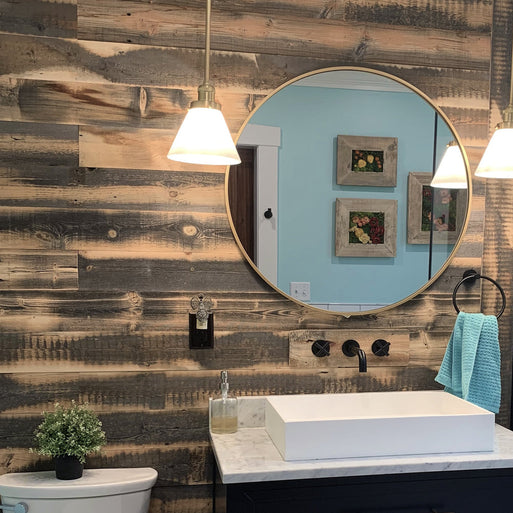
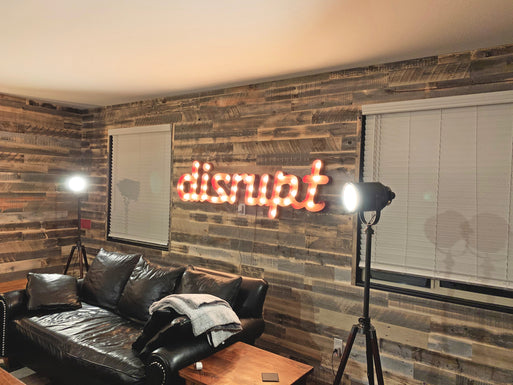
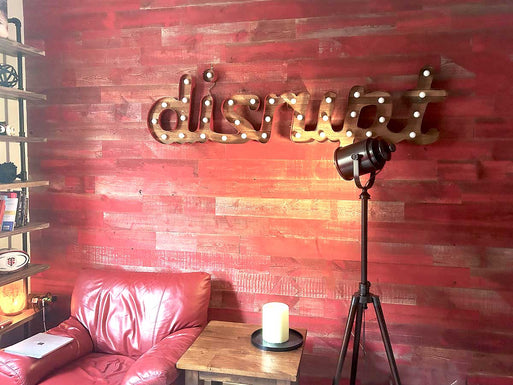
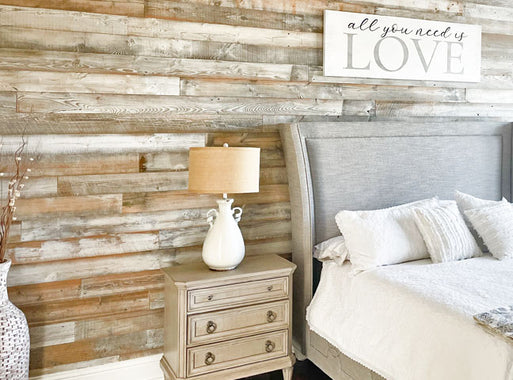
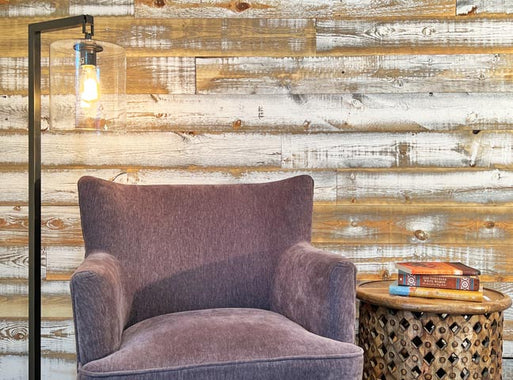
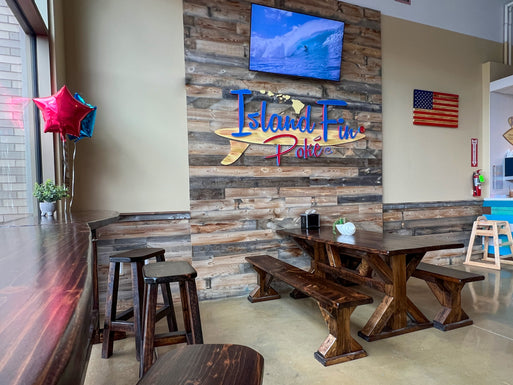
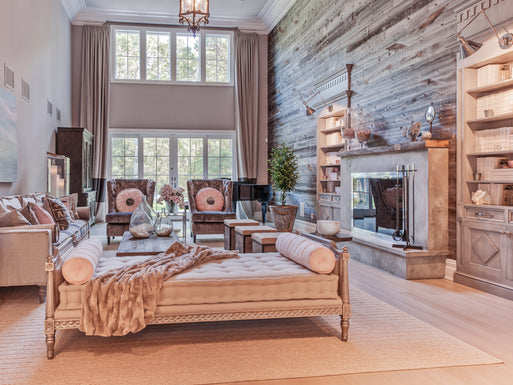
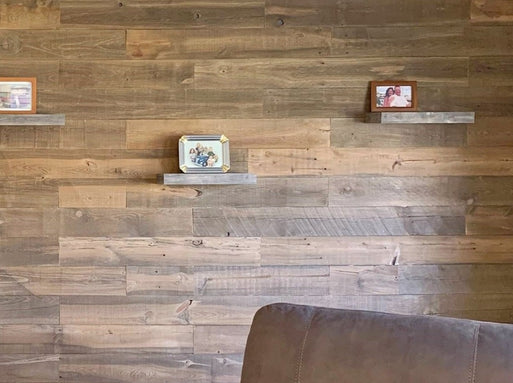
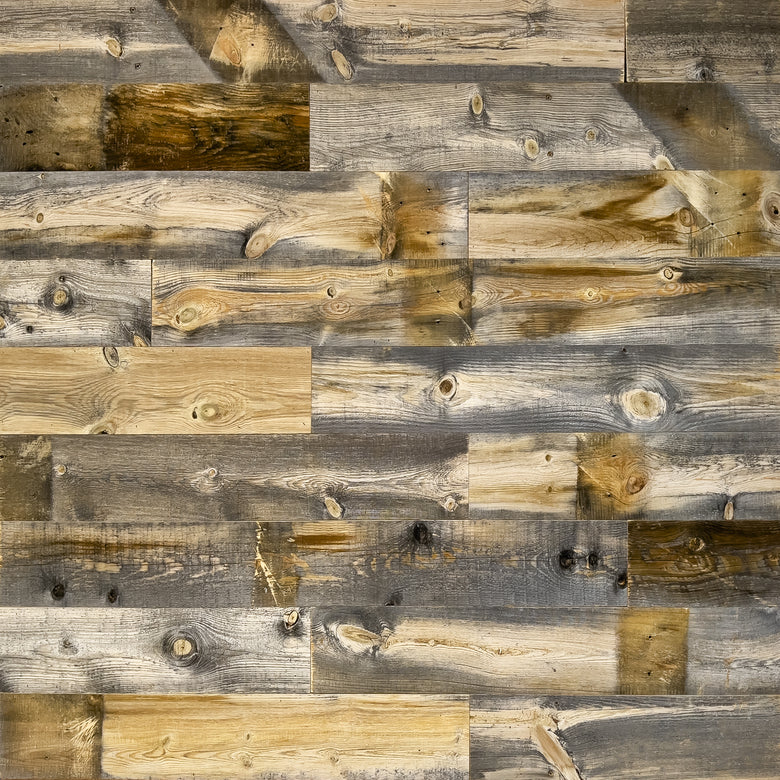
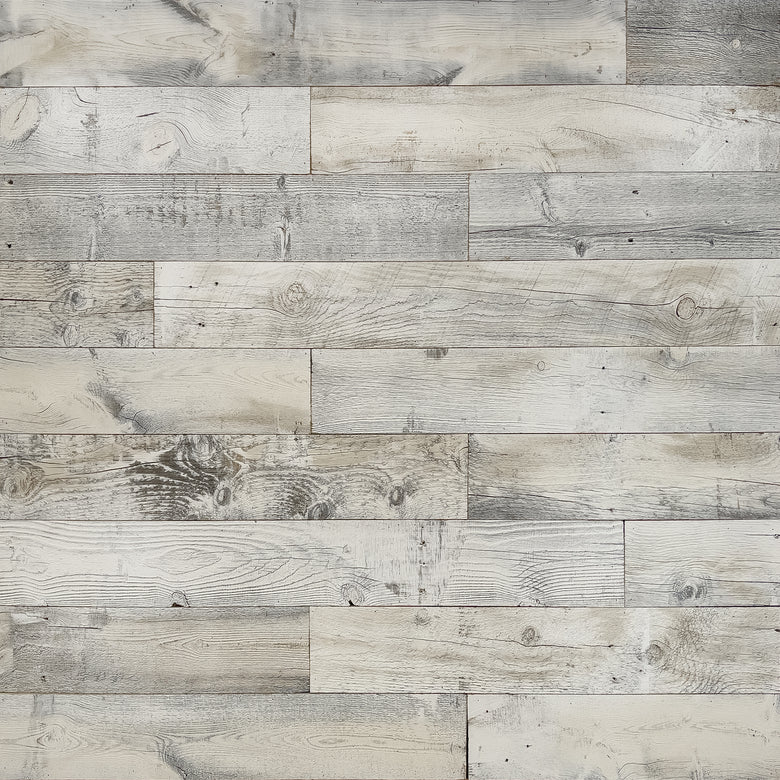
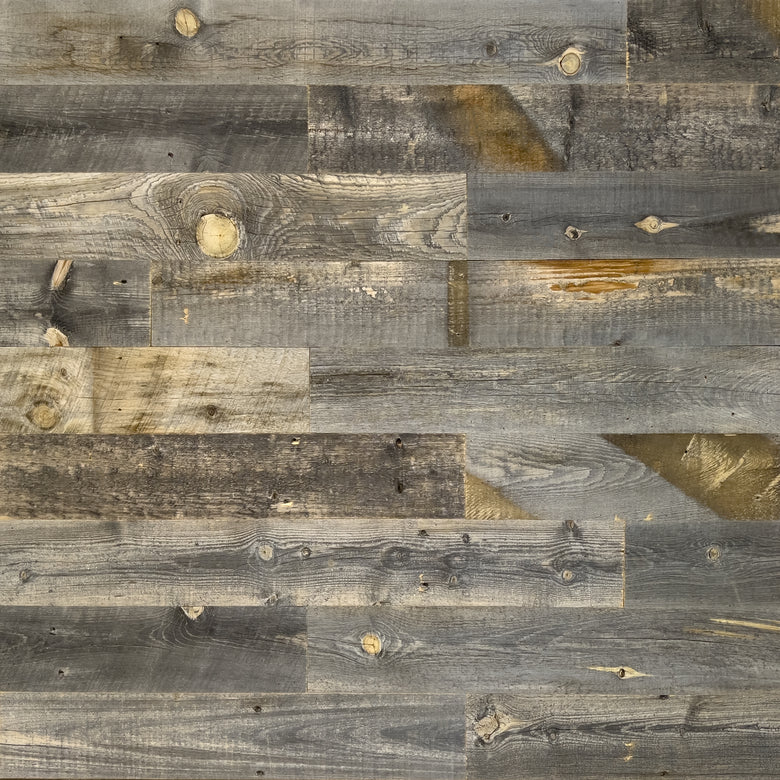
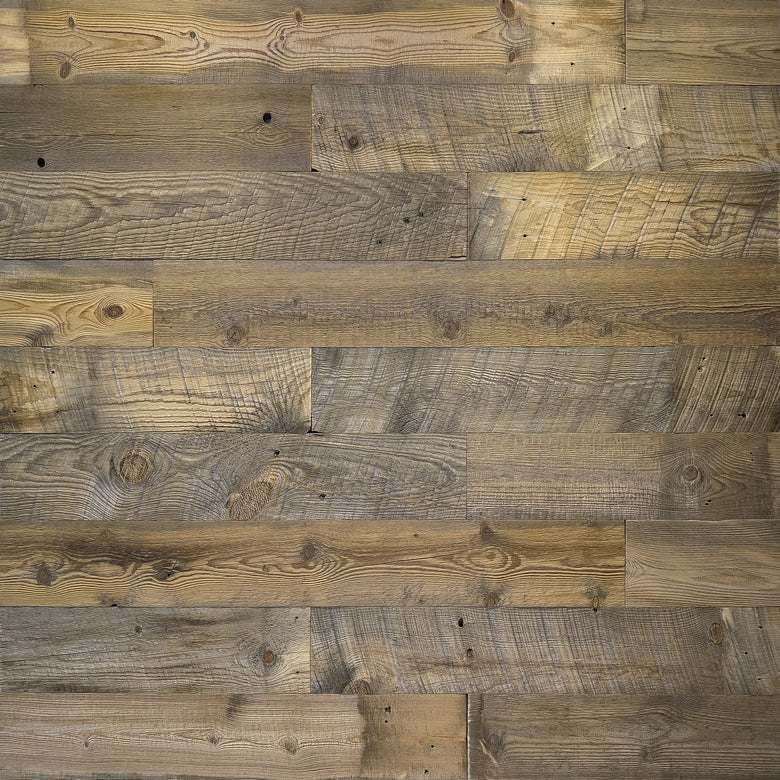
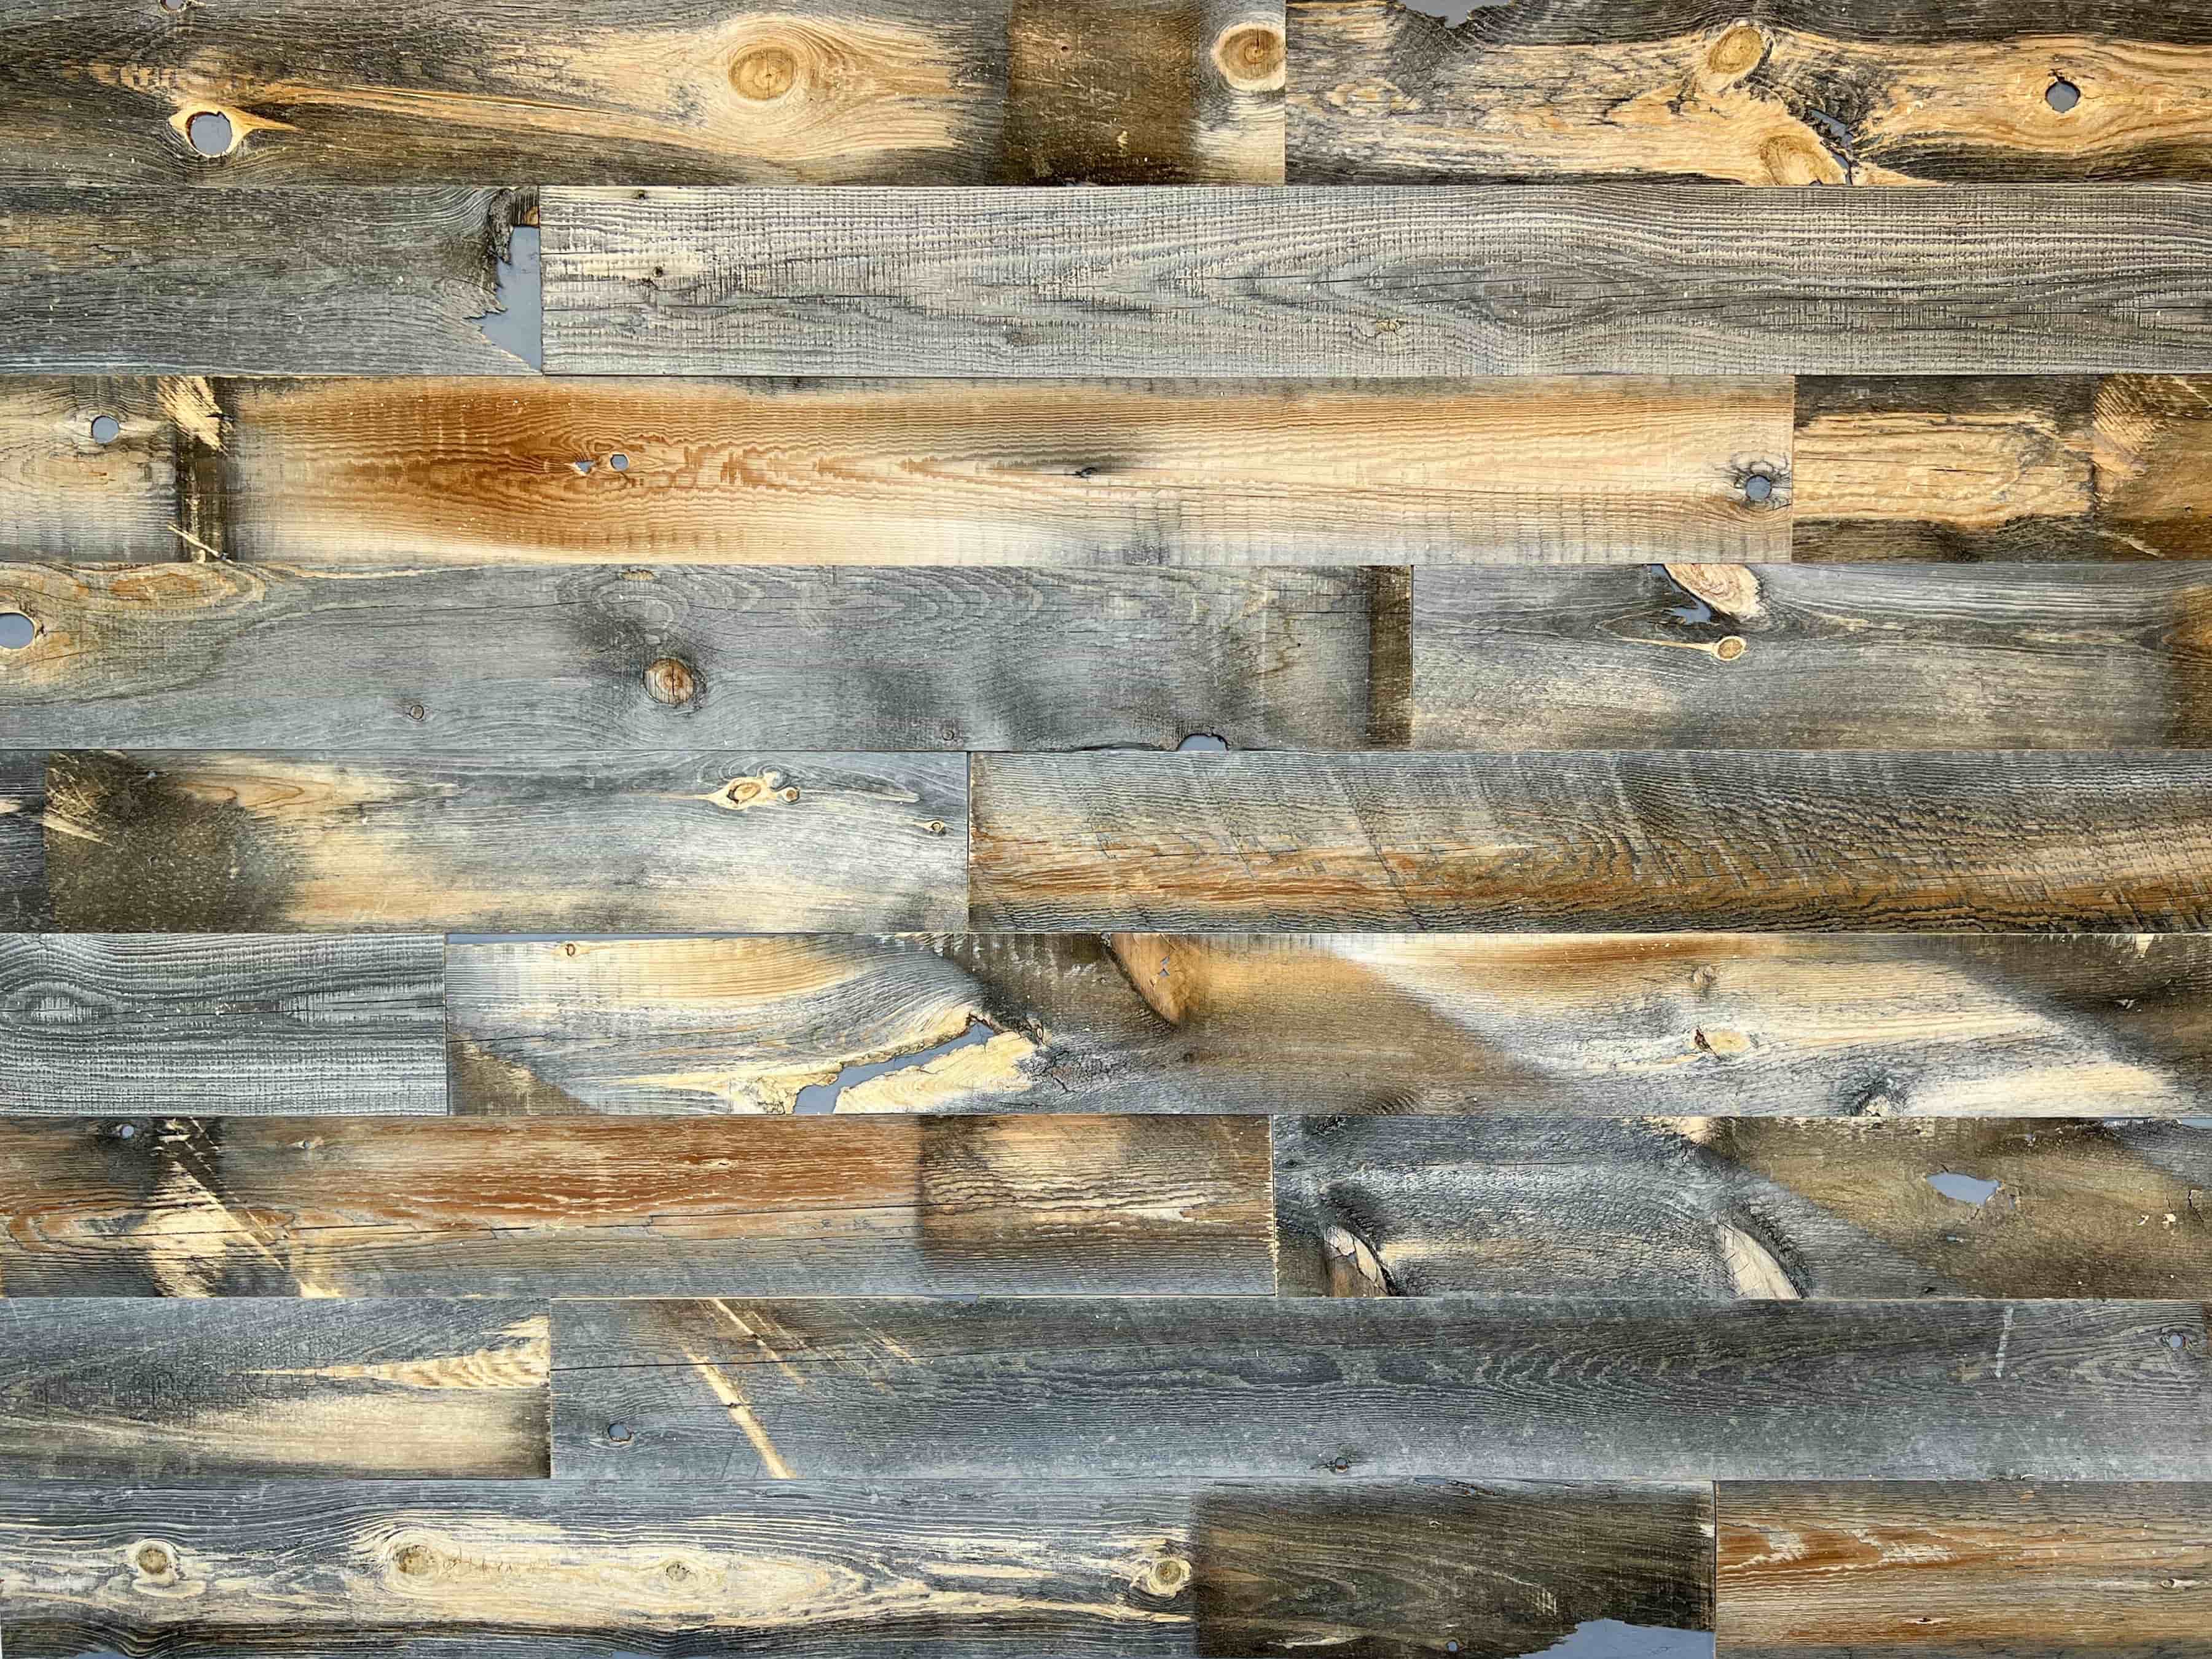
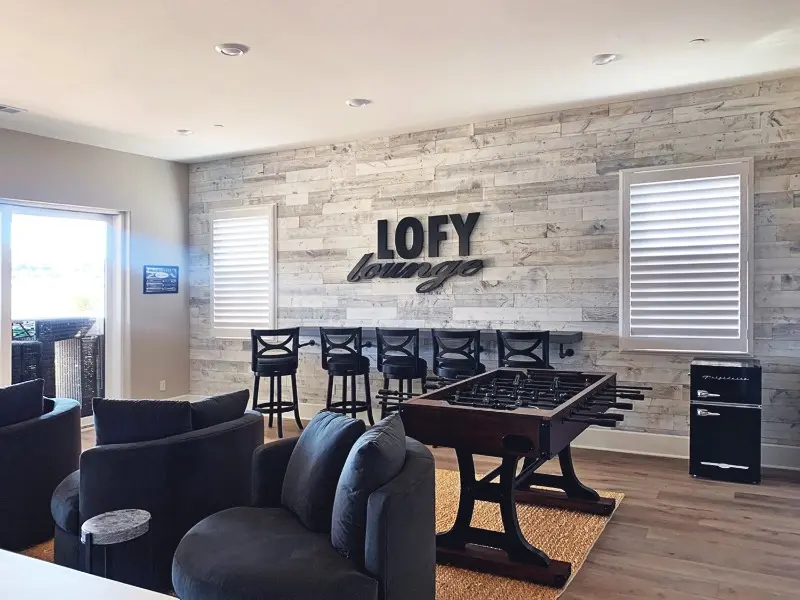
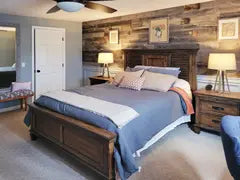
As your wall comes together, every wood plank from Centennial Woods adds a richness and warmth that reclaimed materials uniquely provide. Whether you arrange them in a classic horizontal design or experiment with a vertical plank layout, each board reflects careful craftsmanship and sustainable sourcing. The natural variation in tone and grain means no two installations are ever the same, giving your home an authentic, one-of-a-kind character.
The beauty of choosing Centennial Woods is in the finished product: a reclaimed wood surface that balances rustic charm with modern appeal. From refined wood slats to wide cuts of solid wood, our panels are versatile enough to fit seamlessly into contemporary or traditional interiors. With quality you can trust and a process designed to last, your reclaimed wood installation becomes more than just a DIY project, it’s a timeless centerpiece backed by the expertise of Centennial Woods.
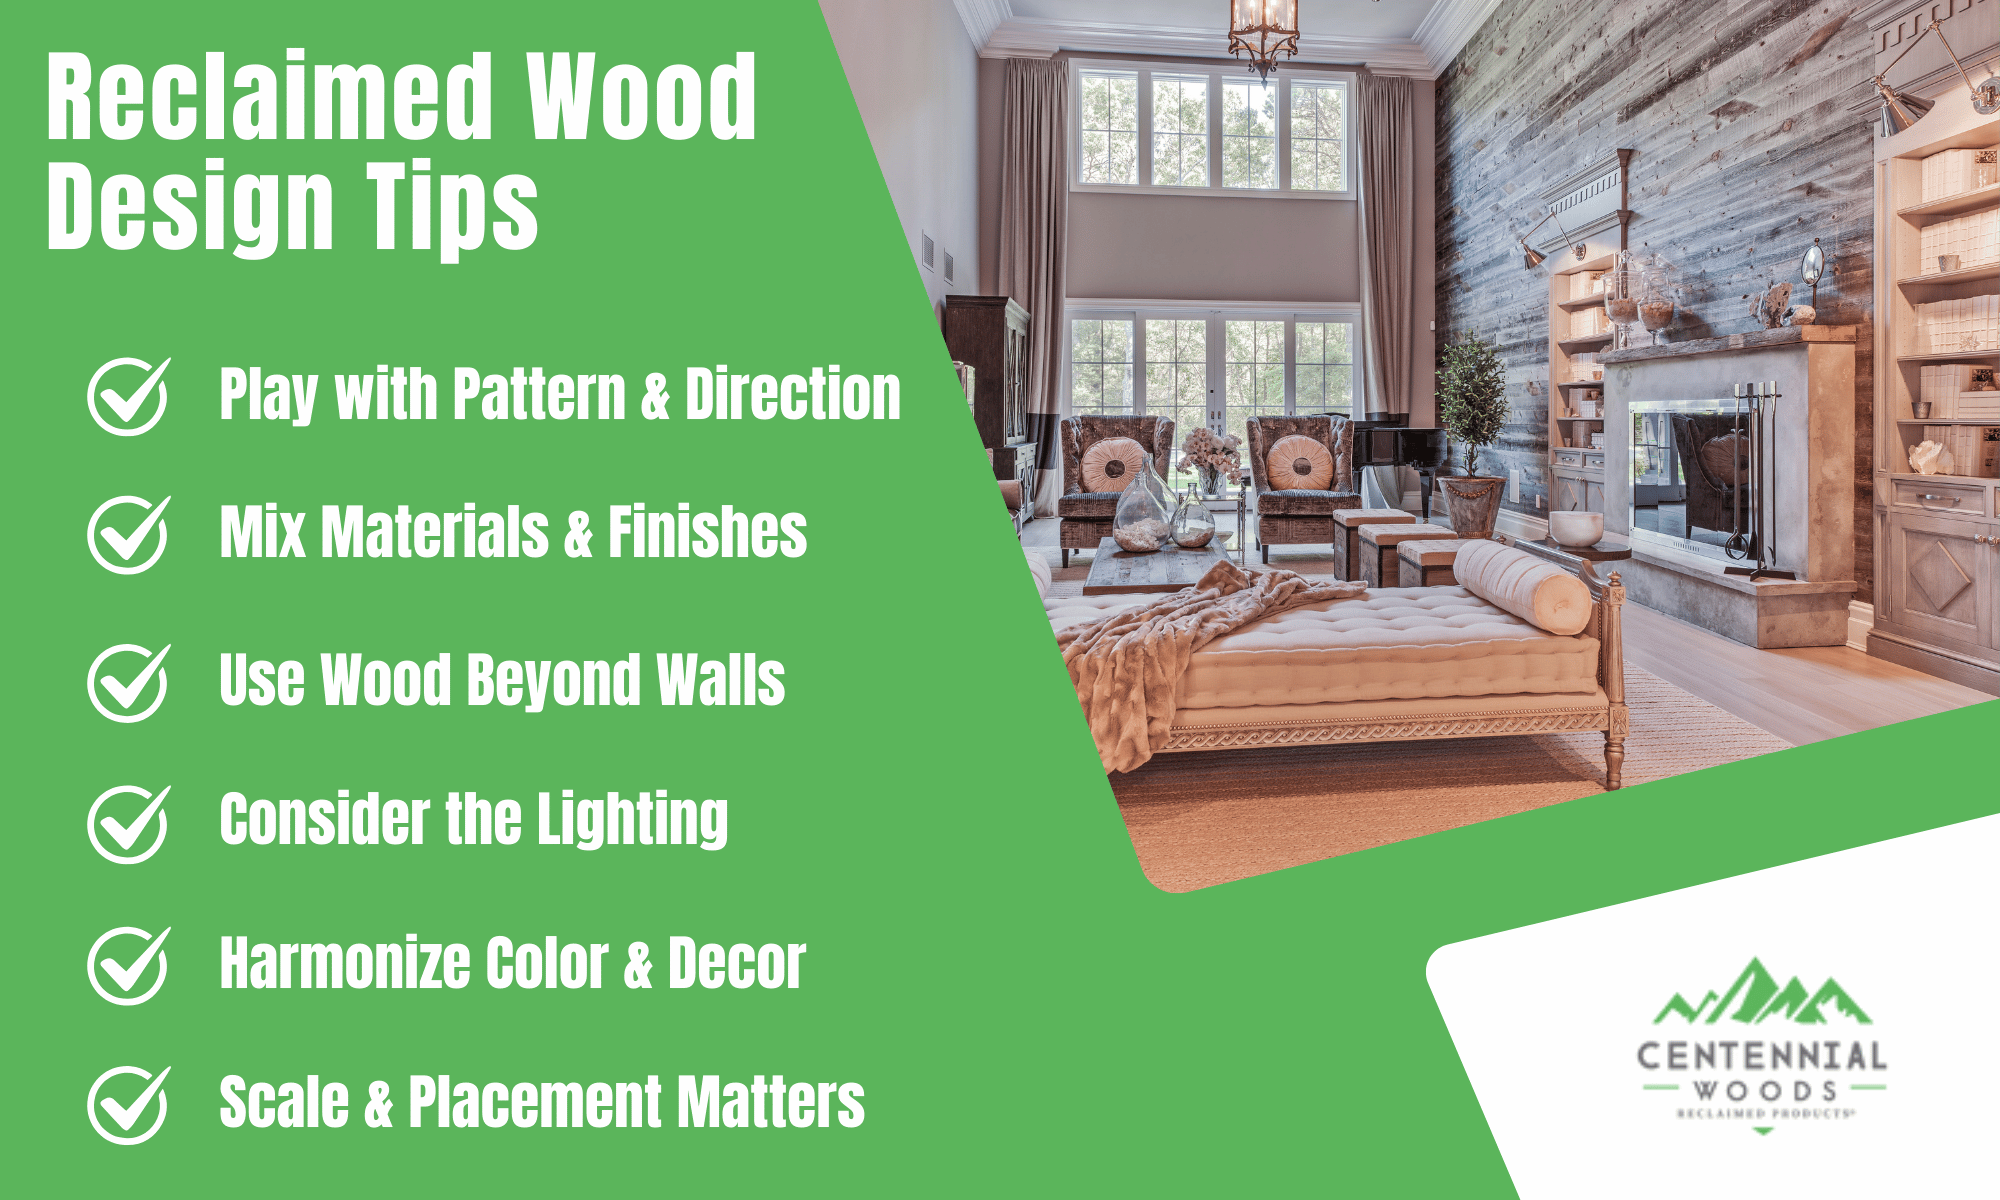
Further Styling Tips
Play with Pattern & Direction: Don’t feel confined to simple straight‐lay panels. Try arranging your wood planks in diagonal, herringbone, or chevron layouts; these patterns catch the eye and bring motion into a room. Vertical slats help make ceilings feel higher and add a modern, airy quality. Even combining planks of different widths creates visual rhythm and helps avoid the “uniform board” look.
Note: This design style may require ordering 15-20% more than what the coverage area is.
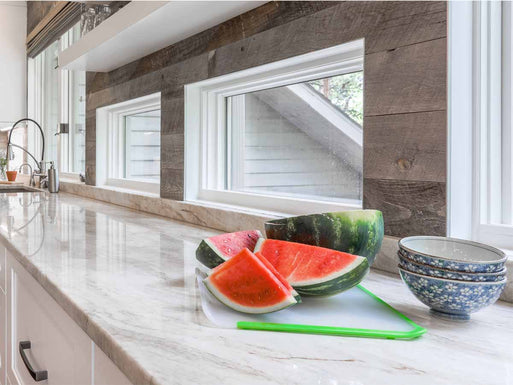
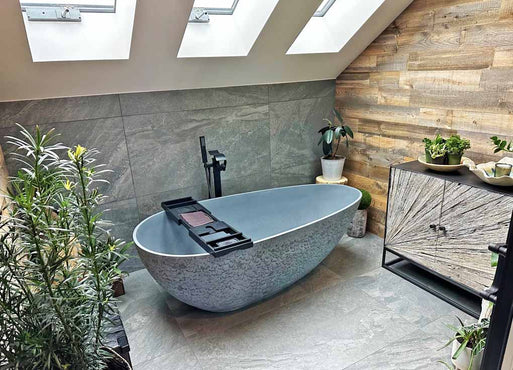
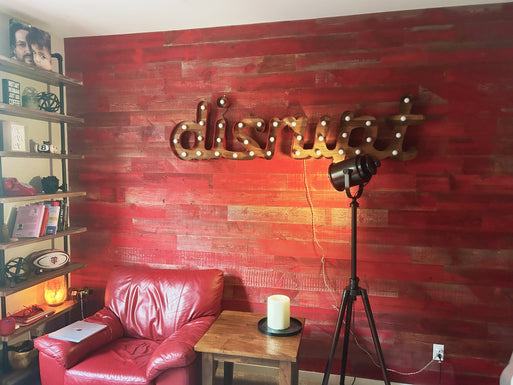
Mix Materials & Finishes: Pair reclaimed wood with other textures, metal, stone, plaster, or painted surfaces, to balance the roughness and richness of the wood. Natural weathered grains contrast beautifully with smoother, contemporary finishes. Also consider lighter wood tones or white‐washed planks to brighten a space, especially in dining rooms or rooms with less natural light.
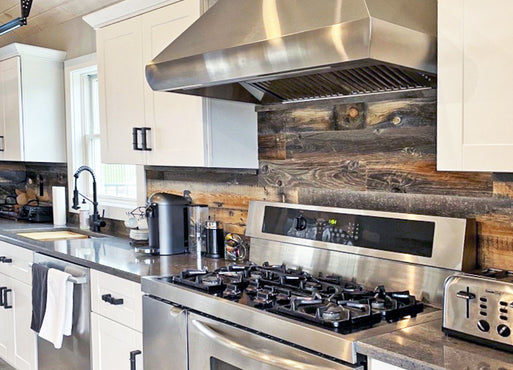
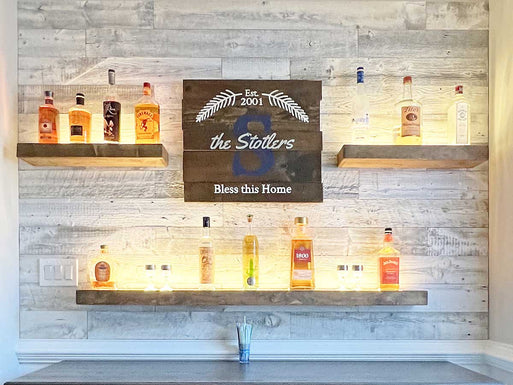
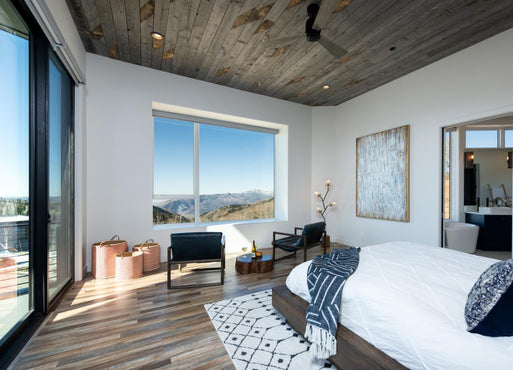
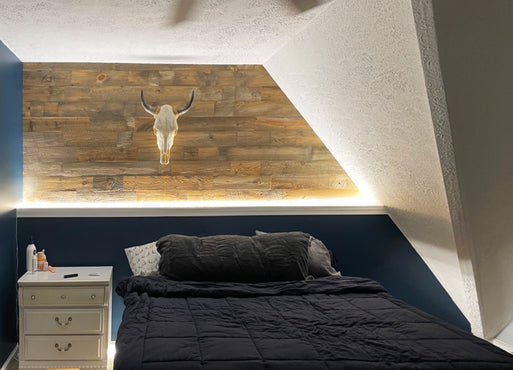
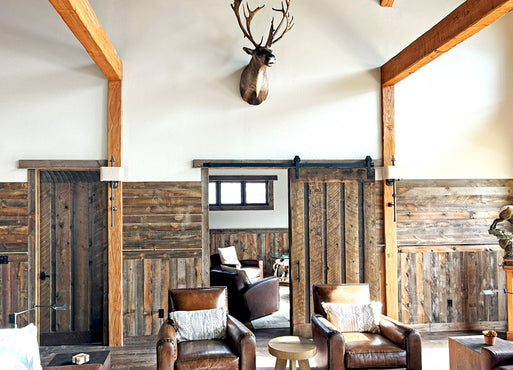
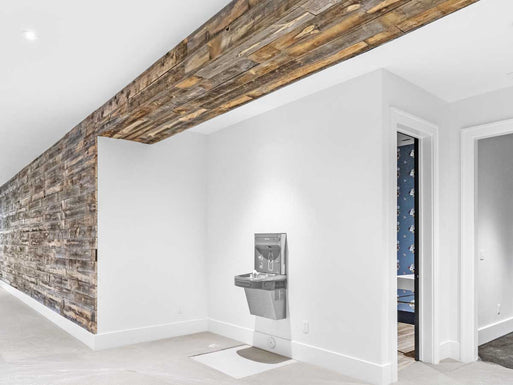
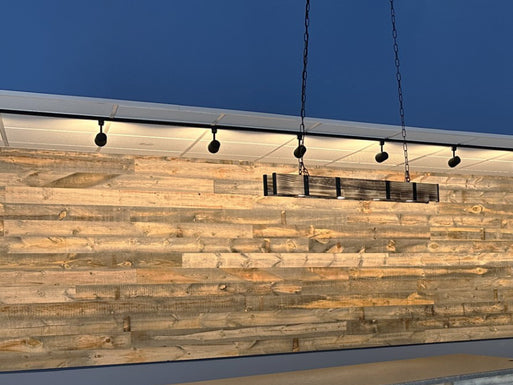
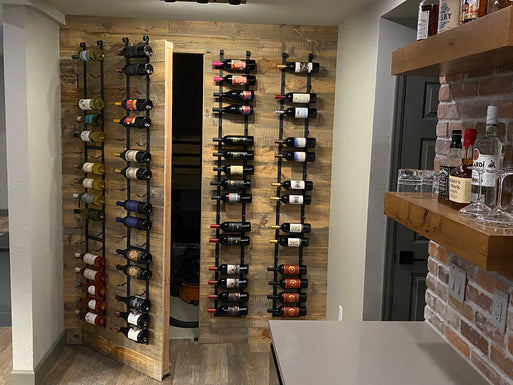
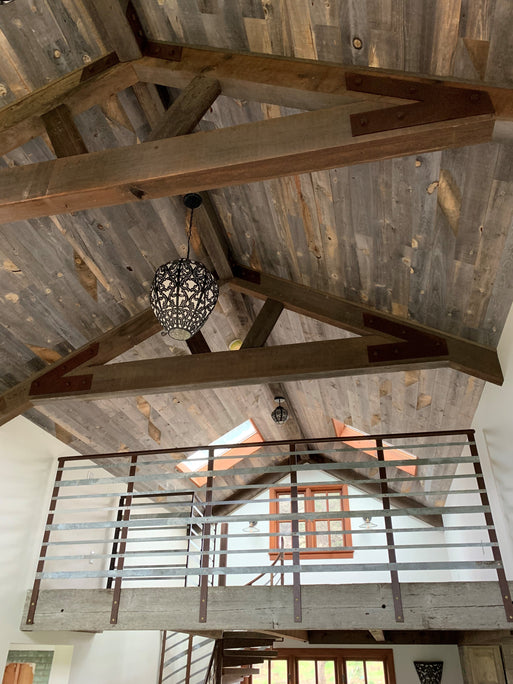
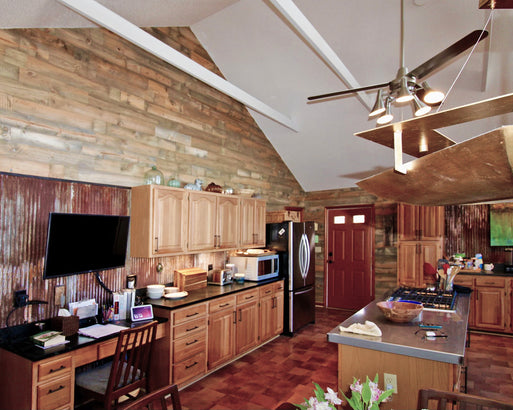
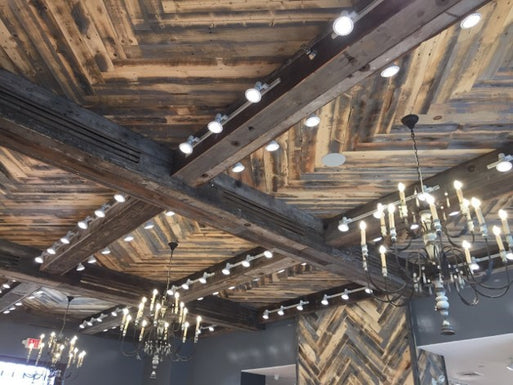
Use Wood Beyond Just Walls: Extend the rustic or reclaimed wood aesthetic into ceilings, furniture, or accent pieces. A ceiling treated with reclaimed wood, especially with beams or planks, can make rooms feel cozier and more architecturally interesting. Wood slats behind furniture, floating shelves, mantels, or headboards made of matching reclaimed wood harmonize the decor across the room.
Consider the Lighting: Wood has natural color variation and texture, good lighting will highlight those features. Use ambient lighting to warm the wood’s tones, accent lights (spotlights or wall washers) to bring out texture and grain, and avoid harsh overhead lighting that might flatten the relief. If you can, let natural daylight move across the vertical planks or wall panels; changes over the day give visual richness.
Harmonize Color & Decor: When your accent wall or wood slat feature is installed, echo the wood tones elsewhere: in throw pillows, rugs, wooden furniture, or frames. Neutral or earth-tone color schemes tend to work great with reclaimed wood, letting its natural character stand out. If the wood is dark or heavily weathered, lighter decor around it gives good contrast. If it’s lighter or more uniform, richer accent colors or darker furnishings can help ground the space.
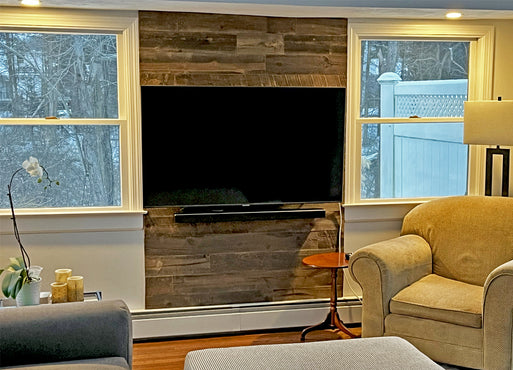
Scale & Placement Matters: Decide early whether the wood feature is going to be dramatic (covering an entire wall or ceiling, or behind a fireplace) or more subtle (partial wall, behind furniture, or serving as a backdrop). In larger rooms, bigger installations are appropriate; in smaller or low-ceilinged rooms, going full wall or ceiling might overwhelm unless done carefully. Sometimes less is more, one well-placed vertical plank or a wood wall panel behind the main seating can provide enough impact without dominating.
Video Tutorials
She's the Carpenter

Centennial Woods

need more information?
Installing a reclaimed wood wall can be intimidating, but by following the steps above you’ll be on your way to a beautiful accent wall in no time. If you are unsure how to install wood wall planks or have questions about the process, talk to a reclaimed wood expert at Centennial Woods - we’re happy to help!
⭐ ⭐ ⭐ ⭐ ⭐
⭐ ⭐ ⭐ ⭐ ⭐
⭐ ⭐ ⭐ ⭐ ⭐