What started as an accent wall project wound up being a full-scale renovation. We thought it would be fun to show how things progressed from start to finish.
DESCRIPTION
December 7, 2021
RUSTIC WOOD IN A BATHROOM REMODEL
“THE SCARY BATHROOM” – A REMODEL STORY
DEMOLITION
It started with a demo day – this magic sledgehammer will pop back up later in the video. Usually I have it on auto-complete mode – and you’ll get to see how it works later, but sometimes it’s just too much fun getting to destroy things the old fashioned way.
After all the tile was ripped out and the sinks were removed, we patched the drywall, textured, and painted. Once that was taken care of, we poured some self-leveling concrete on the floor to even out some rough spots, and fill in a few cracks. We also found a really great solution for the wainscoting, but I’ll get back to that later.
SKINNING THE DOOR
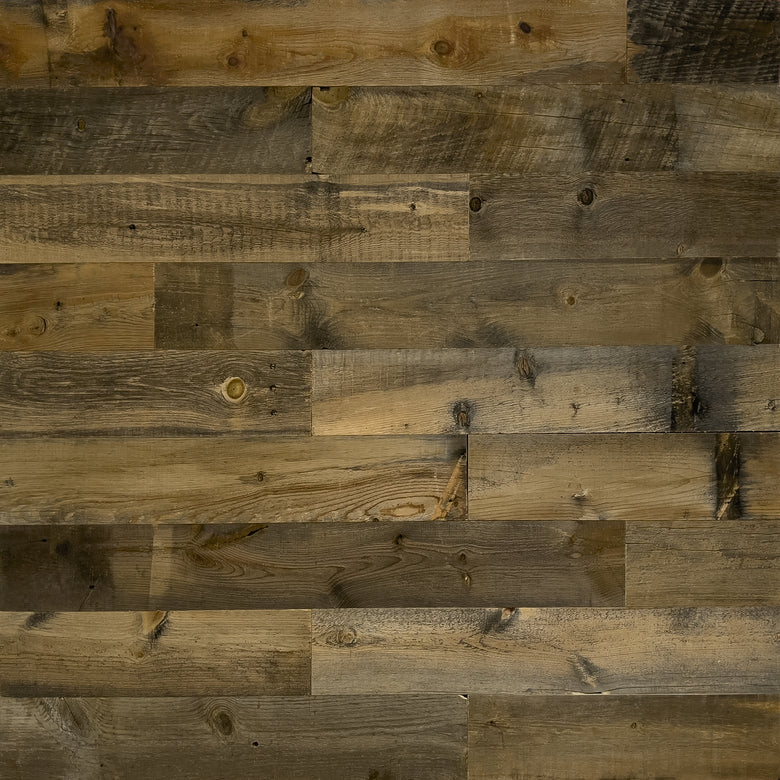
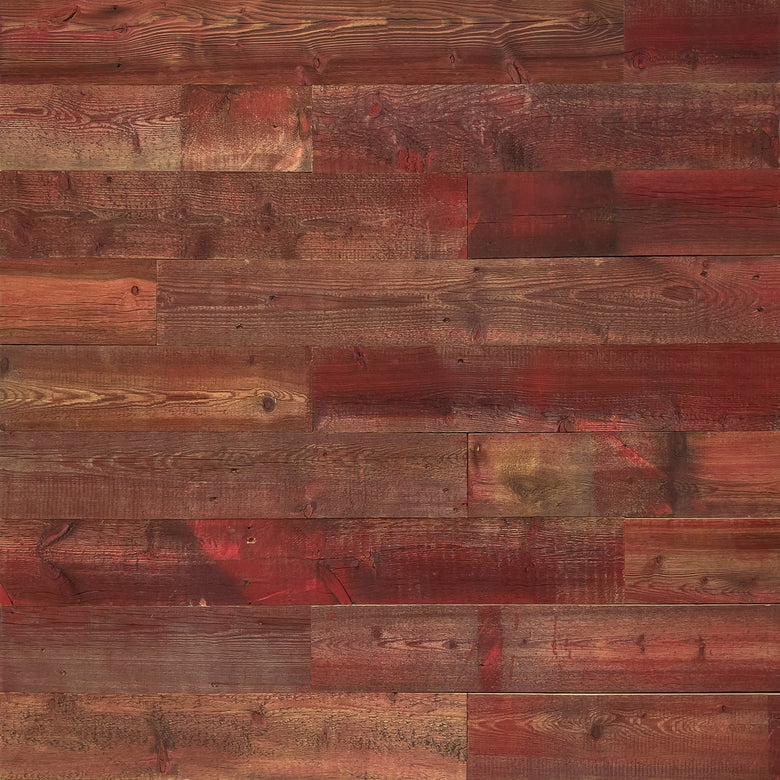
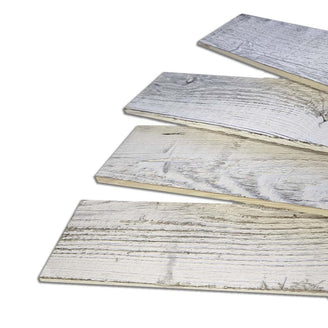
One of the first design elements that got worked on was the door, so we took it off the hinges, and I cladded it with our rustic wood panels. Just like any other wood wall installation we needed some construction adhesive and brad nails.
This part was super fun, straight forward, and we’ll definitely be making an individual step-by-step instructional video dedicated to this specific project in the future.
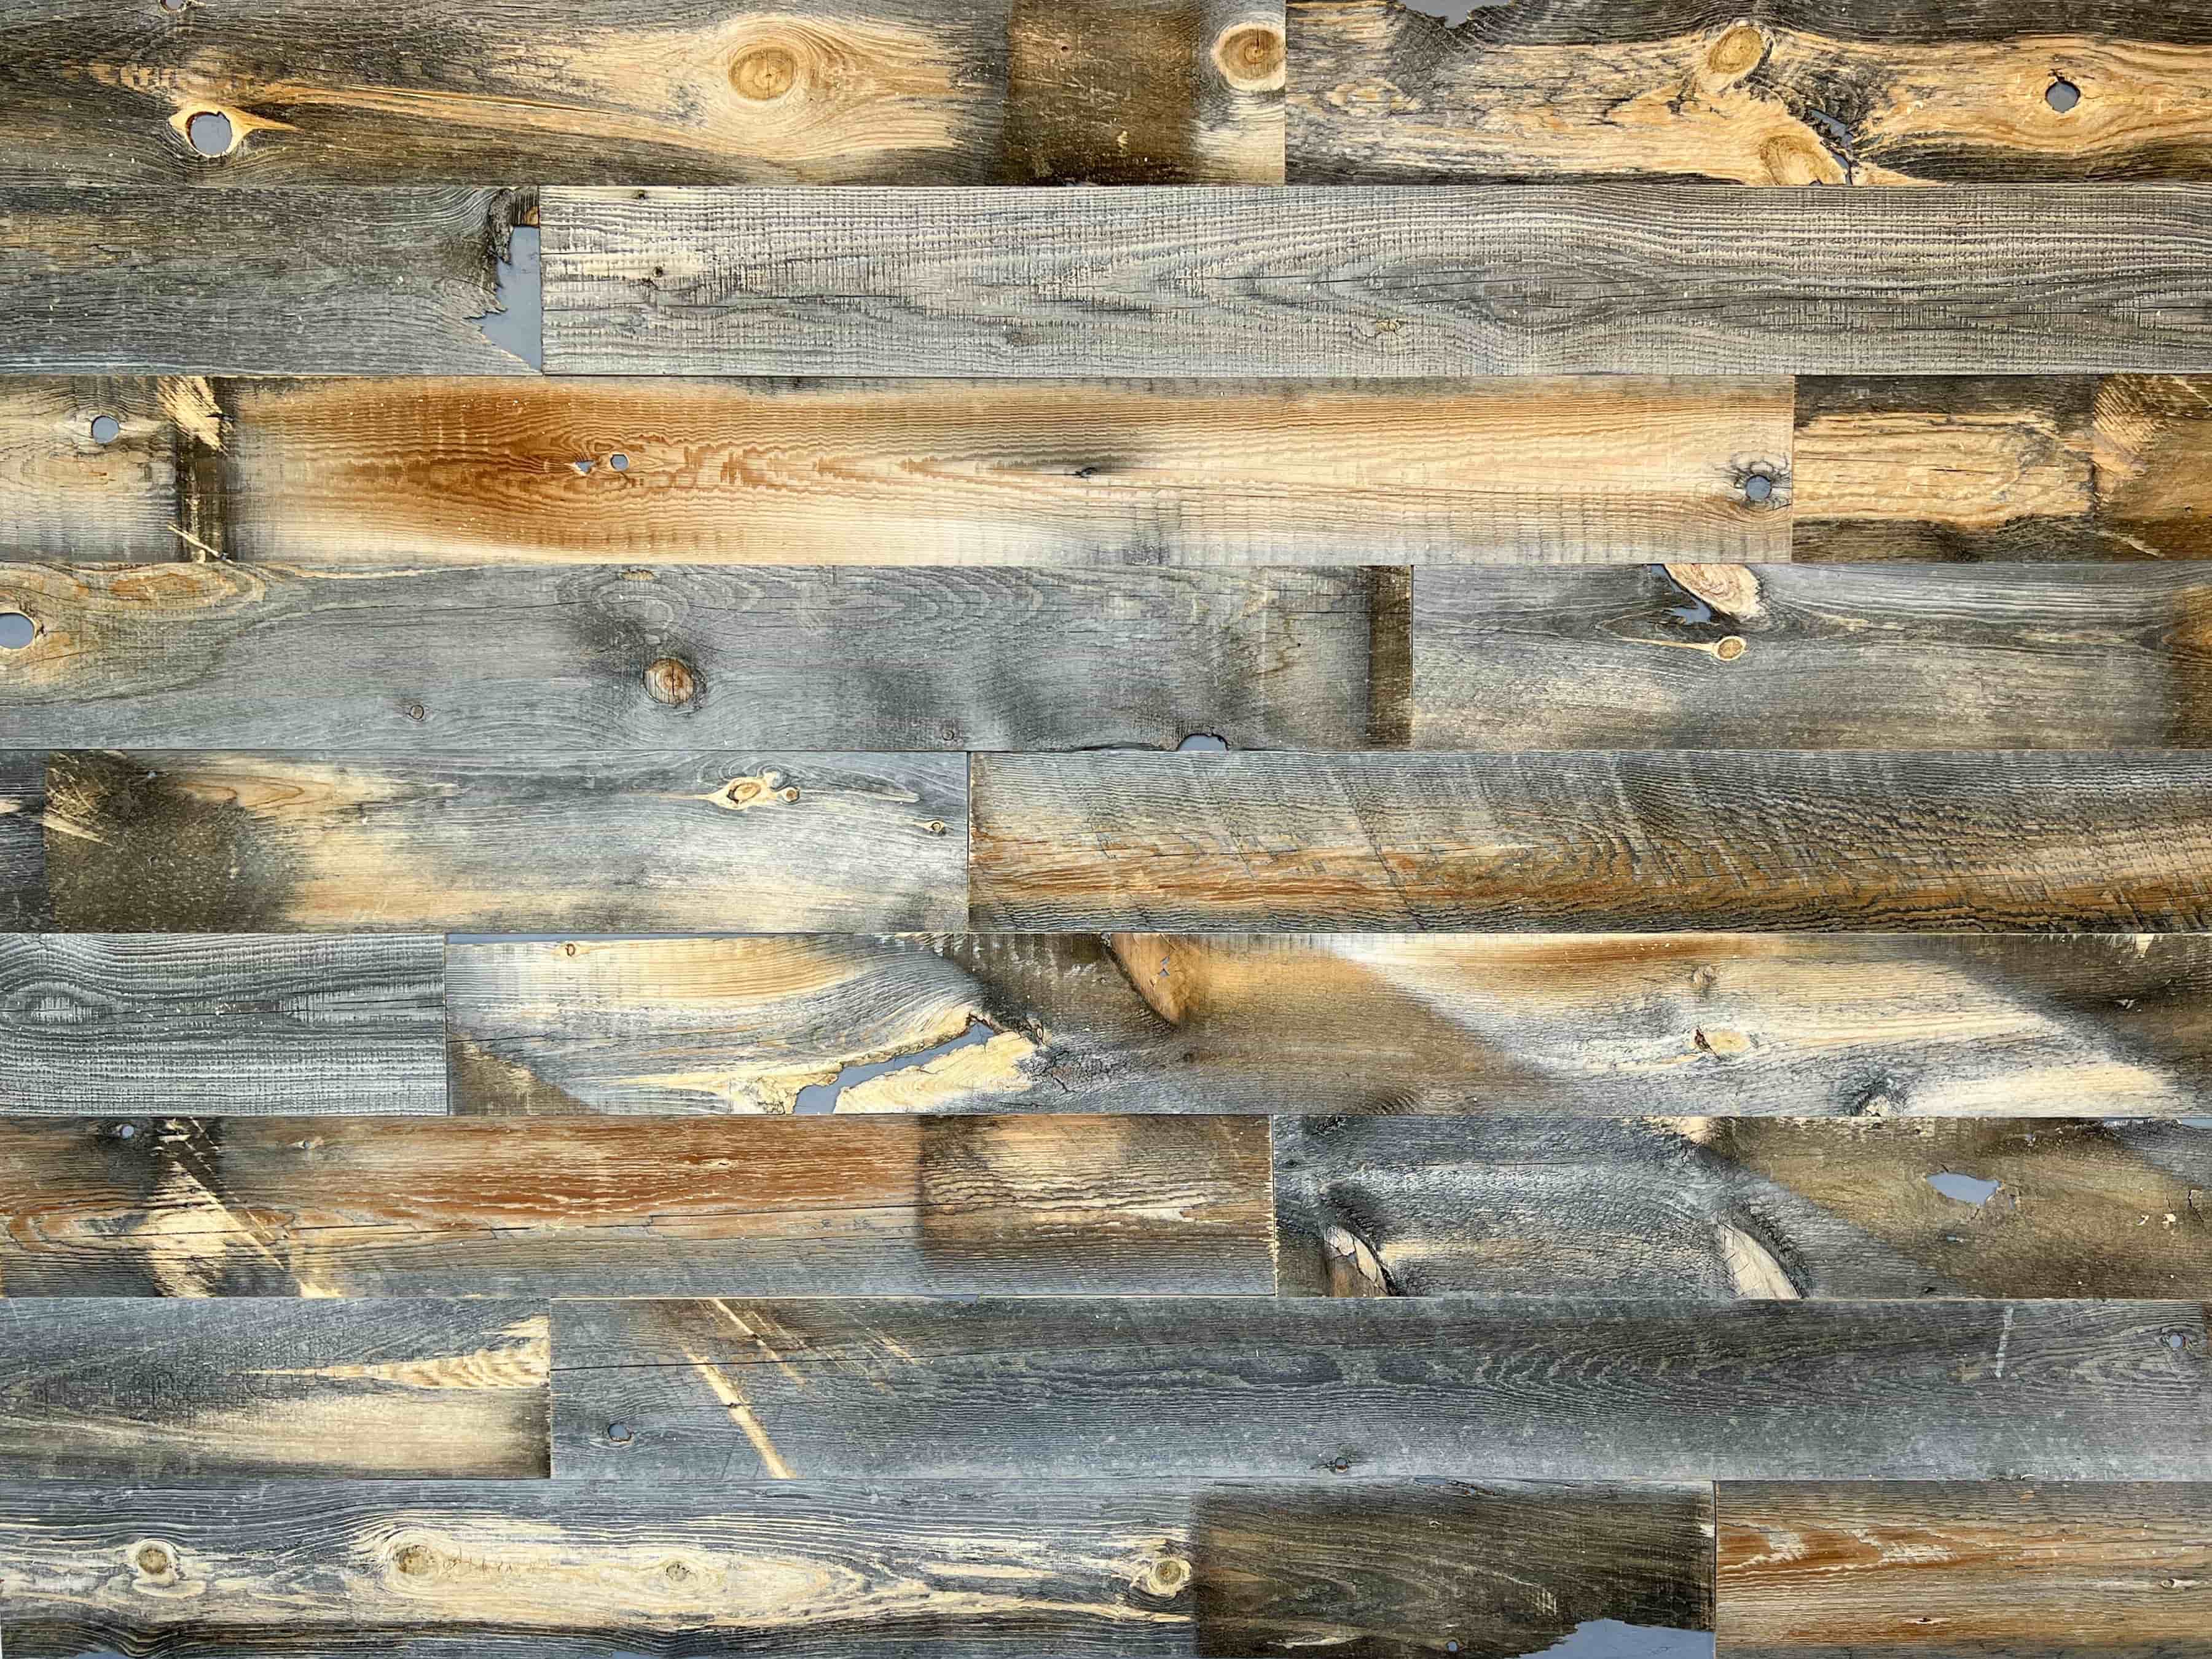
RUSTIC WOOD CEILING
At the start of the renovation, we ordered a new stainless steel sink, which I found on Wayfair and a track light style light fixture off Amazon. While we waited for those to be delivered, I got started on the ceiling installation. Once again, construction adhesive and brad nails were used for this part – and in case you were wondering we used our Cody finish on the ceiling.
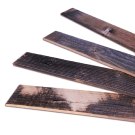
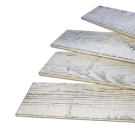
These wood planks are super light, like .3 pounds per foot light. So even if you’re a one-man crew, installing our material on a ceiling is definitely doable. However, there is an added level of difficulty when working over your head, so if you’ve got a friend who is willing to help out, it’ll save you a few trips up and down the ladder.
INSTALLATION QUICK TIP
When you’re on your last plank in a row, BUTT ONE END up against the wall, and overlap the other end with the preceding board in that row, make your mark where they intersect, and cut. This helps speed up the process, and most of the time, the cut piece you just created can be used to start your next row.
ELECTRICAL COVER CUTAROUNDS
Often during an installation of accent wall or ceiling, you’ll need to work around outlet covers, light fixtures and switches. As you can see, we had 3 on our ceiling.
Depending on the tools you have, there are several ways to approach the situation and this is yet another topic that we plan to create a specific, step-by-step instructional video for in the future, BUT .. . it was at this point in the process that I switched the magic hammer from manual to that “auto-complete” mode I mentioned earlier.
The new light fixture took a little longer to arrive than I’d hoped, so we skipped that section and finished a couple more rows.
LIGHT FIXTURE CUTAROUND
On the day it was delivered, I once again recruited some help and swapped out the old fixture.
At this point in the video, it feels appropriate to give a HUGE shout out to all my co-workers who chipped in on this rennovation. Thanks to them, I was able to avoid electrocuting myself by accident, or flooding the bathroom – they also prevented me catchin an ass whoopin from everyone else who was sick of having only one bathroom at the mill. That said, thanks to everyone at Centennial Woods for being so patient while this renovation was underway.
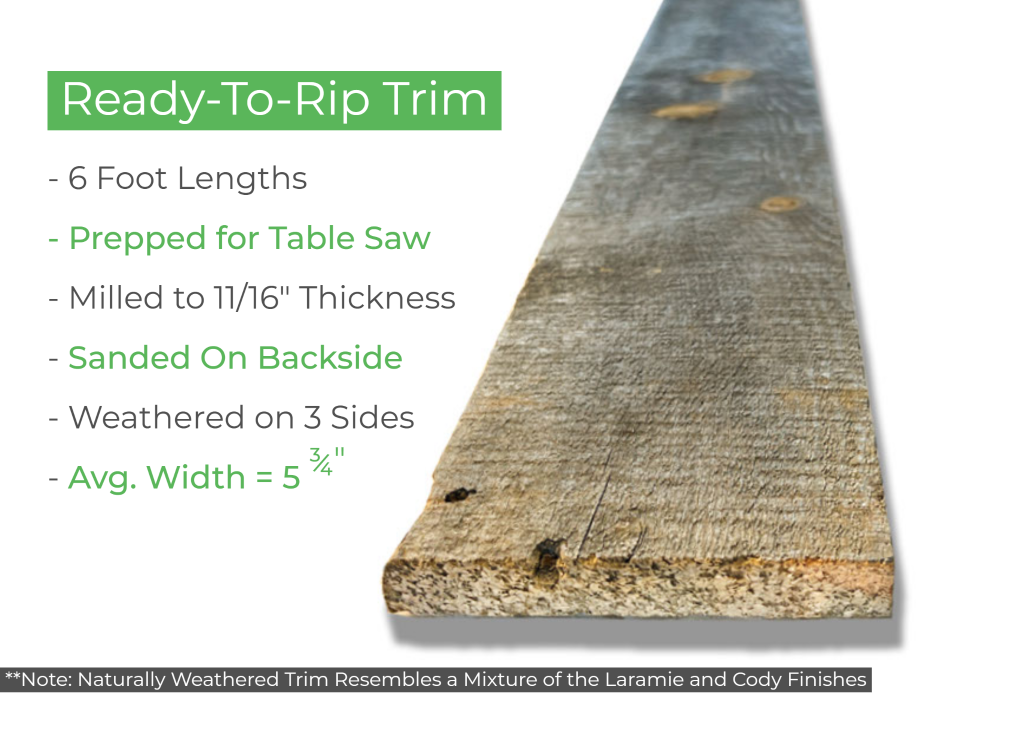
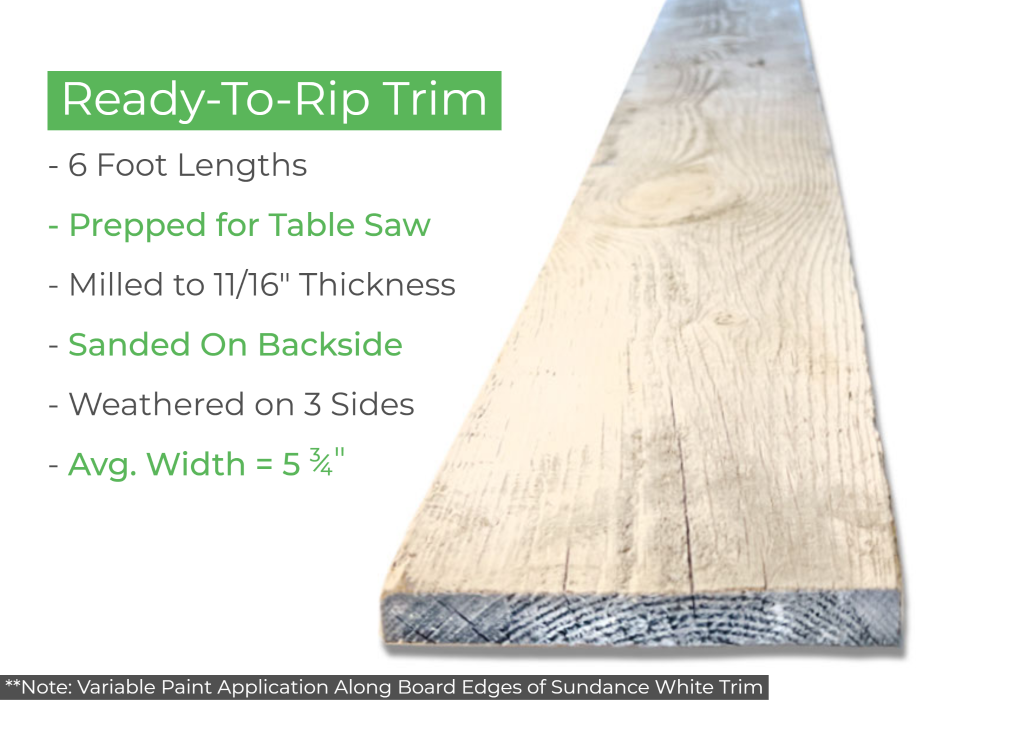
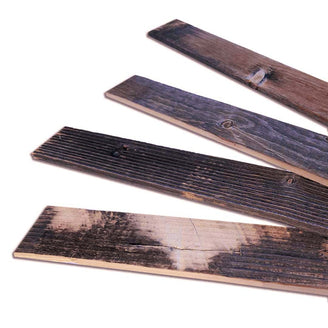
RUSTIC WOOD TRIM
After the ceiling was completely covered, we decided to trim both the “crown” of the ceiling’s perimeter and the vertical sections in the corners. In future videos, we’ll go into greater detail about our trim, some application ideas, and discuss how to use it in a step-by-step instructional format.
On the crown you can see, we used our 3 inch wide naturally weathered trim, and in the corners, we used the 1 ½ inch wide version. We hid the square milled edges by either butting it up against the ceiling. In my opinion, this really helped tie it all together and added to the look we were after. When it comes to installation, trim uses the same construction adhesive /brad nails combo as the regular planks and it’s just as easy to work with.
THE SINK
Once the trim was up, our sink arrived and got installed. I built a box with some spare shiplap which doubled as a small counter space and a covering for some exposed piping to the right of the sink.
With a few more pieces of shiplap and some plywood, I build a box around the sink itself. Remember that wainscoting I mentioned earlier? You can see it here on the sink cover. The great thing about this corrugated metal is that it was obtained through a trade! In exchange for transporting some building materials, a friend of ours who is a contractor in area, hooked us up with this super cool corrugated metal roofing. You can see it was super weathered, presented a range of really cool gray and orange rust tones, and looked great against our 1×6 material that I used as trim around the sink cover. We use the same combination of corrugated metal siding and 1×6 around the rest of the bathroom, so figured this was another opportunity to tie the look together with a little bit of customization of course.
CONCRETE FLOORING FINISH
The final step in this renovation was pouring an epoxy finish on the floor which we picked up at Ace Hardware. This was a high-gloss mixture, which I really liked, but also wanted to make it a bit darker, so we added some gray tint to it.
Rolling on the epoxy was super easy, and after that, the only thing left to do was wait for it to dry, and the renovation was done!
THE BIG REVEAL
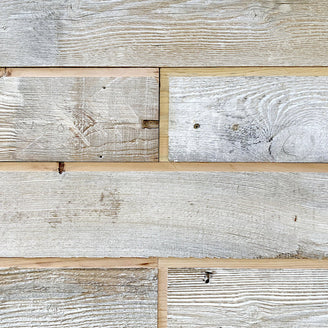
When it came to “the look”, I was shooting for a mixture of clean and rustic. To accomplish the former, we used bright white paint, a high-gloss flooring epoxy, stainless steel sink, and a more modern track light. On the flip side, I think the corrugated metal we acquired mixed with our reclaimed wood material created the perfect blend.
In terms of function, the underlying goal there was to create a bathroom that could handle daily traffic of the 30 plus employees at our mill AND tough enough to withstand heavy duty use in an industrial setting.
This is all just to say that, while elements like the rustic wood paneling on both the door and ceiling would incorporate well into any design style.
We understand a lot of the choices we made here may not be what most people envision for a residential home bathroom. So if you’re renovating the bathroom in your garage shop, or man-cave this video should provide plenty of ideas.
And for those of you looking for ideas more in the vein of a residential-style project, hang tight and keep an eye out for future content. You can also check out the gallery section of our website where we have a ton of residential interior examples.
CONCLUSION
As I mentioned several times before, we’ll be coming out with more content, as well as step-by-step instructional videos soon. In the meantime, if you have any questions, or want to use our rustic wood material on your own project, we’re here to help. You can check us out on social, and be sure to subscribe to our Youtube channel. If you'd like to know more be sure to explore the Ultimate Guide To Reclaimed Wood.