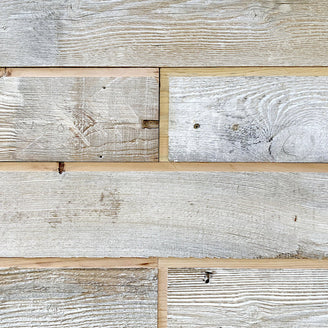
A plain ceiling is sometimes called the fifth wall. Wood beams turn that blank space into a focal point. A single beam can anchor a living room, while a full grid can fill a vaulted ceiling. This guide covers popular styles, layout ideas, and practical tips for building and installing wood ceiling beams. You will also learn the difference between real wood beams and hollow faux beams. Plus, you will see how reclaimed wood gives your project authentic character that new lumber cannot match.
Wood Ceiling Beam Styles and Layout Ideas
The style and layout of your beams set the mood for the entire space. Decide on both before you buy any wood, since the look you want drives the size, spacing, and finish of every board.
Popular Beam Styles
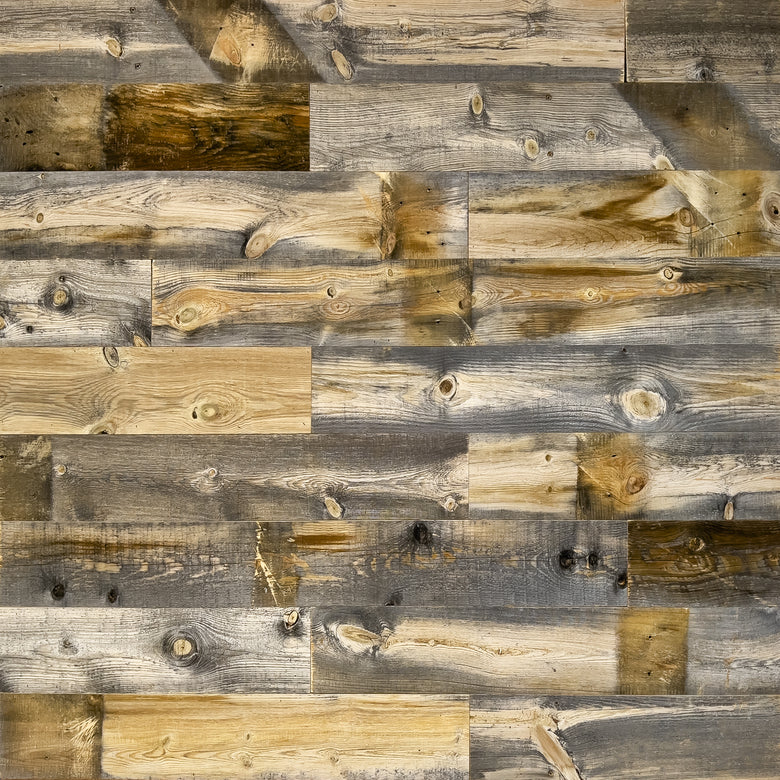
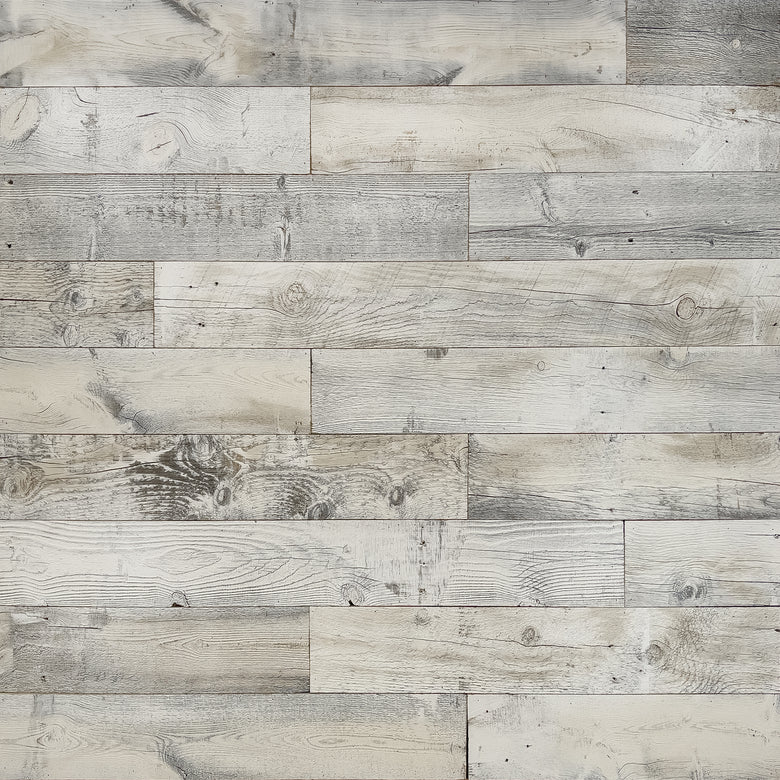
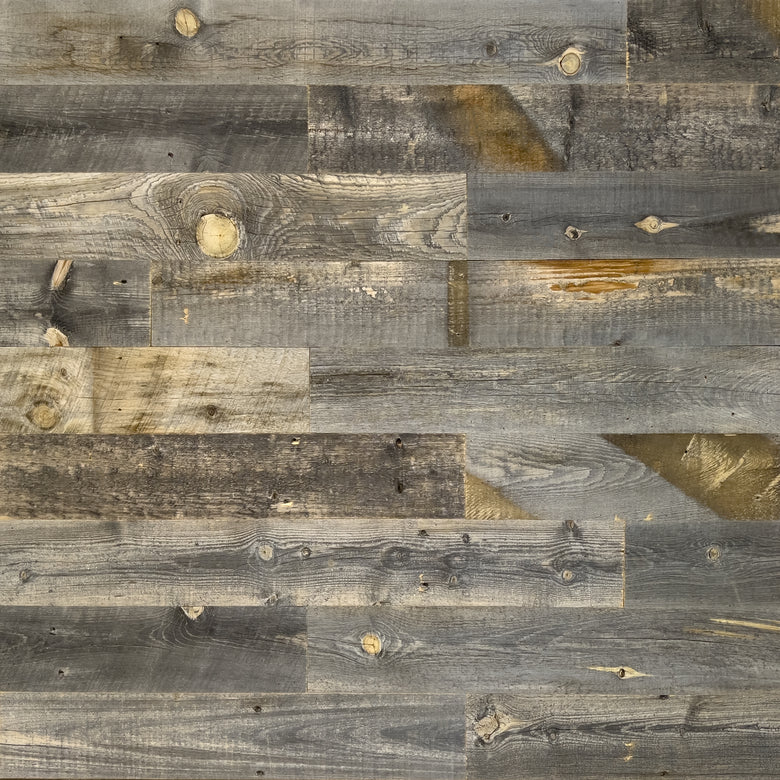
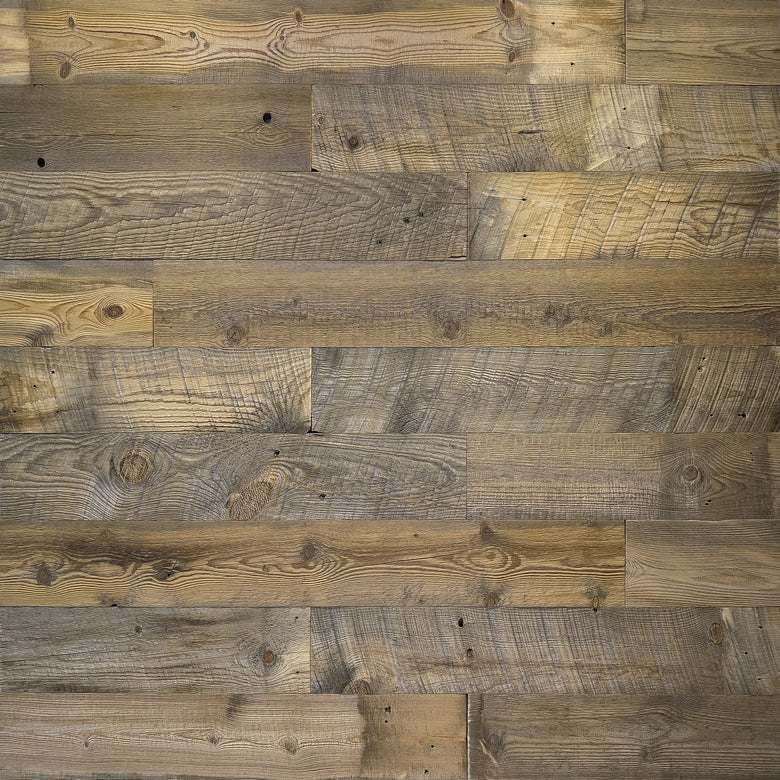
Different wood tones and textures create very different feelings in a room. Rustic reclaimed beams show knots, saw marks, and weathered gray or brown wood, which brings instant rustic charm to a plain ceiling. Modern beams keep one clean stain color and simple square edges, a look that suits open floor plans. Farmhouse beams pair warm honey and amber wood with a white wood ceiling for a cozy, lived-in feel. Industrial beams lean on dark wood tones and metal brackets for a bold, urban edge. Any of these wood ceiling beam ideas can be built as a custom faux beam, so pick the one that fits the rest of your room.
Layout Ideas That Work
How you arrange the beams matters as much as the wood itself. A good layout follows the shape of the room and the direction of the ceiling joists.
A single statement beam runs across the center of a living room. It draws the eye upward and adds architectural details with very little work, which makes it a good first project.
Parallel beams sit evenly spaced across the ceiling. This is the most common wood beam ceiling look, and it reads as balanced and traditional in almost any room.
A box grid uses beams that cross in both directions to form squares. The result is a coffered ceiling with real depth, though it takes more planning and more cuts.
Ridge-following beams trace the peak of a vaulted ceiling. They highlight the slope and make a tall room feel grand instead of empty.
Spacing and Scale
Beam spacing changes how a ceiling reads. Wider gaps feel open and modern, while tighter spacing feels rustic. Most rooms look right with beams spaced two to four feet apart. Mark your layout on the ceiling with chalk before you build anything.
Real Wood Beams vs. Faux Ceiling Beams
One of the first choices you will make is between a solid real wood beam and a hollow faux beam. Both show real wood on the surface, but they behave very differently once they go up.
What a Real Wood Beam Offers
A solid timber beam is one heavy piece of wood. Some real wood beams provide structural support and carry the roof or floor above. Others serve as decorative ceiling beams added purely for looks. Solid timber costs more and weighs a lot, so lifting one overhead usually takes two people and a helper on a ladder. Each beam also needs strong anchors driven into the ceiling joists. The payoff is true mass and depth, which some homeowners want in a room with high ceilings.
Why Most Homeowners Choose Faux Beams
A faux beam is a hollow box built from three wood planks joined into a U shape. The finished beam slips over a wood mounting block fixed to the ceiling. This is the simple way most people get the wood beam ceiling look today. Thin planks weigh far less than solid timber, so one person can often hold a beam in place while nailing.
The hollow center does more than save weight. It gives you a place to tuck electrical wiring, and it hides any seam or crack in older plaster ceilings. Faux ceiling beams also cover more ceiling with less wood, which keeps the cost down compared with large solid posts. Because you cut each box to fit, the length and width options match your room instead of the lumberyard.
Which One Fits Your Project
Pick a solid beam if it needs to carry weight or if you want real heft in a large open space. Pick a faux beam for everything else. For a purely decorative look, the finished result is nearly identical from the floor, since only the outer face of the wood is ever visible.
How to Build and Install Faux Wood Beams
Building a faux beam is a weekend project for most DIY homeowners. You wrap three boards around a frame, then mount the finished beam to the ceiling. Unlike a single solid post, the hollow box goes up without a second helper or a heavy lift, which is part of why so many people choose it.
Tools and Materials
You need only a few tools to build a faux beam. Three wood planks form each beam, cut to the length of your ceiling run. A brad nailer and brad nails hold the boards together without splitting them, while a bead of wood glue along each seam adds strength to every joint. Use a drill and the right drill bit to make a pilot hole before you drive any screw into a ceiling joist. Wood filler hides nail holes, and matching stain or paint blends the corners. Keep a tape measure and a stud finder close by too, since clean marks make every later step easier and cut down on wasted boards.
Step-by-Step Install
-
Find the joists: Mark the ceiling joists where each beam will sit, since these carry the weight.
-
Mount the blocks: Screw wood mounting blocks into the joists. Drill a pilot hole first so the screw does not crack the wood.
-
Build the U: Glue and brad nail two side boards to one bottom board to form a three-sided beam.
-
Lift and fasten: Slide the hollow beam over the blocks and nail through the sides into the wood.
-
Finish the look: Fill nail holes with wood filler, then hide each seam with stain or paint.
Pro Tip: Build your beams on the ground and take a photo of the layout before you lift them. A quick dry-fit on the floor saves time on the ladder.
Matching Beams to Your Room and Ceiling
The same beam can look great in one room and wrong in another. Match the size, spacing, and wood tones to your ceiling height and style.
Living Rooms and High Ceilings
A living room with high ceilings can carry several wide beams without feeling crowded. In rooms with standard 8-foot ceilings, fewer and thinner beams keep the space open. Spacing the beams evenly across the ceiling helps the whole room feel this balanced. Lining a beam up with a door frame or wall post below it makes the layout feel planned rather than random.
Vaulted Ceilings
A vaulted ceiling is a natural home for wood beams. Beams that follow the slope or meet at the ridge highlight the dramatic angles. Many an interior designer uses this trick to make tall rooms feel grand yet warm. A single ridge beam with shorter cross beams below it adds depth without closing the room in.
Choosing Wood Tones
Your stain color ties the beams to the rest of the room. Gray wood suits modern spaces, while warm brown wood tones bring rustic charm. Reclaimed wood already carries natural color and texture, so you often need little or no extra paint. Hold a sample against your floors and walls before you commit, since lighting changes how each tone reads through the day. A finish that matches nearby wood furniture helps the beams feel built in rather than added on.
Centennial Woods: Reclaimed Wood for Your Ceiling Beam Project
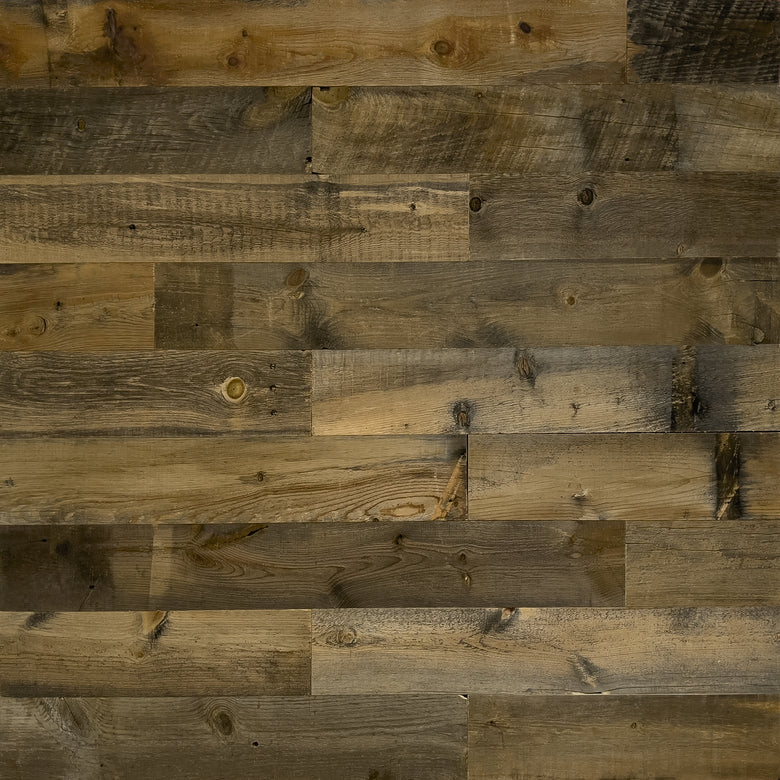
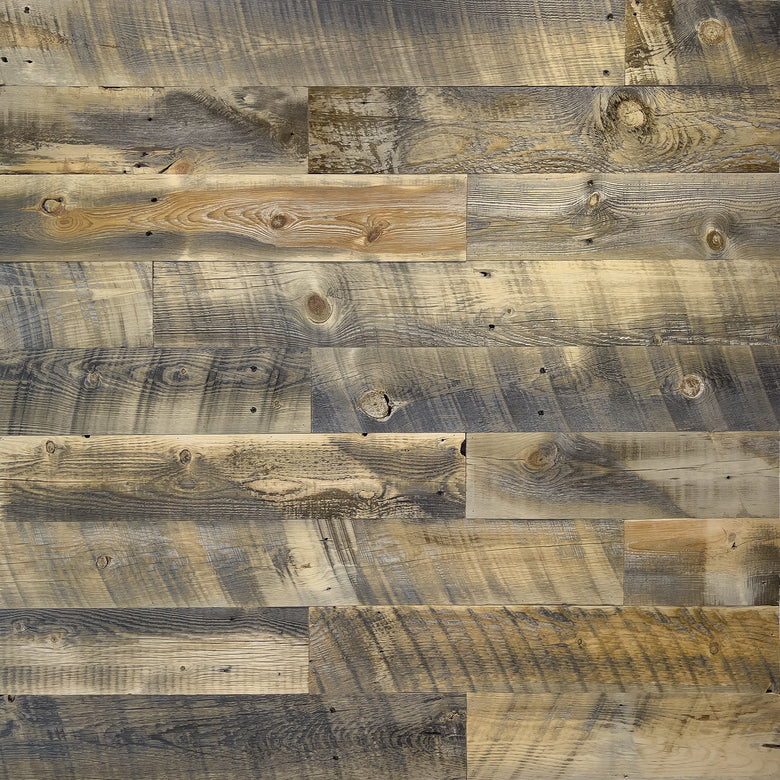
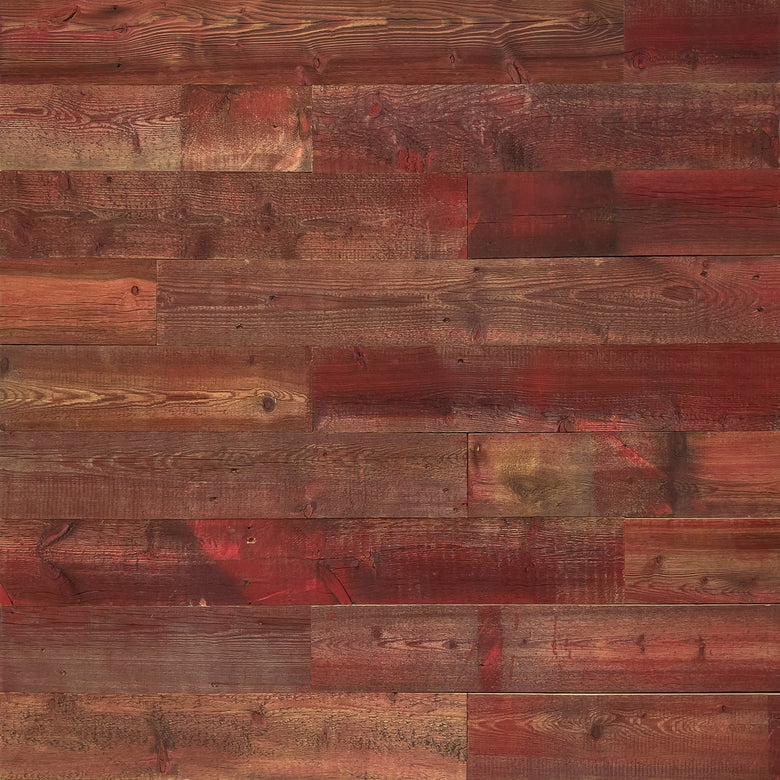
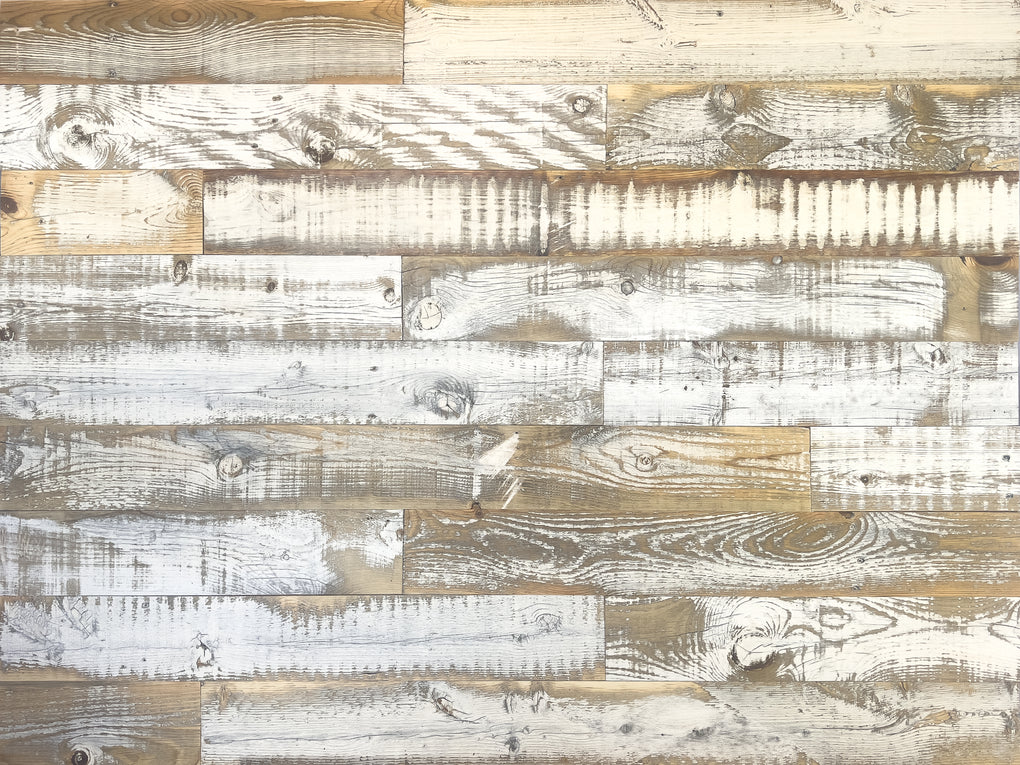
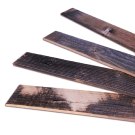
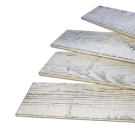
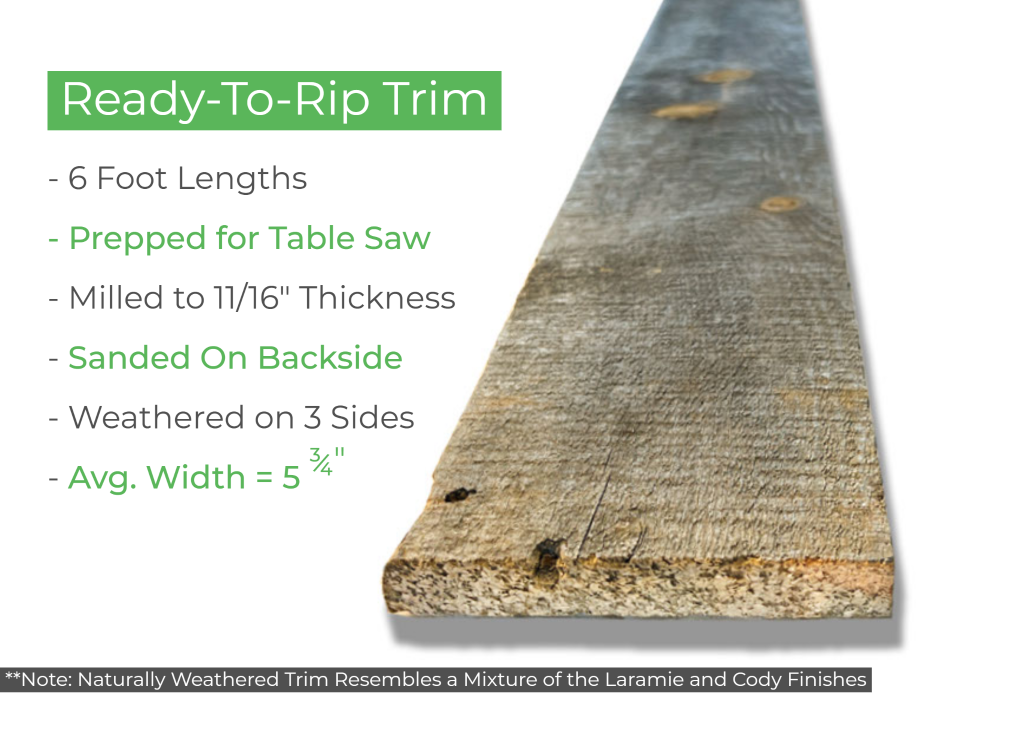
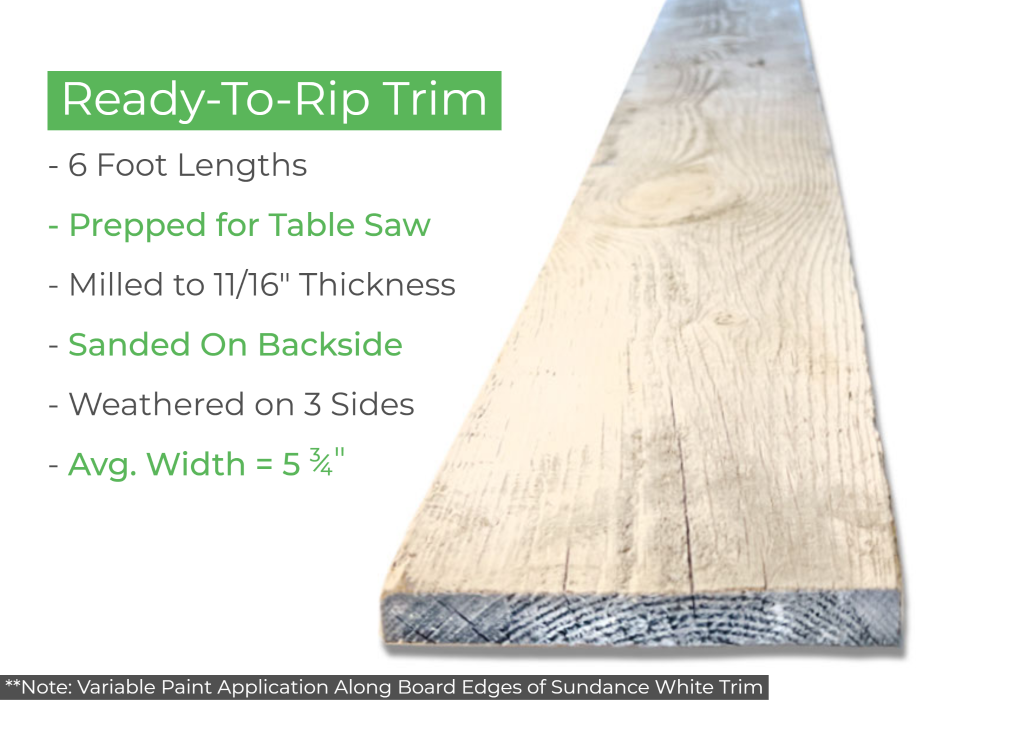
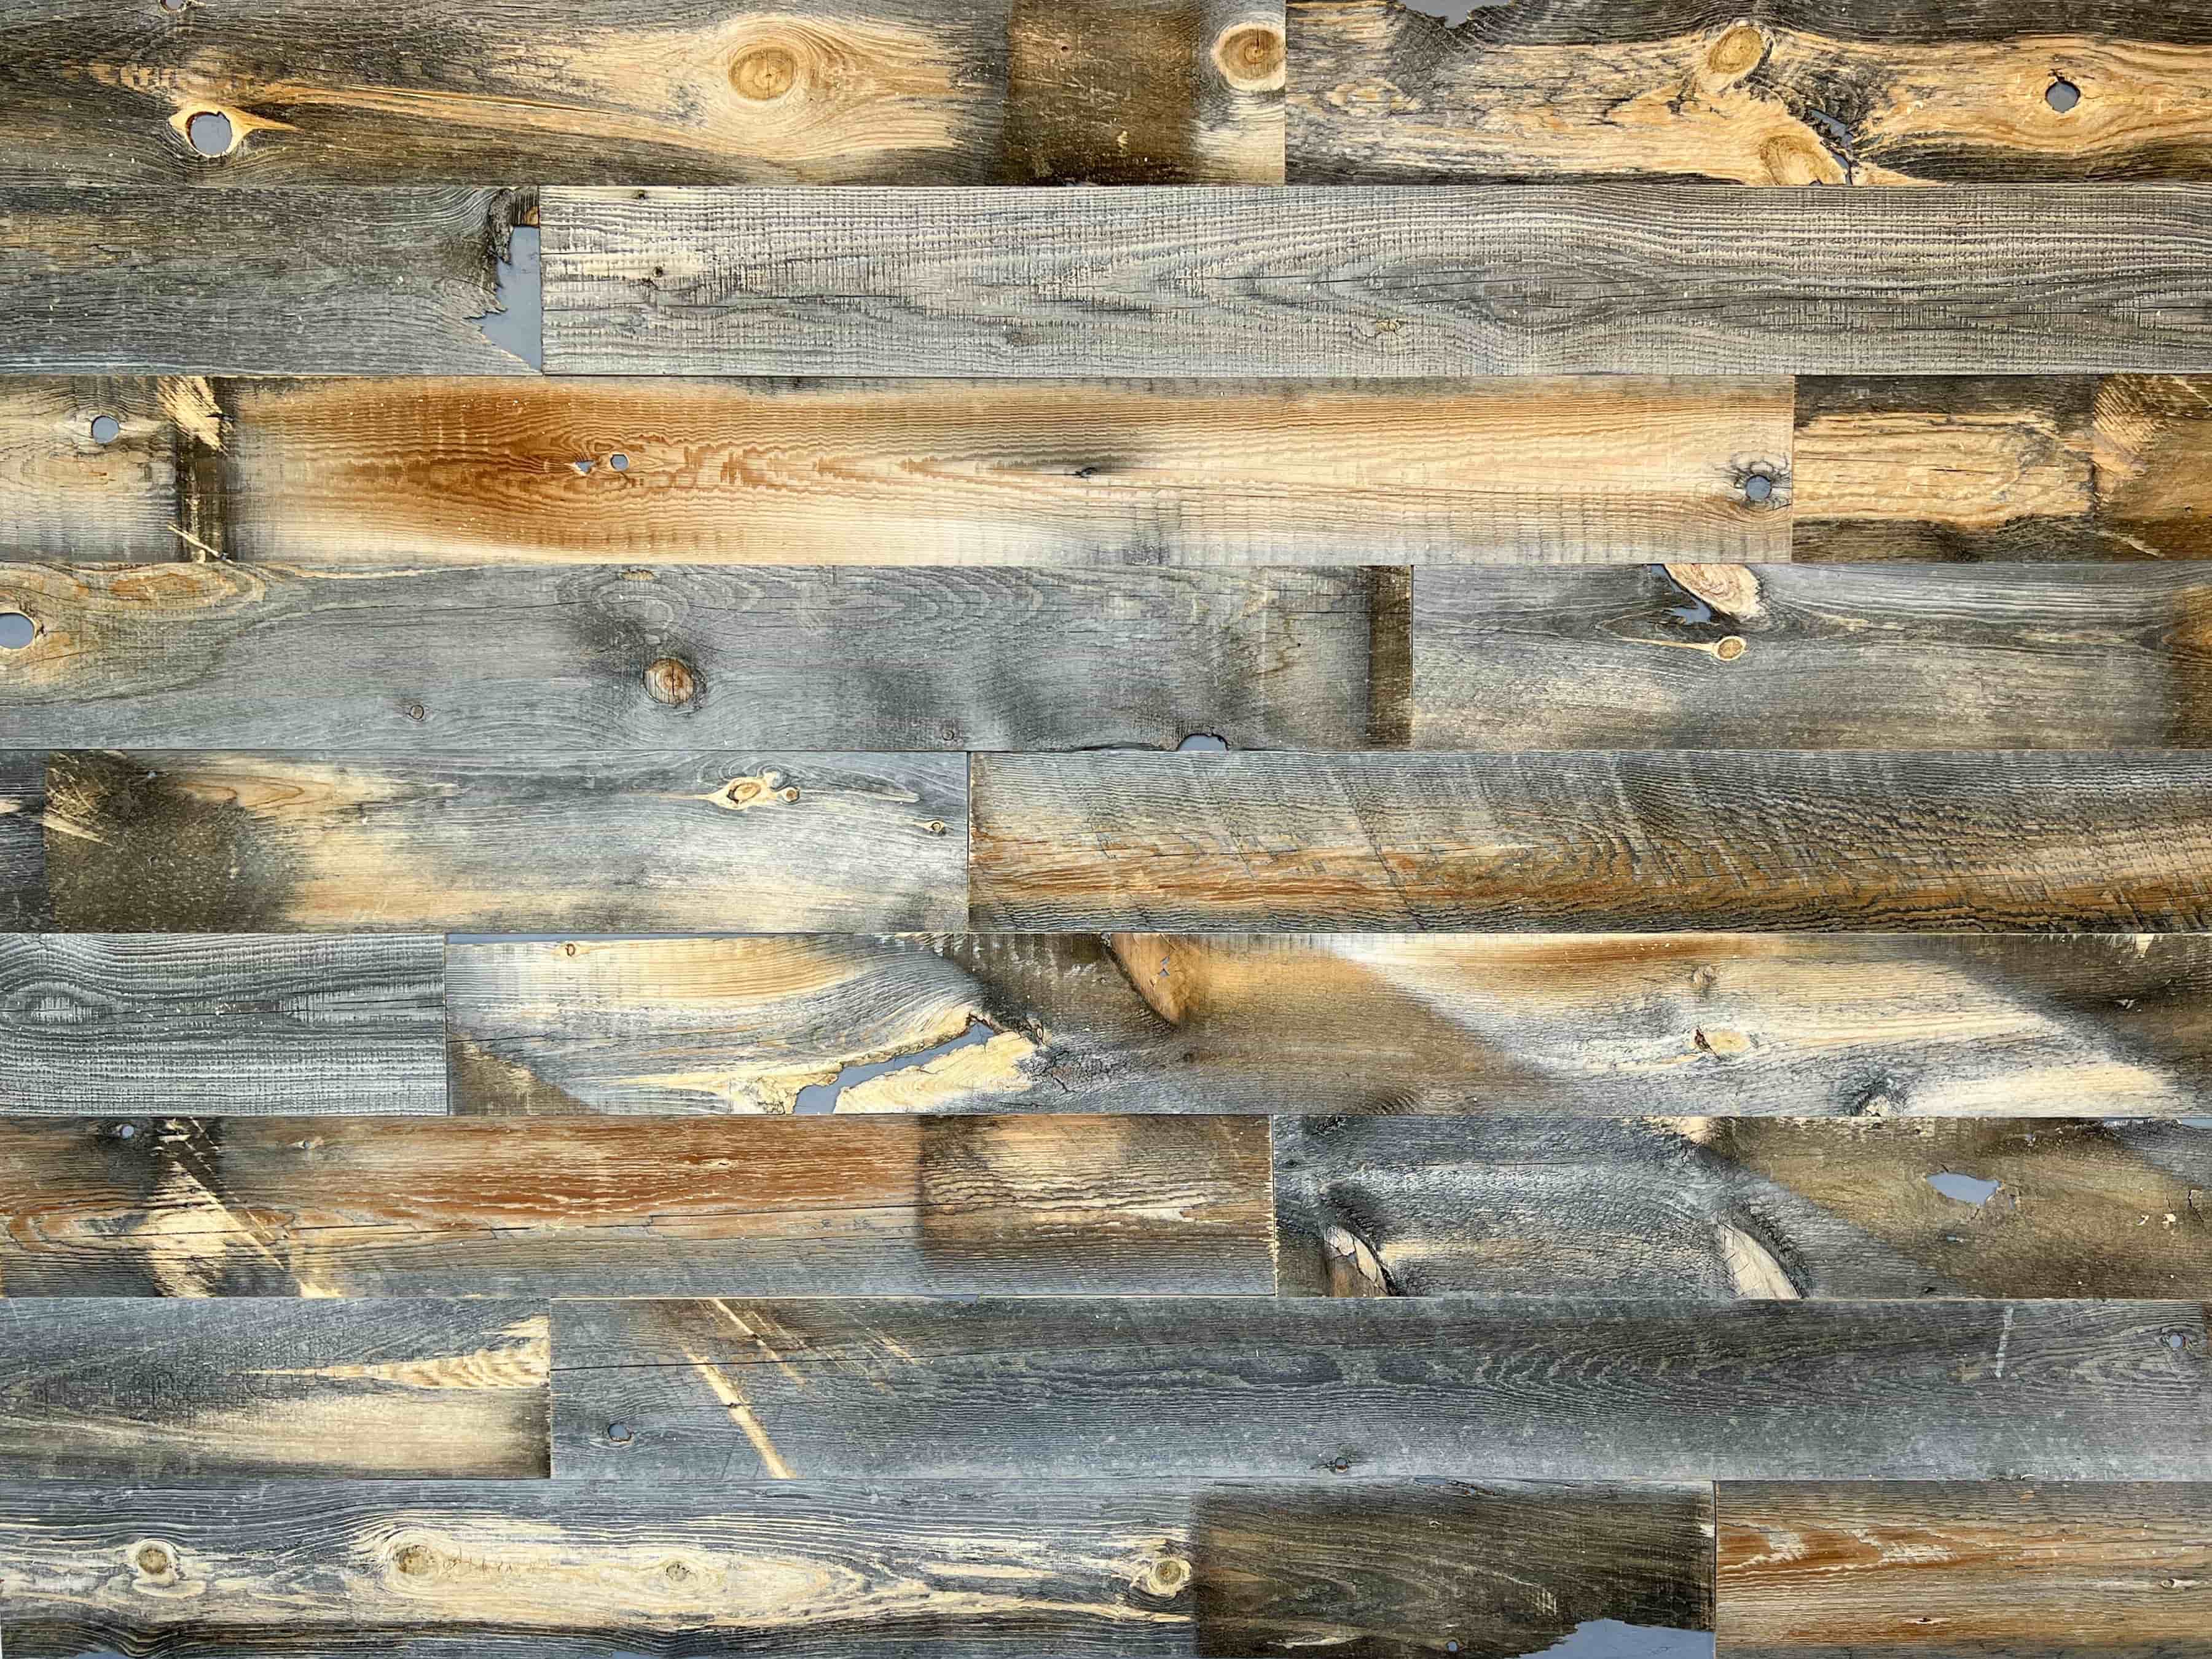
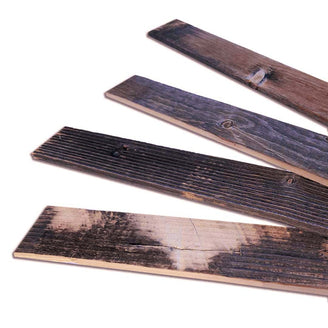
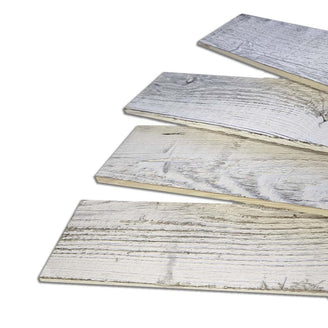
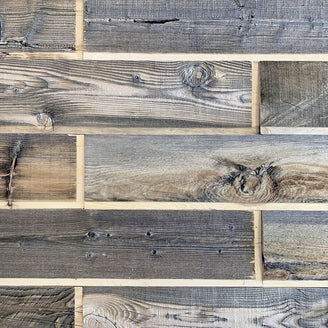
Centennial Woods reclaims wood from Wyoming snow fencing, where each fence picket weathers outdoors for seven to ten years. That natural aging gives every board real color, texture, and a true backstory. Our 1/4-inch reclaimed paneling is only about 5 inches wide, light, and easy to handle, so carpenters can wrap it to build the look of wide, solid beams without heavy lumber. Pick finishes like Laramie gray, Cheyenne honey, or Cody earth tones to match your design. Every board is GREENGUARD Gold and FSC Recycled certified, and our wood is air-dried to 4 to 8 percent moisture for lasting stability.
Ready to add wood ceiling beams to your home? Order reclaimed wood paneling from Centennial Woods, or order samples today.